DIY Glitter First Birthday Crown
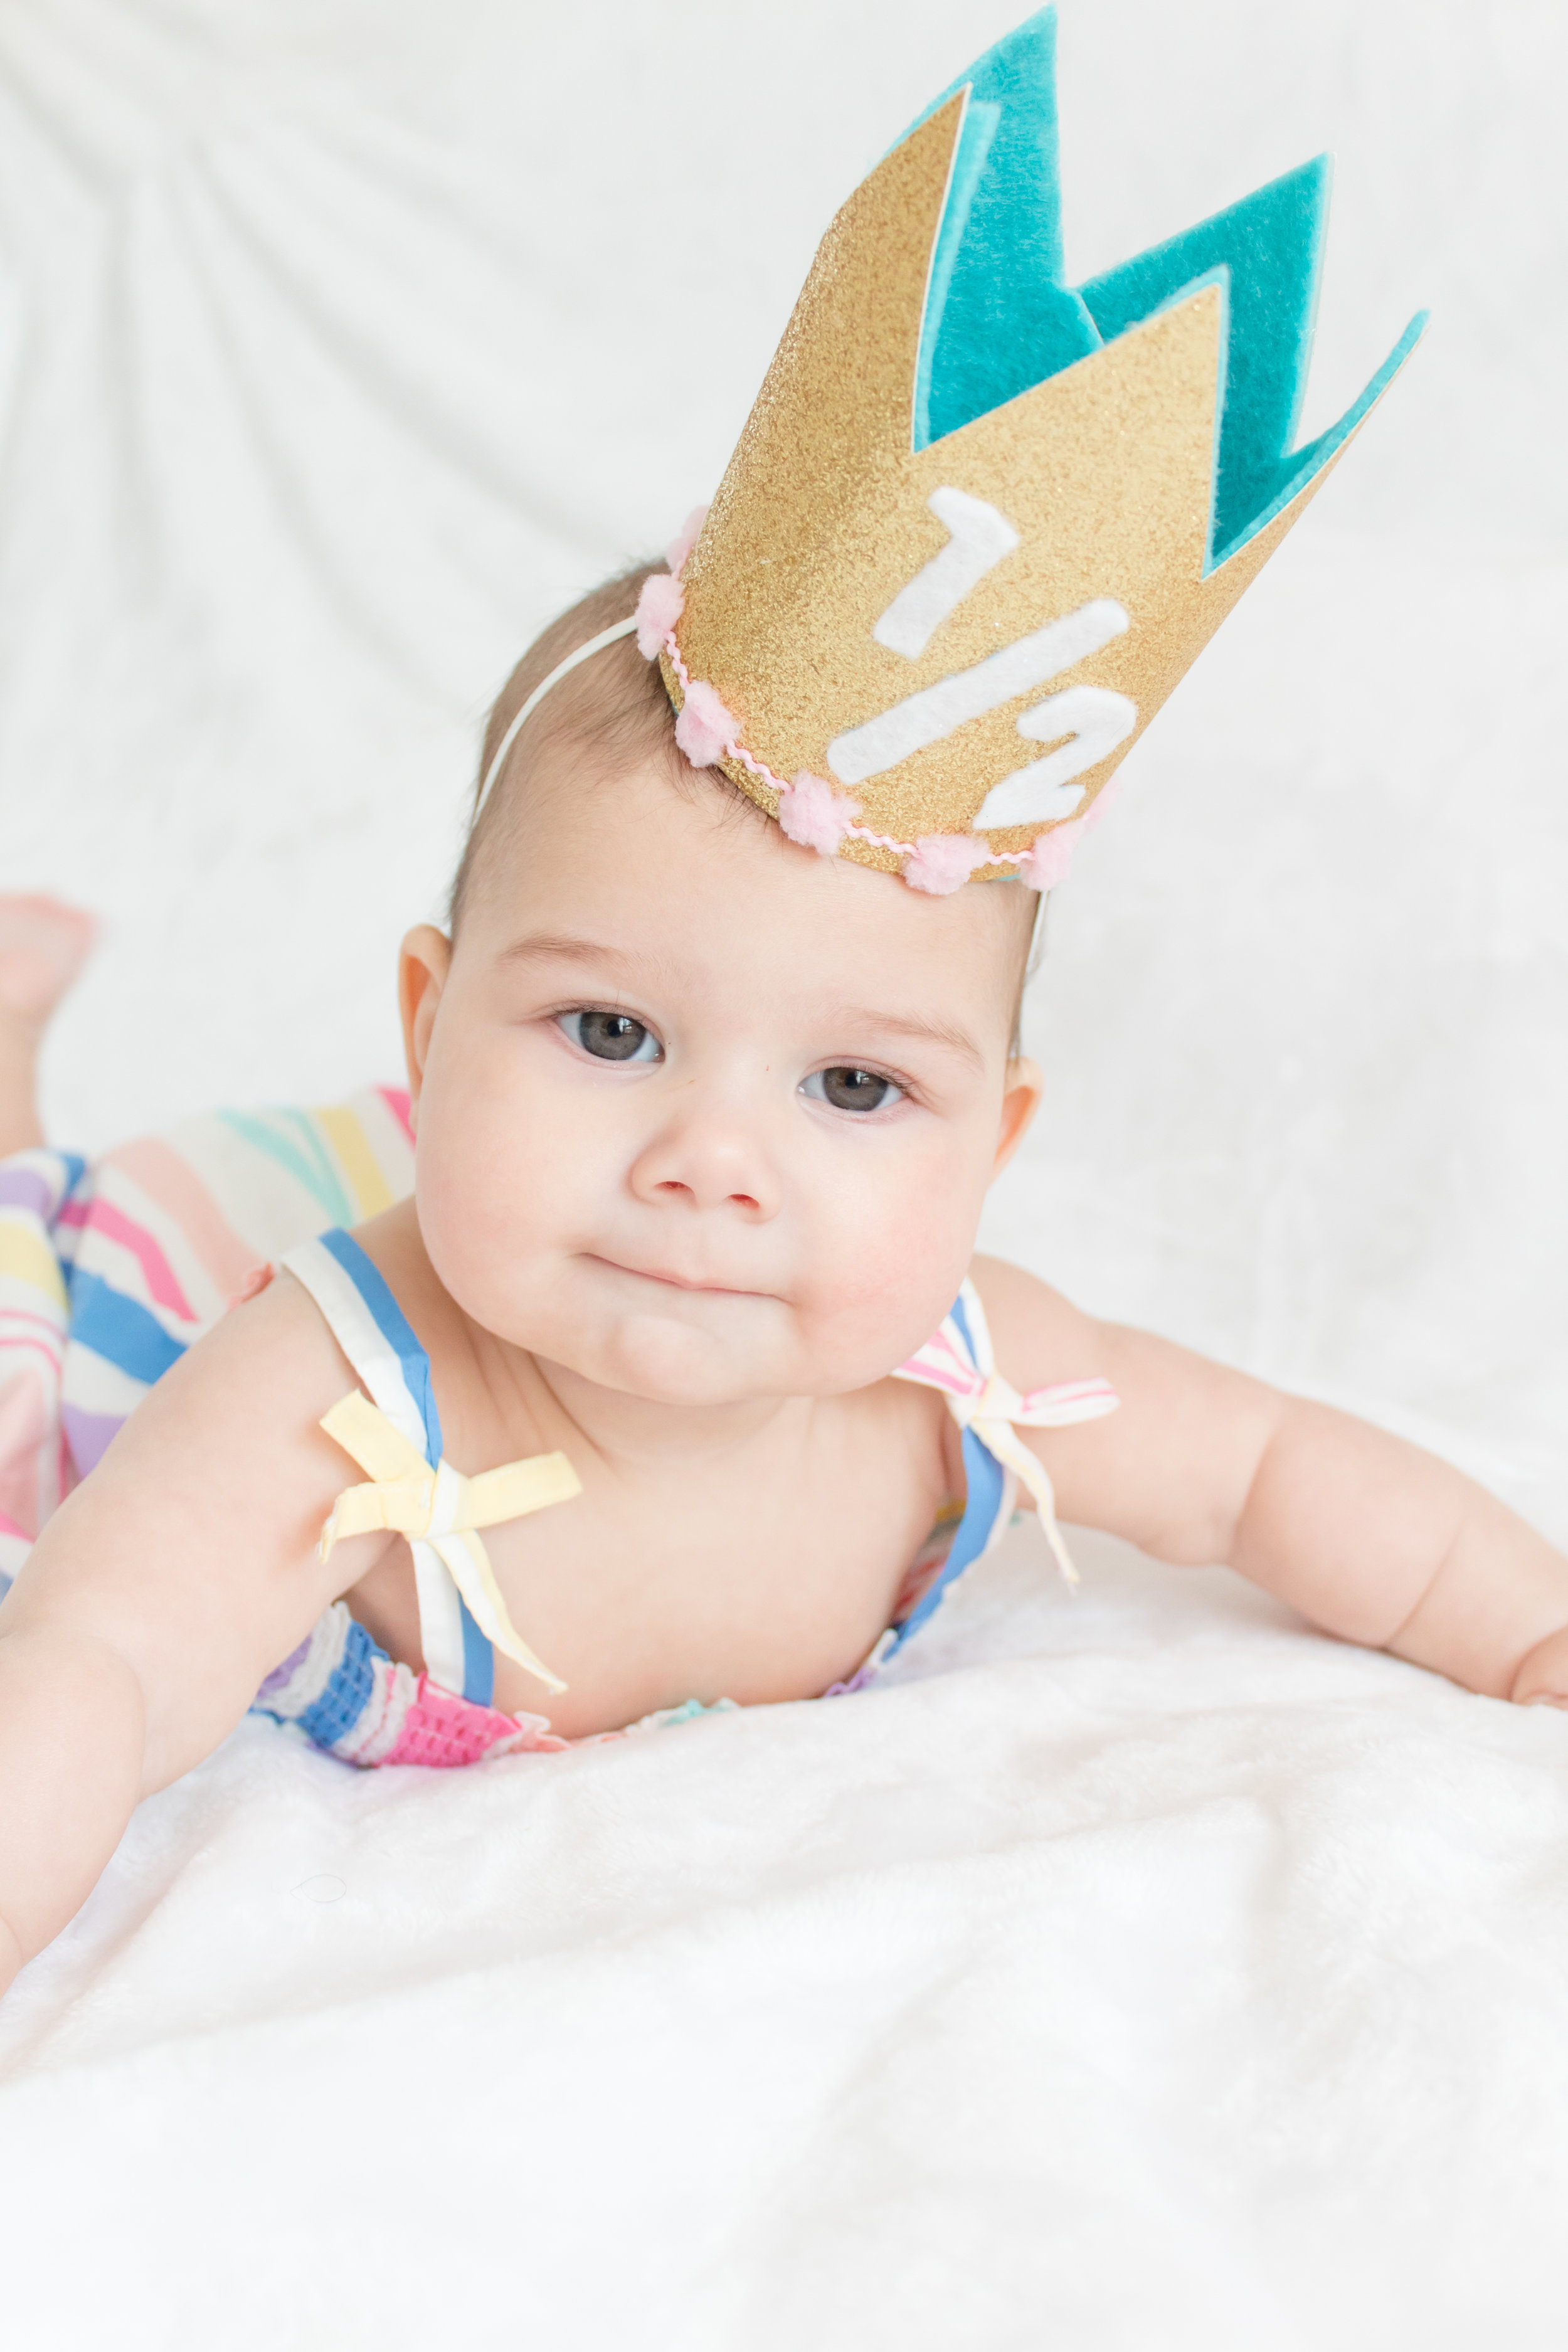
/On the morning of Hailey's half birthday, I suddenly decided I needed to do an impromptu photoshoot. I had to post about her being 6 months old on social media, because I was pretty amazed at how fast the time had gone. And, since I had plans to do her half birthday party, I knew I wanted to make her a crown. Unfortunately, I didn't think to do it sooner, so I found myself on the morning of her half-birthday scrambling around the attic to find the supplies I needed. Luckily, it wasn't hard to do and I was able to make the template and the crown within just an hour! Imagine how quick it'll be for you since the template is already made. What can I say except “you're welcome"! (Anyone else get that Moana reference?)
The template contains all the numbers and two different sizes, so you can decide what’s best for your baby/toddler/child/yourself. It also contains directions and a bonus cake topper template! Oh, and it’s totally free. By making it yourself, you’ll save money. It's really easy and you can get everything you need on Amazon (lifesaver!) or save even more money with a trip to your local craft store.
*This post contains affiliate links
These tutorial pictures were taken on my kitchen table as I worked so that I could give you guys a nice step-by-step tutorial without having to go up to the attic and try to cram in a blog post PLUS a craft project while Hailey napped, so it's not quite as detailed as I usually am. However, I figured done is better than perfect! I knew that if I put this project onto my never-ending to do list, you'd probably get this post when Hailey's going off to college.
You will need:
Template (see below)
Printer (I use this one and love it!)
Glitter paper (similar here)
Felt (similar here)
Scissors (similar here)
Trim (similar here)
Glue gun (similar here)
Elastic (similar here)
The printable is available in my resource library, which you can get totally FREE access to, just by signing up. What exactly do you get? Access to all my printables, including party planning guides, checklists, and my projects. By signing up, you'll have access to all projects- past, present and future!
Directions:
1. Download and print your template. It consists of 3 pieces- a crown template with the space for the numbers, the template for the numbers, and a bonus cake topper.
2. Before cutting anything out, test your trim on the template and make sure it's wide enough that you can glue it on without covering the numbers. If not, add a bit of height by placing the template a few cm's above the edge of your glitter paper.
3. Cut your crown template out of glitter paper and felt liner. When cutting your glitter paper, I recommend leaving a little bit extra on the sides so you have some width to play around with. This will make it easier to glue your crown shut.
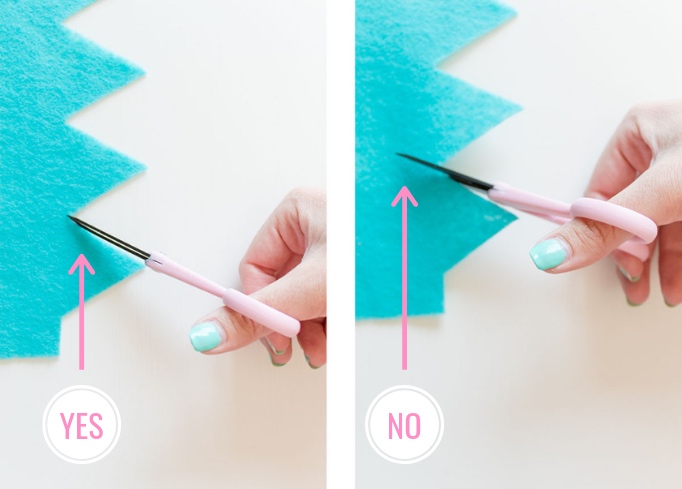
4. Now some cutting tips! First, place your template against the bottom edge of your glitter paper so you'll get a nice, straight edge and one less thing to cut. Second, when cutting out your triangle points, or any small area like in the cake topper, I recommend only putting your scissor tip as far as you need to cut. Meaning.... don't intend to end your precise point in the middle of your scissor blade, because most likely when you cut it, you'll end up going a bit too far and your inside points won't be neat. I hope this makes sense- it’s hard to explain!
5. Once you have your glitter paper crown and felt liner cut out, it's time to add the numbers! Cut them out of felt, using a colored pencil or washable ink marker to draw the template onto the felt. If you're thinking, “ok Cathy there is no way in freakin HECK I can cut numbers out of felt that small, ya looney”, never fear. I have 2 alternatives! Either purchase felt numbers and glue those onto your crown instead or in the scrapbook paper section, they have a flocked paper that looks like felt, but the backside has a cardstock backing. This will be much easier to trace your numbers onto and cut out. Just remember, ESPECIALLY with the flocked paper but the felt too, you should be tracing your numbers backwards so that the front is the correct direction and looks nice and neat with no ink or pencil marks.
6. Glue your numbers onto the glitter paper, following the template. Add your trim to the bottom and glue that on too.
7. Cut a piece of elastic large enough for your baby's head. I used 1/8 inch wide. You'll want to glue the elastic between the glitter paper and the felt liner, placing it by their ears so that it fits neatly and isn’t an eyesore. Then, glue your felt to the glitter paper.
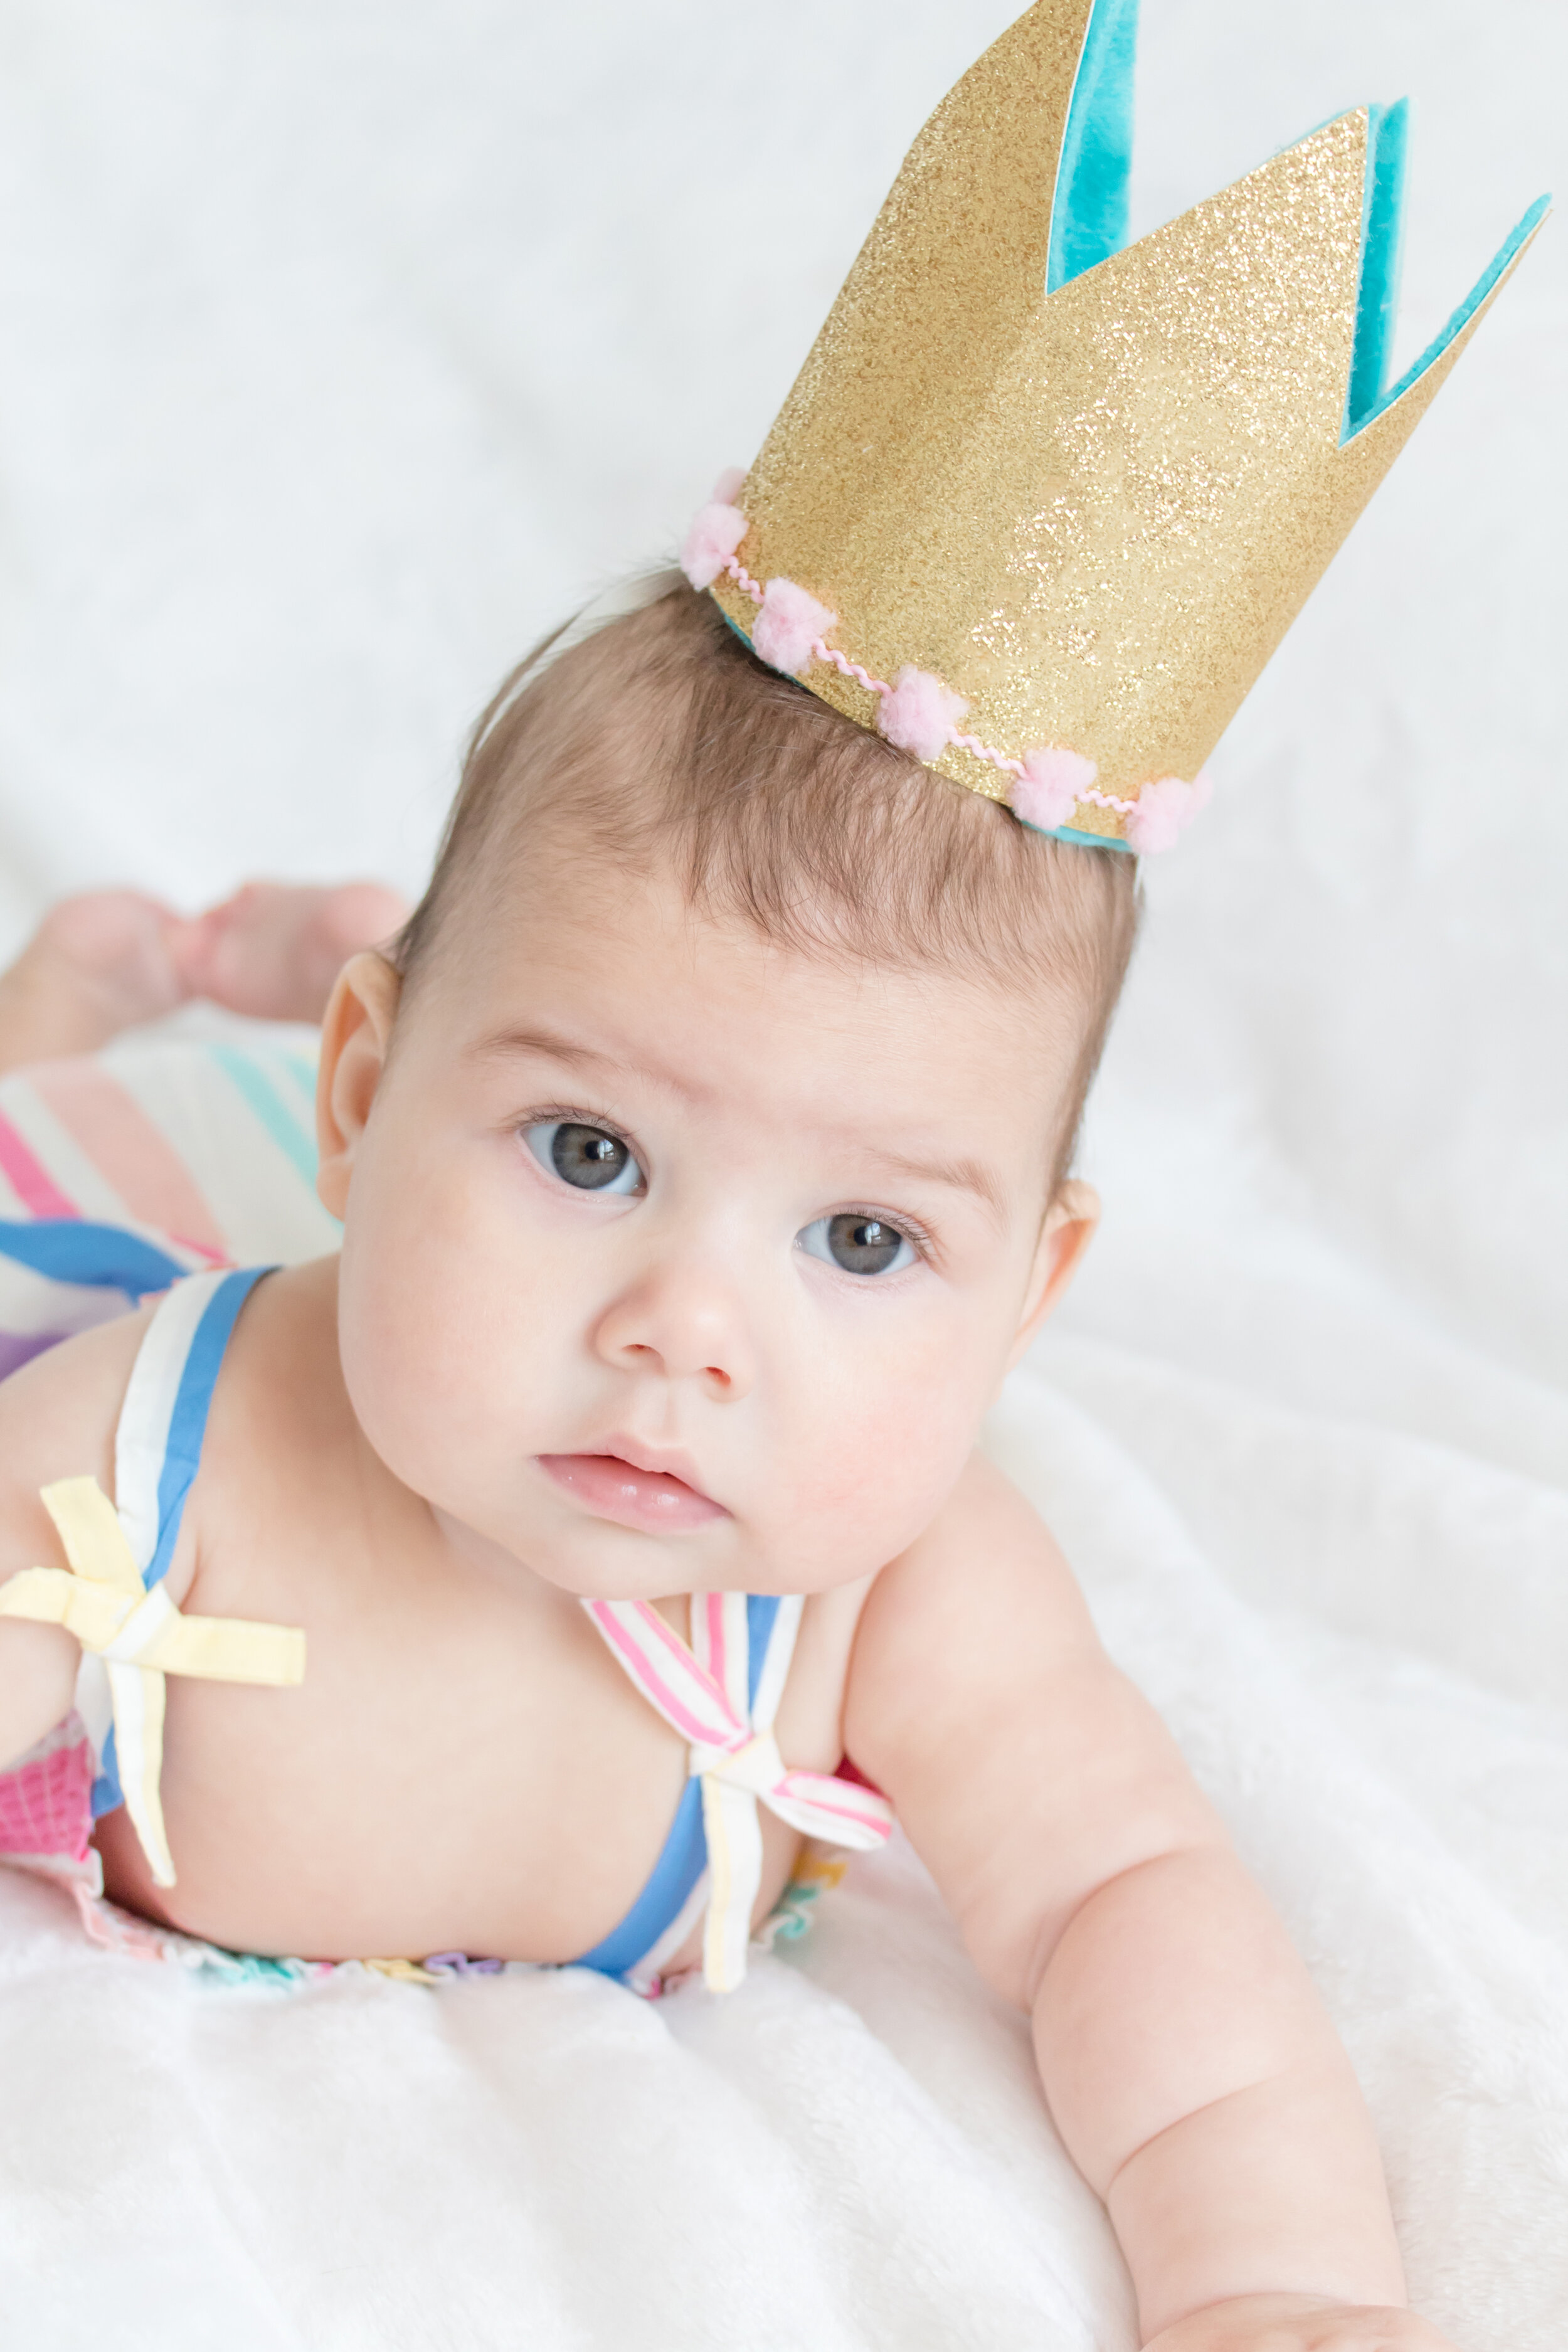
TA-DA! You're done mama! Now place that crown on your baby's head and snap some photos. They're gonna look SO CUTE!
When you make this project for your babe, you have to tag me so I can see! I love baby photos.
Total Cost:
Template FREE!
Glitter paper $2
Felt $1
Trim $3
Elastic $2
Total: $8
Such a bargain! I've seen similar crowns on Etsy for $20 plus shipping, so you'd save a lot by making your own! Plus, you can customize the colors and you don't need to wait for it to ship or even worse, have to spend extra for rush shipping prices! Because us mommas are always doing everything at the last minute, amiright?
