
DIY Zebra Party Tray
/Did you know that in high school, there was a period of time that I wanted to be an interior decorator? I imagined myself creating gorgeous, perfectly curated homes filled with amazing goodies. I was eventually talked out of it, but I still have a desire to create a unique and beautiful home for my fiancé and myself. Although it's been a learning curve, I'm starting to figure out my style and realizing what works and what doesn't. I love to fill my home with one-of-a-kind, whimsical purchases. The kind of stuff that makes people want to look around and wonder where the heck I found this amazing item. But, my absolute, very FAVORITE thing to put inside my home is anything I made myself. I love telling people I made things. There's no better feeling in the world.

The reason I love this zebra tray is because there really isn't anything else like it out there! I think it adds such a fun feel to any room. You can use it on your desk to hold your paperwork, on your coffee table to hold magazines, or in your kitchen to hold flowers and a notepad. It's also a great party tray for holding cocktails! The best part of all is that it's super easy (and cheap!) to make.
*This post contains affiliate links.


You will need:


1. Purchase a tray. You'll want to look for something with a wide handle on either side, so that you can adhere your plastic animal. Also, be sure to avoid any trays with holes for hanging or too much branding. If you want to save a step, purchase a tray that you don't need to spray paint. For me, purchasing a baking tray ended up being the cheapest route.

2. Spraypaint your tray using the color of your choice. I chose a glossy medium pink, but I think this tray would look AH-MAZING in yellow. I just didn't have any yellow spray paint on hand, and it was one of those rare 60 degree days in February, so I had to work with what I had. Be sure to prime it first and use a topcoat. If not, it'll be easy to scratch, and the paint won't adhere as well. Trust me... I speak from experience!

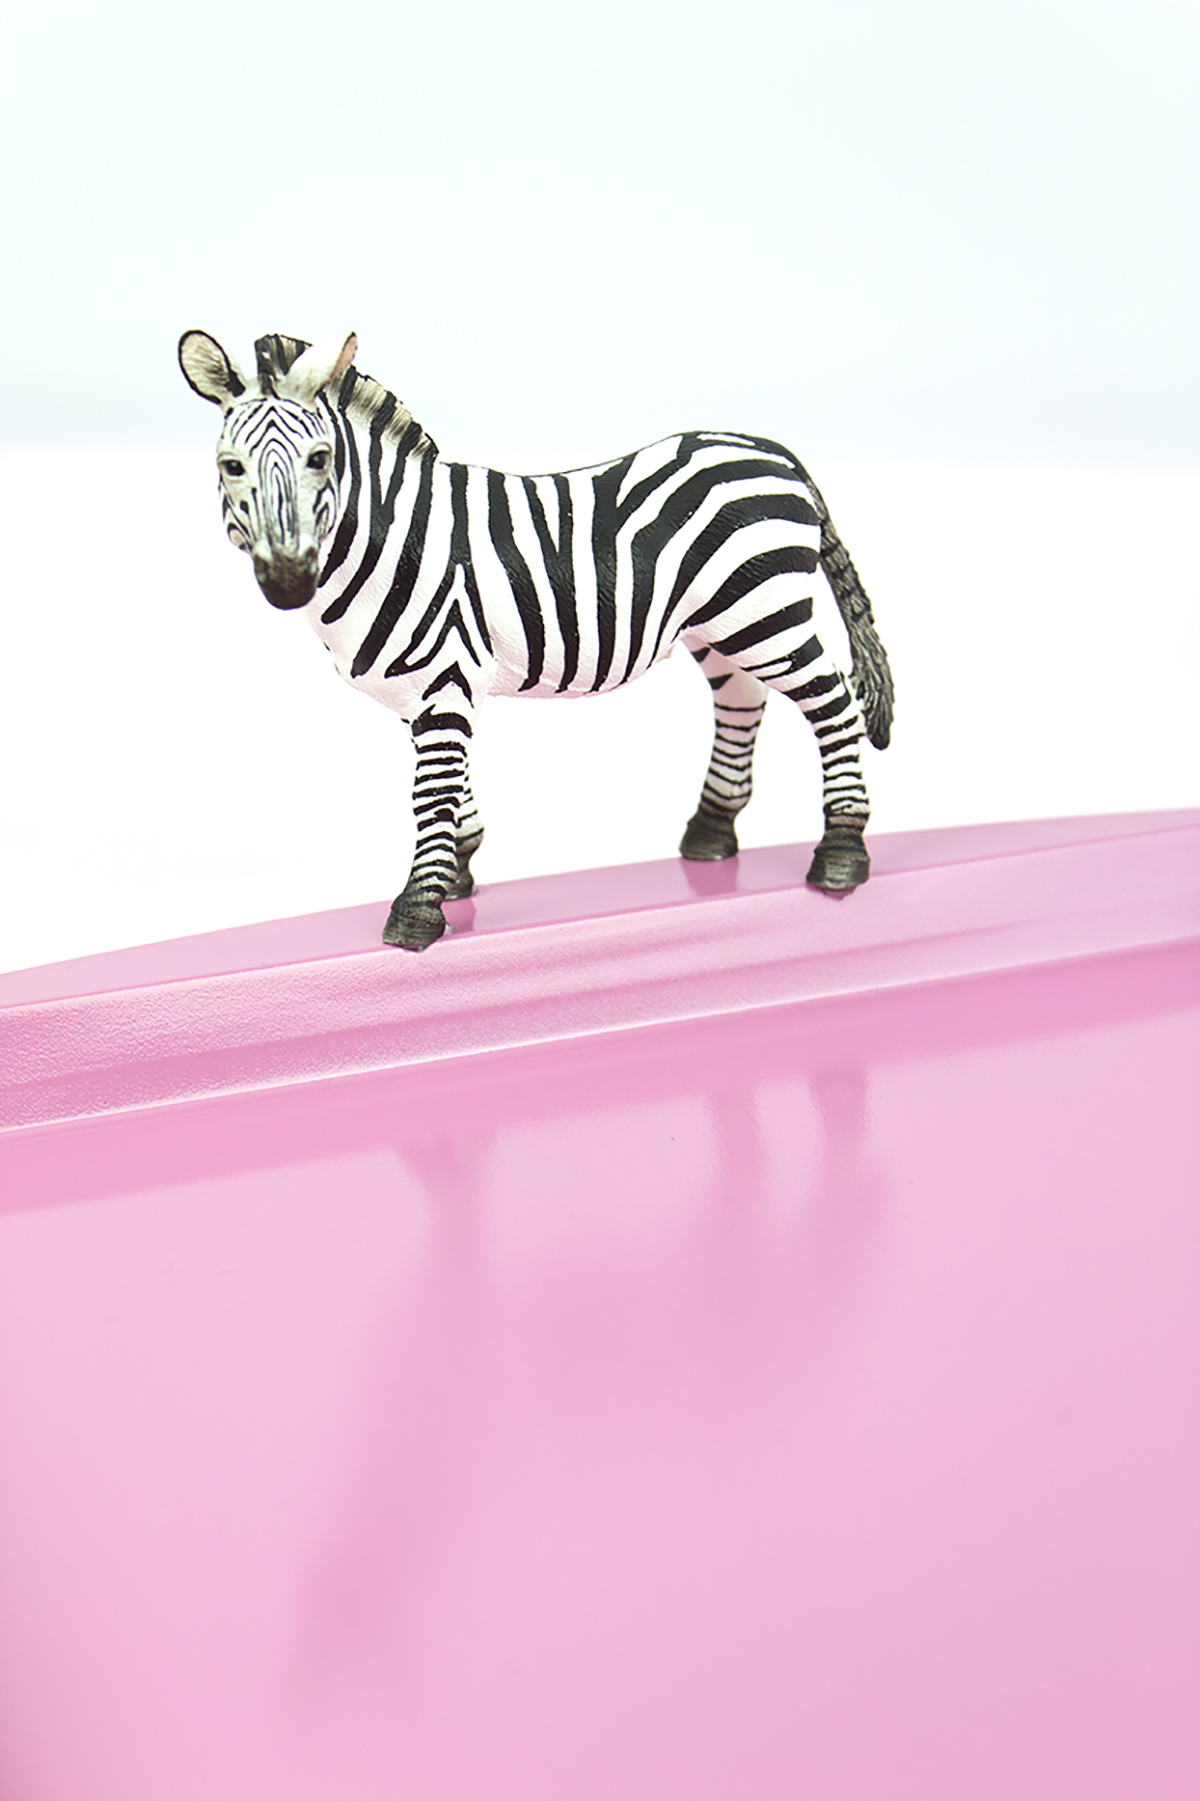
3. Using E6000 glue, put a drop of glue on each hoof/foot, and wait for it to cure for 2 mins. Then place it down on the widest part of your handle. Let dry 24-48 hours before handling.


This tray is the perfect size for holding paperwork on your desk! I have a love/hate relationship with paper, so I love that this cute tray keeps everything organized while making me smile.
Psst- Interested in the printable above? Just fill out this form to get our FREE Anatomy of a Pinterest Party guide!


And, when it's time to party, you can kick those papers out and grab your drinking glasses! Let's take a moment to say RIP to the adorable pink ombre cup. My fiancé's brother accidentally broke one yesterday :(

The teal glasses are from Pioneer Woman and are awesome! The cotton candy garland, party hats, and animal drink stirrers are all projects from the blog.


So what do you think of this zebra tray? You can create it with any animal. I also bought some schnauzers, and can't waittt to make another tray with them! Do you have any DIY projects in your home decor? Let me know about them in the comments below!


