DIY Brightest Crayon Costume
/Back in high school, my sister, my friend and me had matching screen names on AOL Instant Messenger. Remember AIM? RIP.... Anyway, we used to always get BFF necklaces and stuff, which always came with 3 colors- blue, pink and purple. We all had our colors that we usually wore, so we matched them on our screen names. Unfortunately, PURPLECRAYONS182 was too long, so I had to switch it up. I was going through a punk rock phase (insert laughing emoji here) so I went with black crayons. After that, we were known in our high school as The Crayons by pretty much everyone. If someone didn't know who we were they would say "she's one of the crayons" and then people would know. I realize this makes us sound popular or something, but I guarantee you, we were not. People actually hated us, for no good reason, but that's a story for another day....
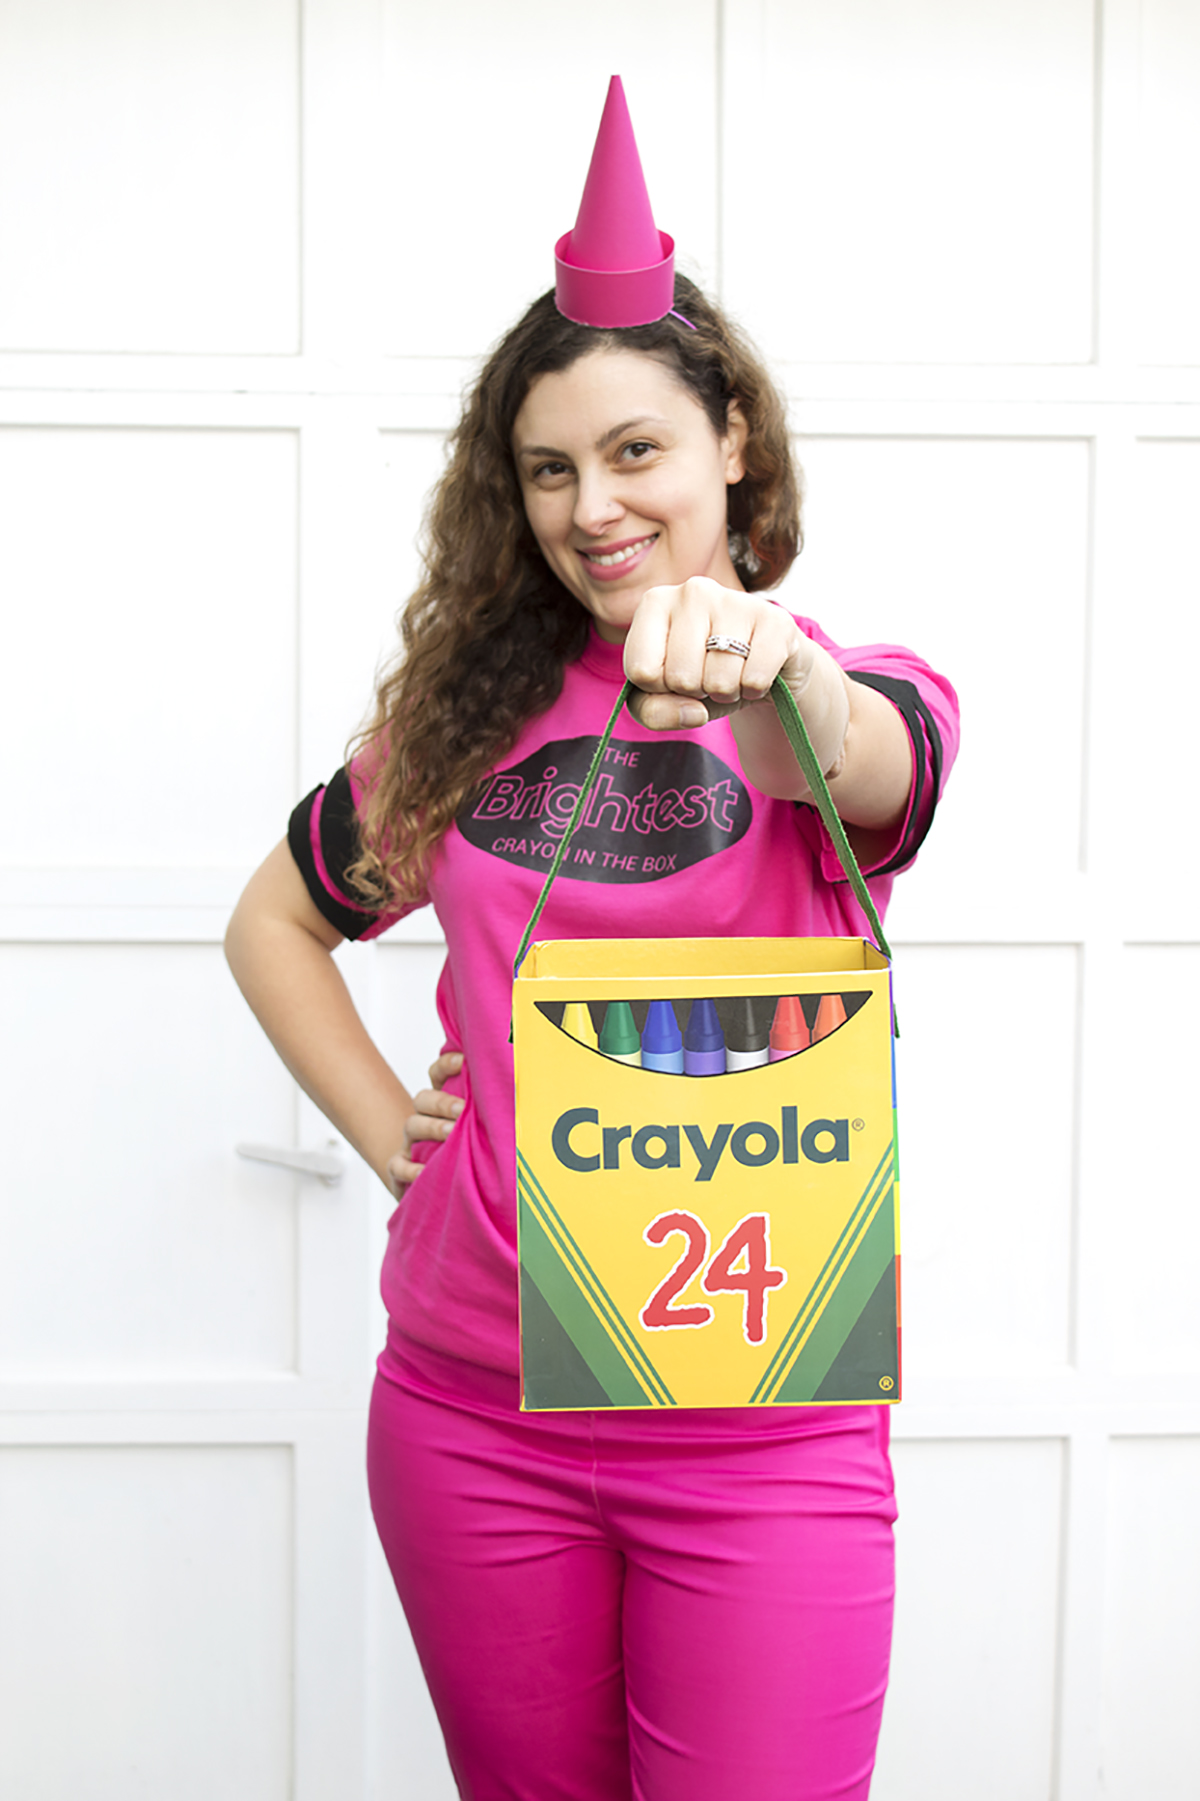
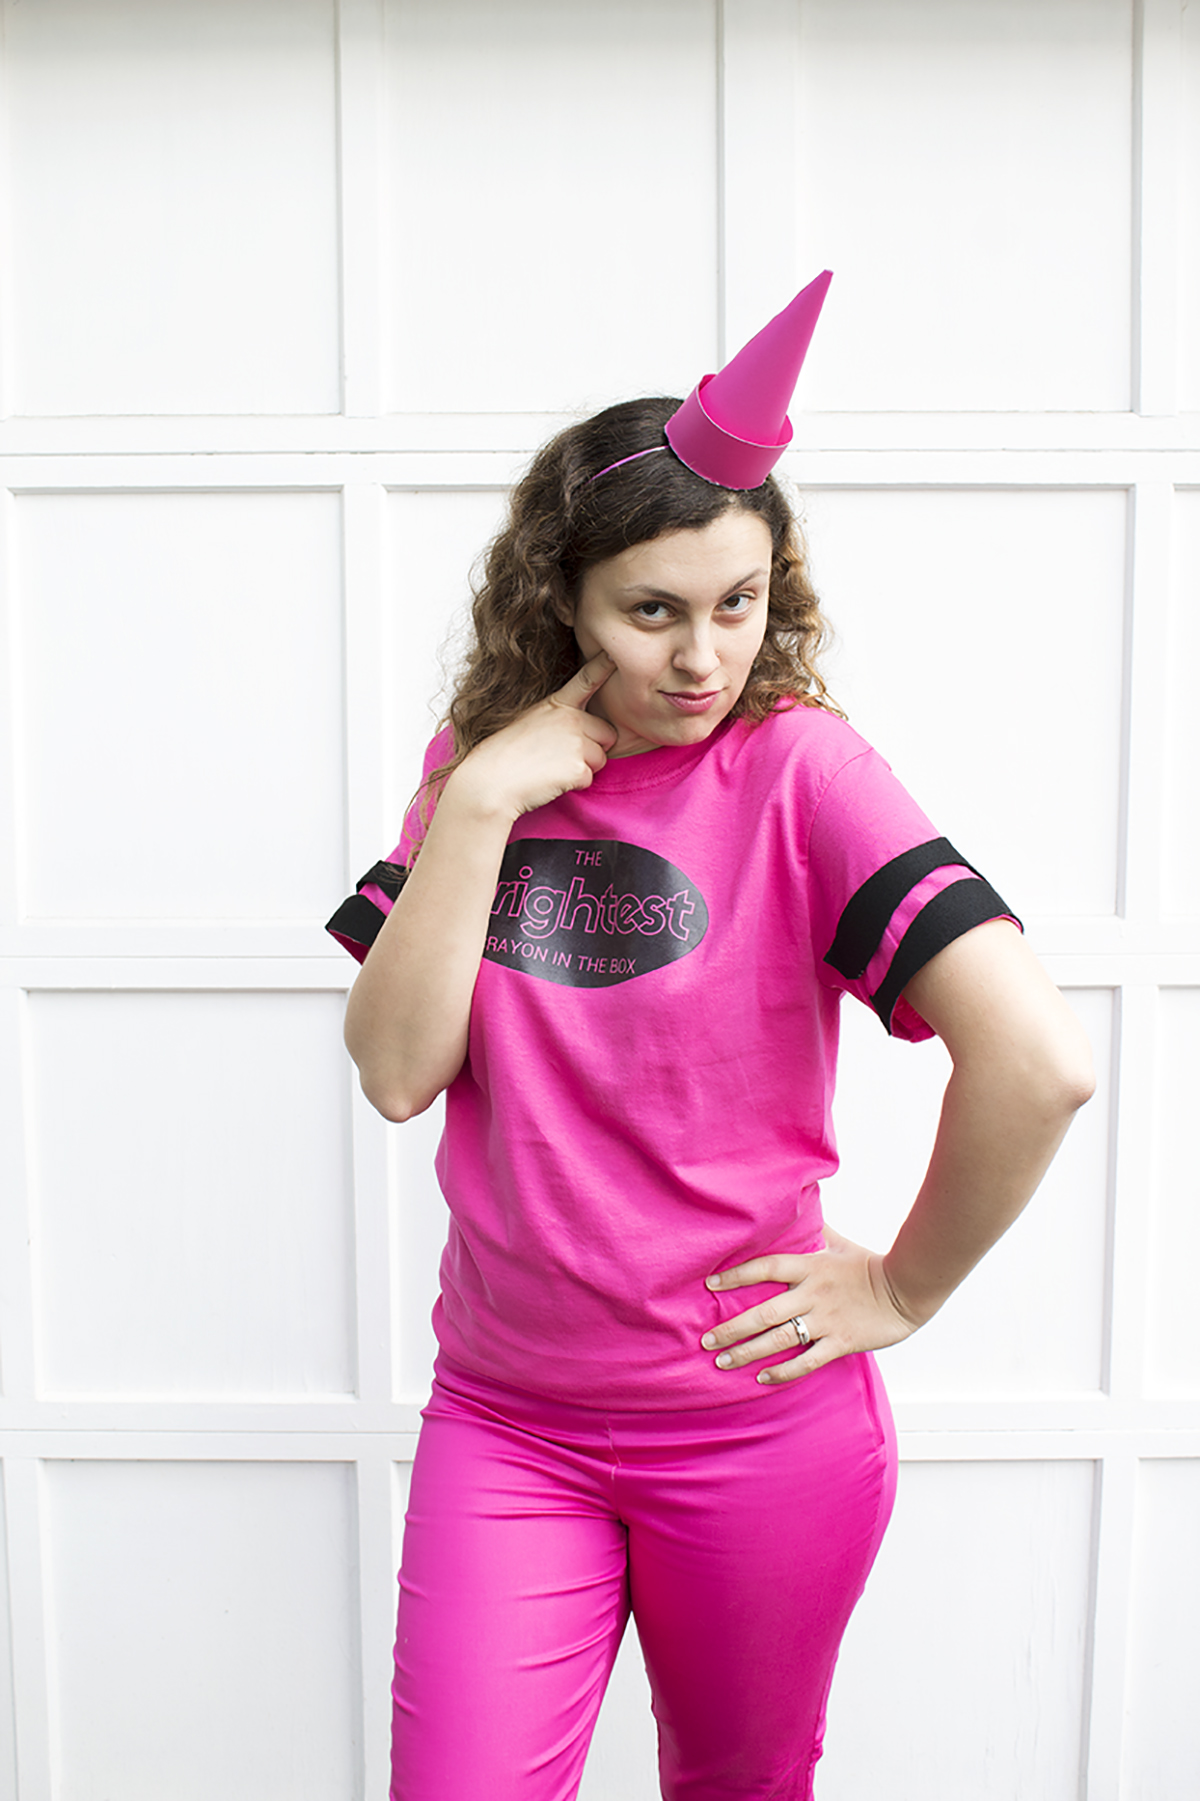
To commemorate my time as a crayon in high school, I knew I had to make a crayon costume for the blog. And, since I was a black crayon in high school, I knew I now had to change my look and be the BRIGHTEST crayon in the box. Because let's face it, I'm usually wearing the brightest colors of everyone I know, a la Kimmy Schmidt. This is sadly my last T-shirt costume of the year, but I'm so excited to show it to you! Plus, unlike most costumes, this is not "one size fits most". I've got the printable in a whole BUNCH of sizes, so you can make one for each member of the family!
You will need:
For the outfit:
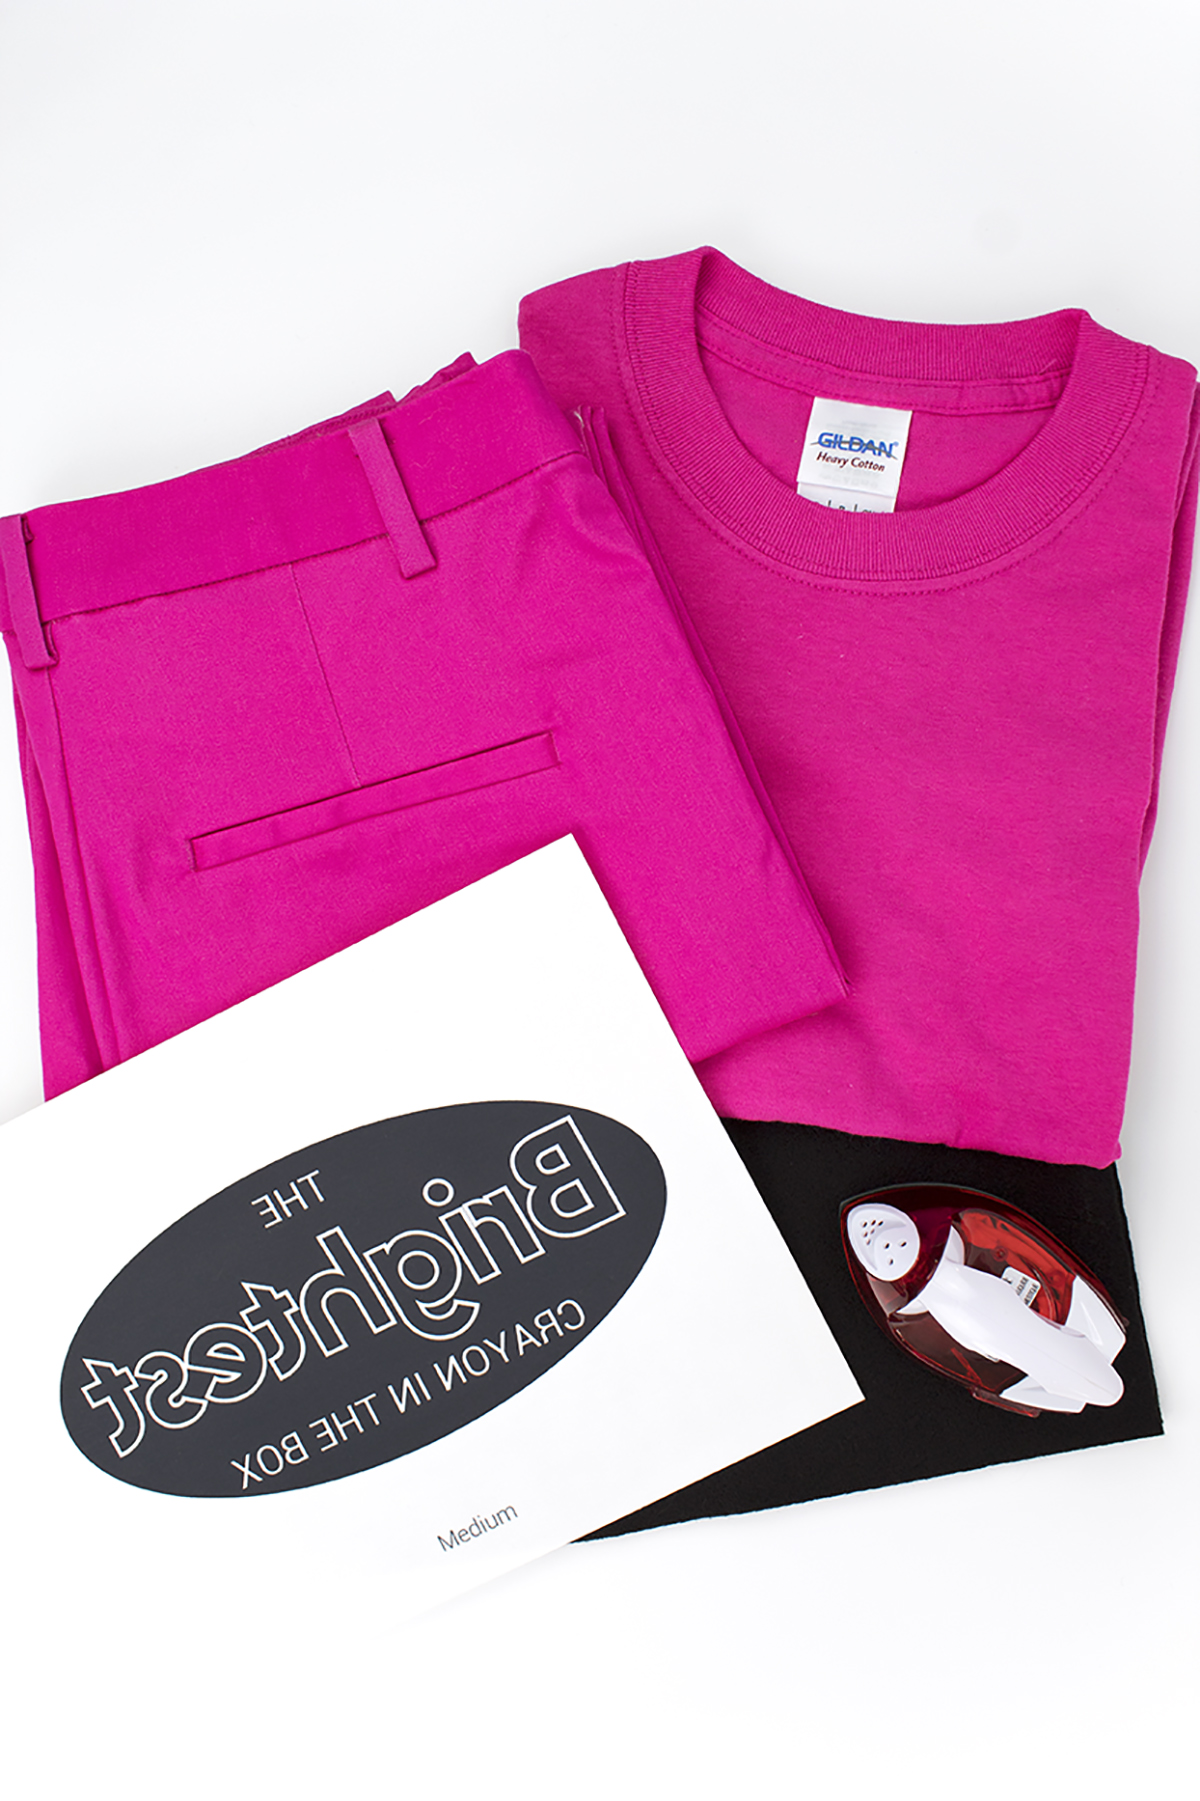
Cotton t-shirt (Gildan recommended)
Matching pants (mine are from H&M)
Iron-on transfer paper (here)
Black felt (1 sheet)
Chalk (here)
Printable (FREE! See below for more info)
Printer (I have this one and love it!)
Needle & thread
Iron
Glue gun
Scissors (here)
For the hat:
Matching cardstock (mine was double sided pink & light pink)
Glue gun
Pencil
Ruler
Scissors (here)
Large bowl (optional)
The printable is available in my resource library, which you can get totally FREE access to, just by signing up. What exactly do you get? Access to all my printables, including party planning guides, checklists, and my projects. By signing up, you'll have access to all projects- past, present and future!
For the Shirt & Pants:


It's recommended to prewash your fabric. Run a lint roller over the part where the logo will go. I learned from last time any stray hairs or lint will get permanently embedded under your iron-on transfer.
Print out your iron on transfer in the appropriate size (it comes in 5 sizes!) and cut it out as close to the edge as you can. This iron-on paper is intended for light fabrics, but I wanted one that was clear so that the shirt color would peek through on the font.
Plan out where on your shirt you want to place the logo. Following the instructions, iron it on and let fully cool before peeling.
Take your felt and fold in half the long way, then half again the long way. If your shirt is on the larger side or it's for a man, it might work better to fold it in thirds instead.
With chalk, draw a squiggle pattern & cut it out.
Using your glue gun, secure your felt onto your shirt. I advise putting the seam of the felt (where the 2 ends meet) along the seam of your shirt sleeve. If it's a little short, it'll be covered under your armpit.
For the pants, you can also glue it on but I stitched mine with a needle and thread. I used large, simple stitches so that I can remove the felt and wear the pants again :)
For the Hat
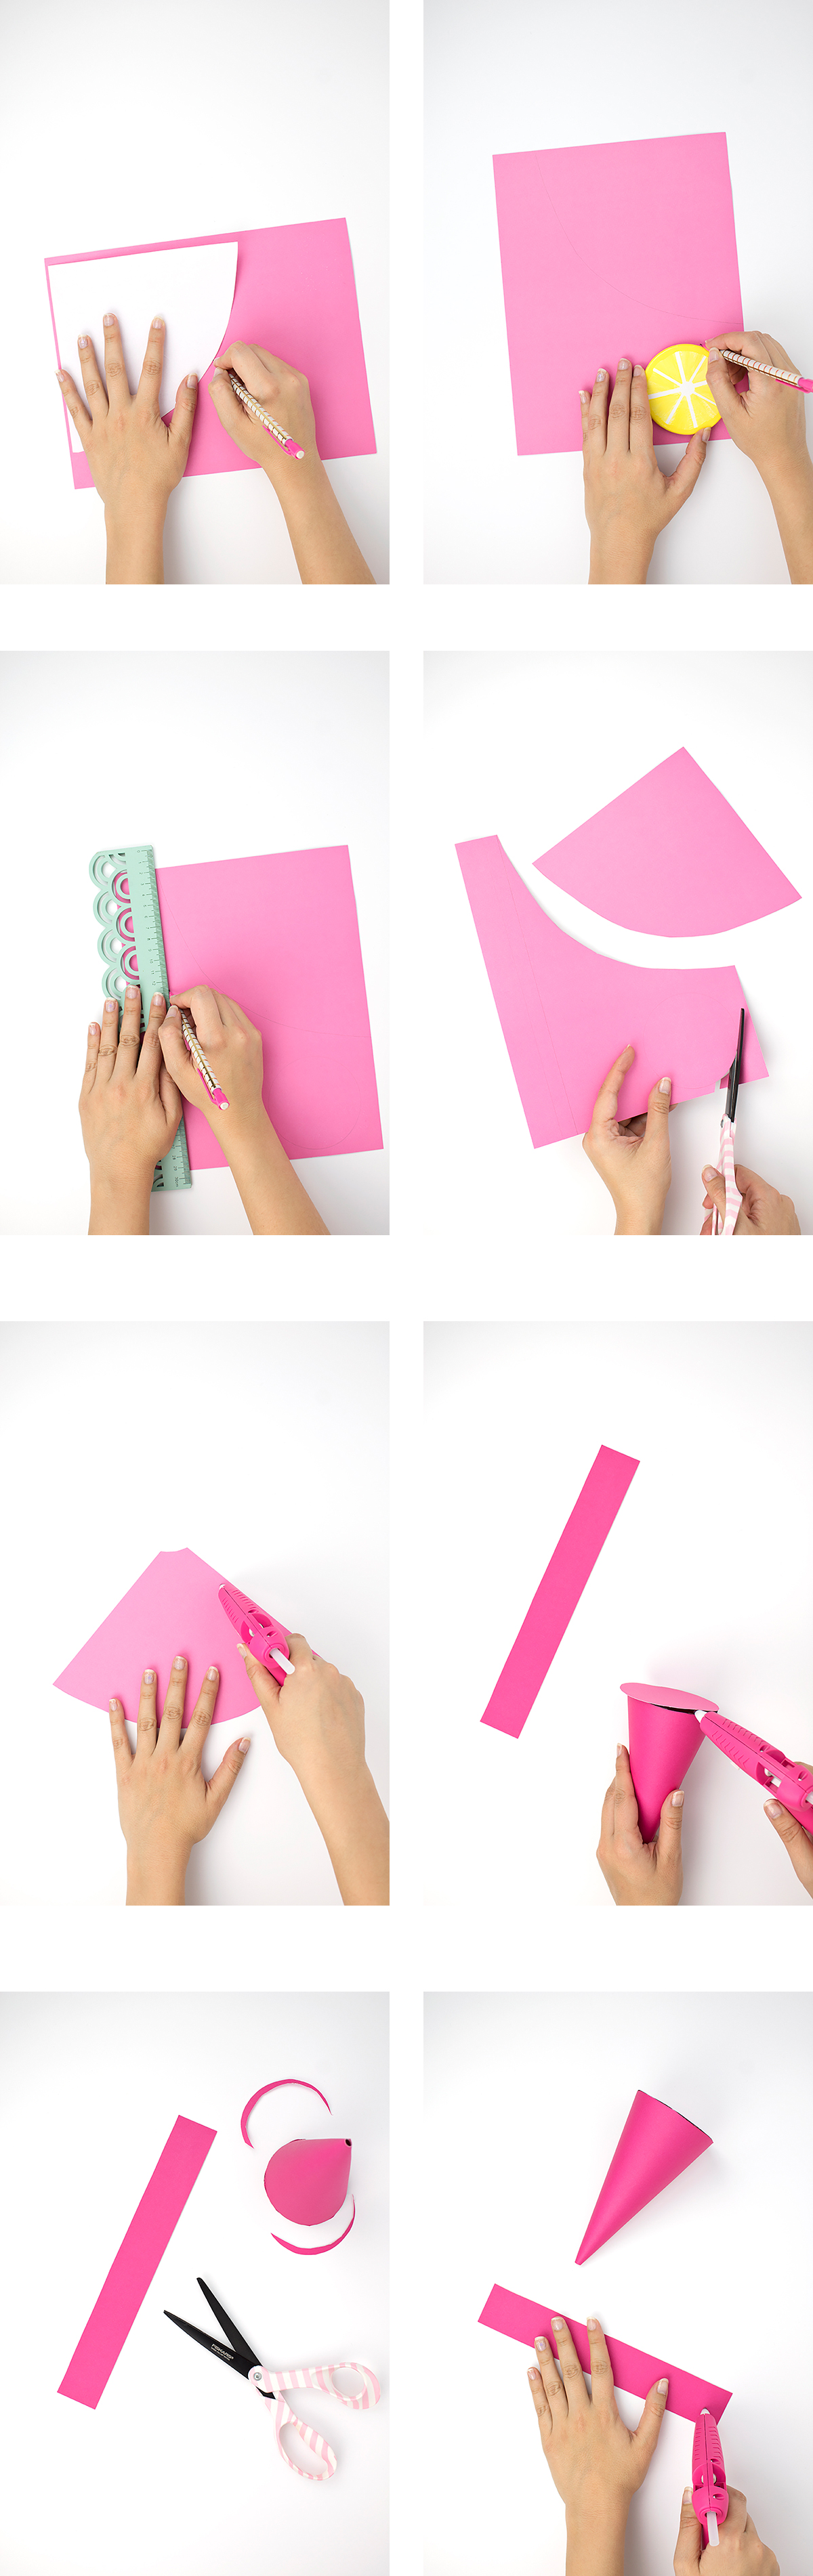
Create a template for your hat onto white paper. As a hack, you can use a large bowl or round object and trace it onto the white paper, but I found that drawing a sweeping line did the trick for me.
Trace your template onto the back side of your colored paper. Mine was double sided pink and light pink, which was helpful for the crayon base.
Trace a small round object to be the bottom of your hat. I used the top from my fruit container, which was a great size. You want an item that is slightly larger than your cone.
Draw a long rectangle, about 2-3 inches wide for your crayon hat base. I made mine as wide as the space that was left after drawing my cone.
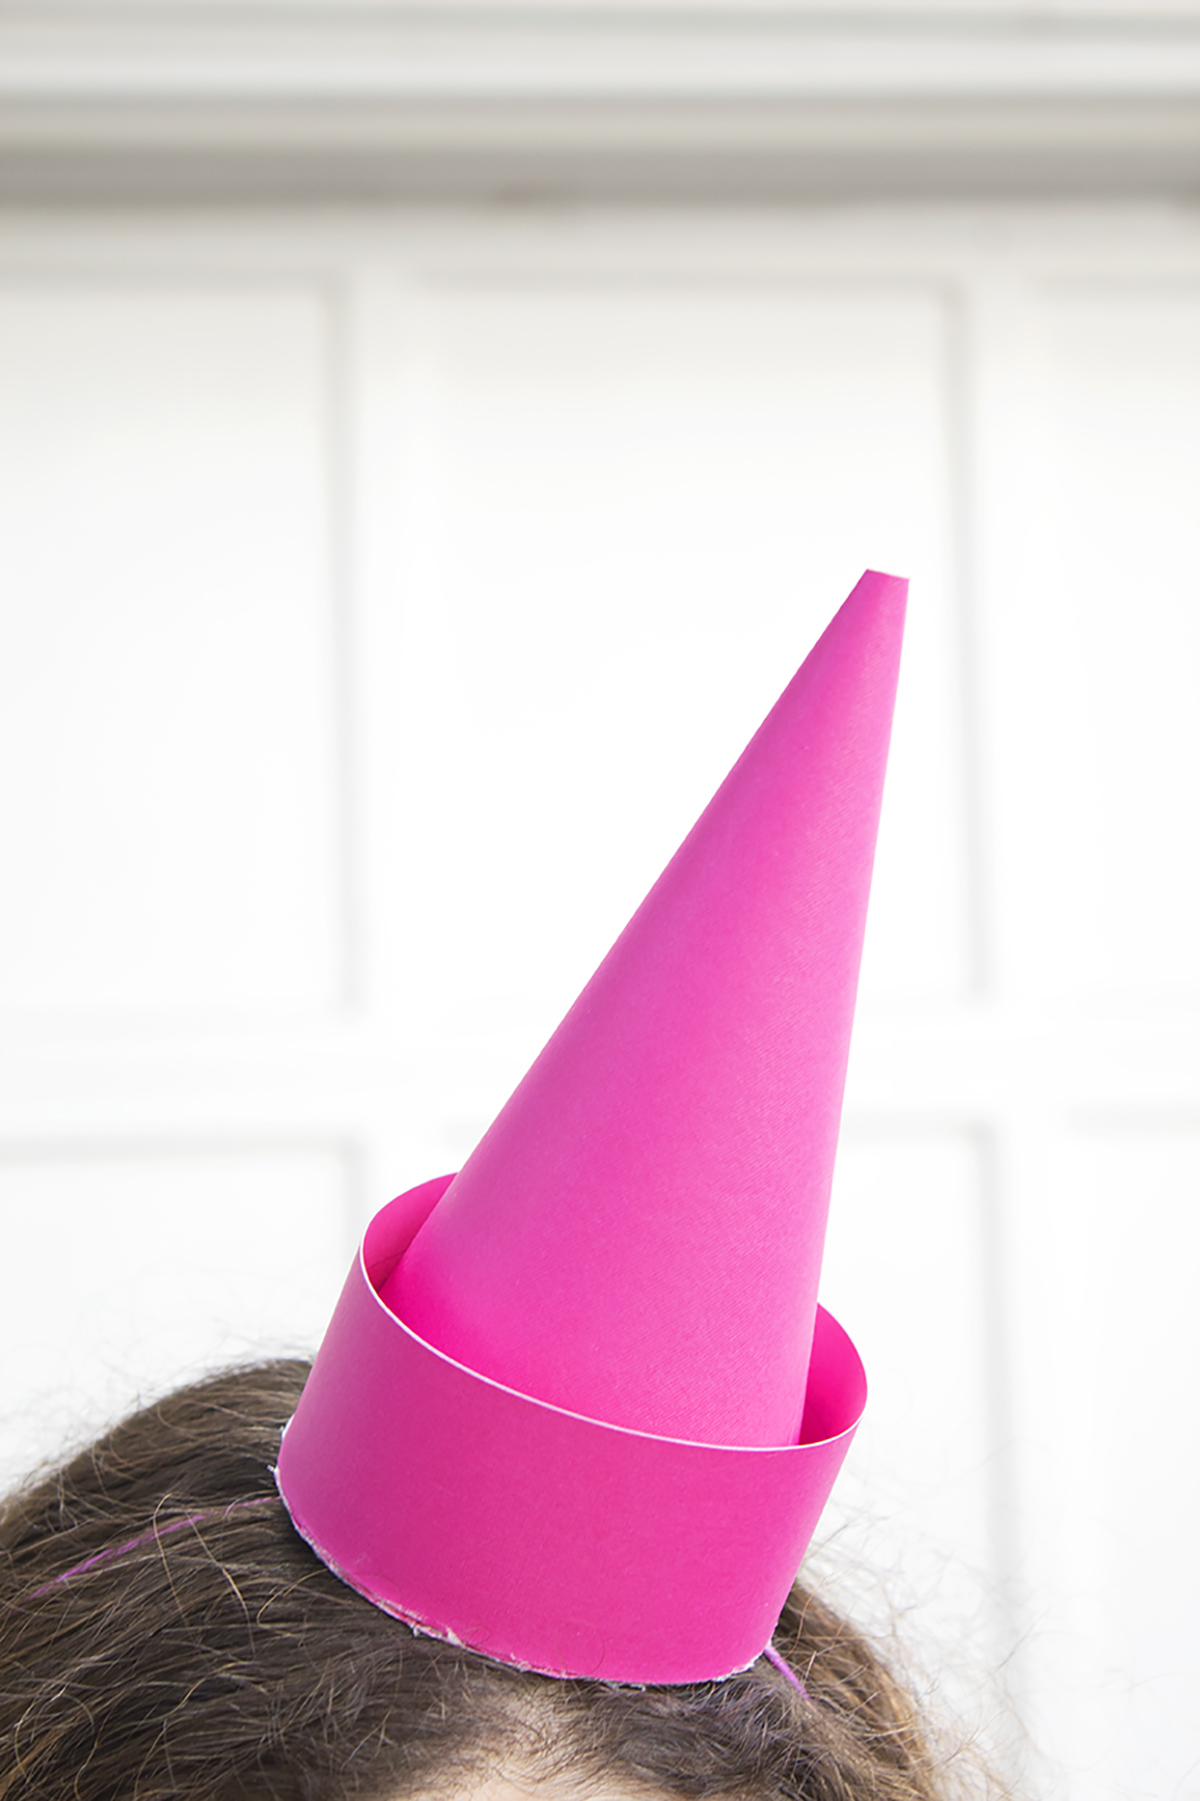
Cut out your parts, then cut the small tip off your flattened cone. You want it to have a flat pointed edge, like a crayon.
Roll your hat into a cone and glue it shut. Trim off any excess paper that prevents it from being flat at the bottom.
Glue the cone onto your base, and trim off the excess.
Glue your rectangle ends together to make a "bracelet", then slip it onto your hat. Glue in place.
Add a clip or headband to secure the hat onto your head. Be sure to add a piece of felt to hold it together, since the paper won't glue onto the headband well. (Check out the crown in this DIY for more info)


T-shirt: $4
Headband/Hair Clip: $1
Felt: $1
Caardstock Paper: $2
Iron-ons: $9
Total cost: $17
I'd say that's a pretty good cost for a Halloween costume! If you already have a pair of colored jeans, I recommend starting there so that you can save some moolah overall. I actually had these pants already, and the shirt was the exact perfect color to match! I borrowed the crayon box bucket from my neighbor, who was super sweet and let me take some pics in front of her nice white garage door. She got it at a Halloween store, but I bet you could even make a similar one with a picture from online! Overall I'm pretty darn happy with this crayon costume, and I hope you guys are too!