How to Rock Your DIY Party Projects

You know how it goes. You're planning a party and have spent hours scouring the internet for the best ideas. You've got a whole list of projects and you're determined to throw the very best party anyone has ever seen. Ever! But, by the time party day comes around, you are scrambling. What happened between that day you were planning and had "so much time!" and today? Probably all the DIY projects you didn't leave yourself enough time for! Although these DIY projects may seem easy, they can be very time consuming, especially when you're doing several of them. Here are some tips to ensure you have the DIY party of your dreams!

Planning a DIY party? Read my top tips to avoid last minute speedbumps, plus my favorite craft items- and how to save money on them! Click to learn more. #diyparty #partyplanning #diyprojects

Divide them up.

Pick 1-2 must-do projects, 2-3 like-to-do projects and 1-2 if-I-have-time projects. This way, you can do as many projects as you have time for without sacrificing the projects you want to do most. 

Have a crafting party.

If you want to make a lot of projects and have crafty friends, invite them over! Be sure you have all the supplies on hand, then get some snacks, a bottle of wine, and start crafting. You can make more projects in a fraction of the time. Plus, it's a fun bonding experience! 

Learn to delegate.

Ok, maybe you're not the best cake decorator. Instead of trying to do it yourself (and possibly failing), how about having a friend assist? Ask around and see if anyone can come take on some tasks. They'll probably enjoy it! Just be sure to give them a deadline and follow up to make sure it gets done. The last thing you need is to be left scrambling on party day!

Don't leave it until the last minute.

The best thing you can have when it comes to DIY projects is time. Leave a few weeks to work on your projects to ensure they come out nicely and get done in time. Believe me when I tell you that things can take longer than you think!

Maximize your time.

To get the most out of your time spent crafting, try to make as many of each project as you can per session. This way you won't end up taking supplies in and out or wasting paint, etc. You'll also get into the rhythm of it, and be able to make them much faster than if you start and stop, making 2 projects at a time.

Slow and steady wins the race.

On that same note, don't wait until you have a large block of time to start on projects. If all you have are short periods of downtime, use them! It's better to work on 1-2 items per day than trying to rush everything into one day, right? I always love to pop on my favorite movie or TV show, grab a TV table, and whip up some crafts projects while I watch TV.

Create an assembly line.

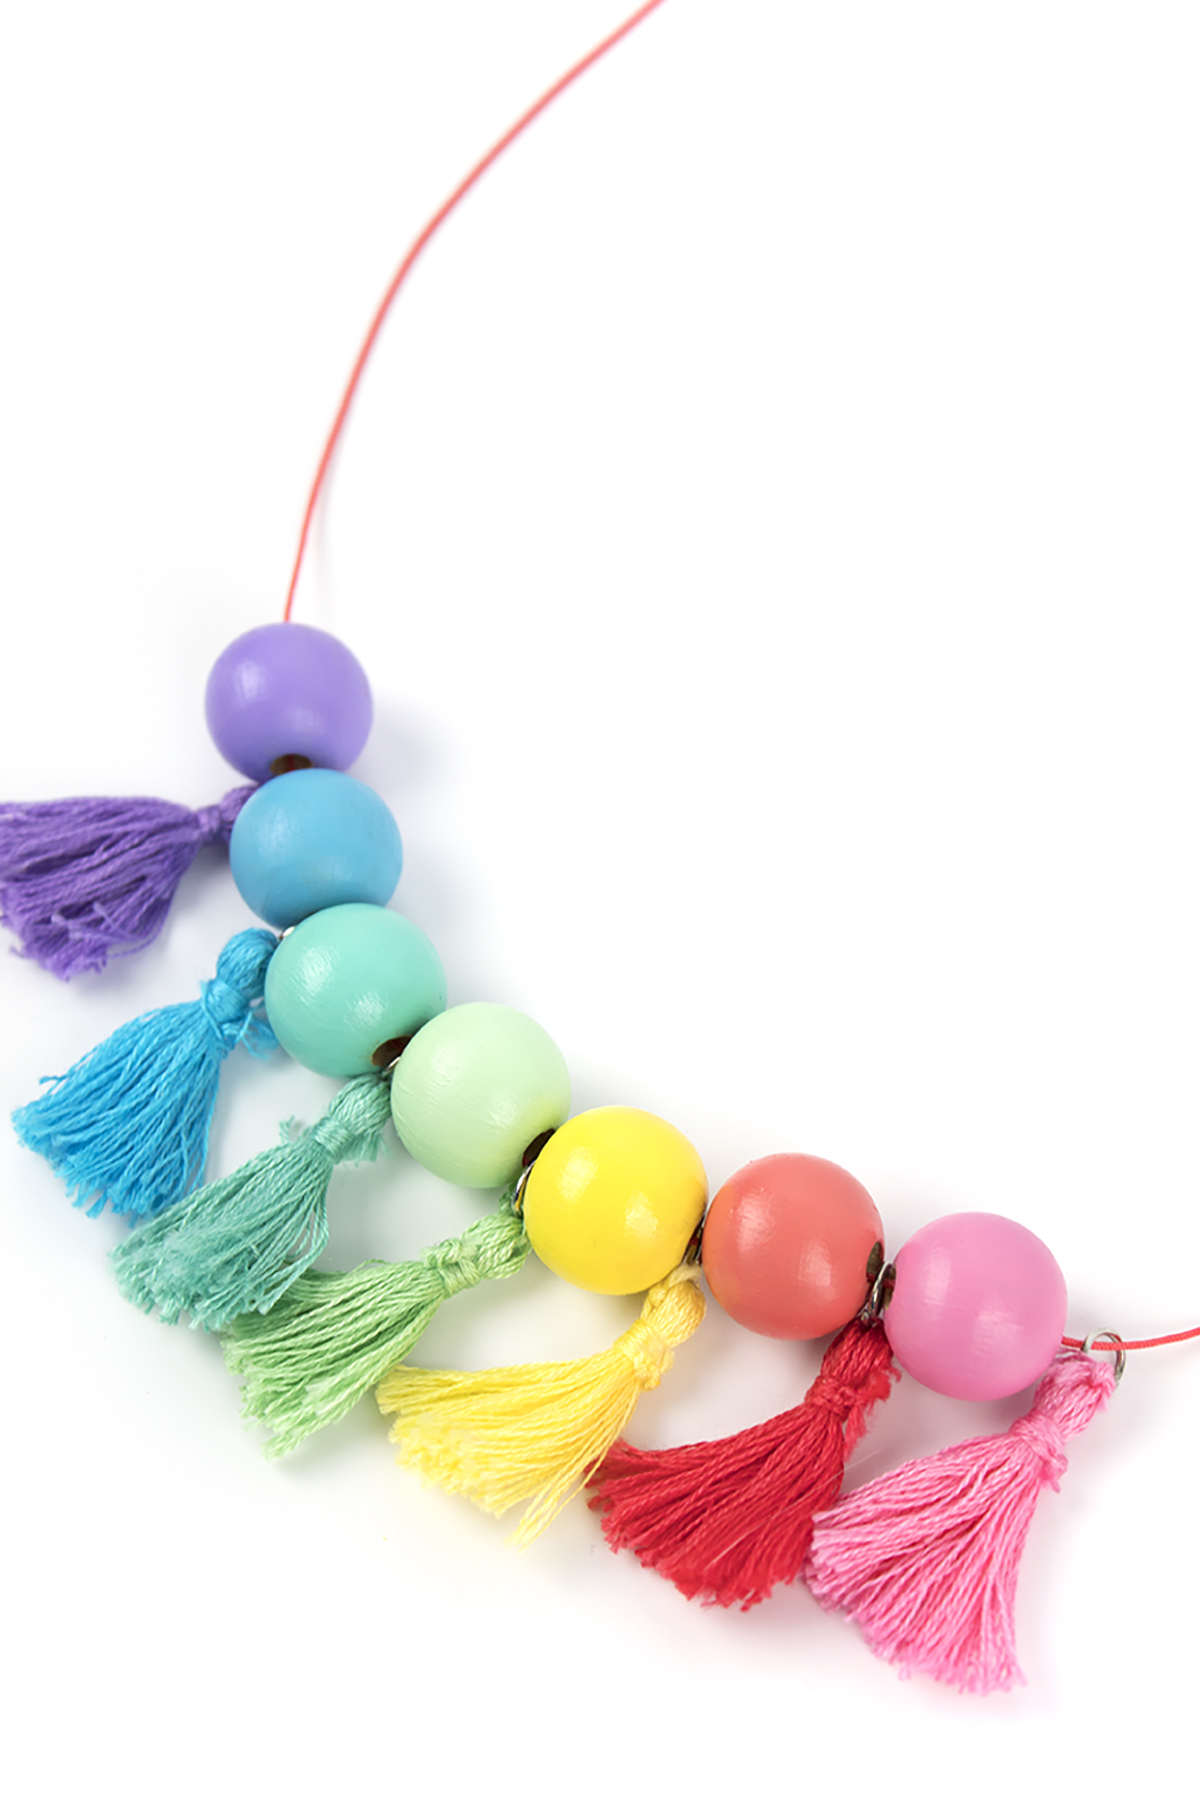
Sometimes it's easier to batch your projects- aka doing "like" projects at the same time. What does this mean? Painting all your beads at once, cutting out all your shapes in one sitting, or gluing everything together. This will help you to find the most efficient way to do each step through repetition. 

Don't be a perfectionist.

Yes, you want this project to come out perfectly. But does it have to? If you spend too much time perfecting each project, you'll be missing out on valuable time you could be spending on other projects! This is especially important when you have others helping. Allow yourself to delegate and don't spend time micromanaging everyone. It's supposed to be fun! 

Reduce shopping time.

Create a shopping checklist so that you can avoid multiple trips to the store. A quick way to derail your productivity is to stop midway because you forgot something you needed. Been there... done that!

Free printable craft-2.png

Have you ever attempted a DIY party project at the last minute, and then realized you were in WAY over your head? Let me know in the comments below!

How to Plan a Disney Themed Party

Whenever I thought about my wedding day, I imagined myself stepping out of a carriage in front of Cinderella's castle. I'd be wearing my big poofy wedding gown, and walk up to my prince charming, who waited for me in front of the castle. And then, just as he leaned in to kiss me, reality came and slapped me in the face. It costs TONS of money to get married in front of Cinderella's castle. And although it would be AH-MA-ZING, there's no way I have that kind of money for my dream Disney World wedding. So, what's a girl to do? Well, clearly, it's to regroup and plan an amazing Disney-themed engagement party.

Psst- If you want to see all the photos from the party, be sure to check out this post!

How to plan a Disney themed party, filled with craft projects, links, and decor ideas! Perfect for weddings, engagement parties, and birthdays. Click for the full post!

The Plan

To prep, I created a Pinterest board and pinned any Disney ideas I liked. I decided that since I wanted to do several different movies, I needed something to tie them all together. I decided to focus on one color scheme for all the elements and centerpieces. I picked mint and peach/coral since they are some of my favorite colors, and also because my mom had those on her wedding day, so they were important to me. I also added pink (my favorite!) and metallics to give the party a little sparkle.

The first thing I did was I sat down and listed out all the Disney movies I wanted to incorporate and noted the elements from each. At this point, you're just taking notes, so write down anything you wish. The more the better! I had things like Snow White- wishing well, jewels, birds, apples. Just a simple list of word association for each move.

The next step was to list out all the things I needed to collect to add these elements to the party. My list included things like vintage books (Beauty and the Beast), seashells (The Little Mermaid) and a globe (Up). Step 2 was to collect everything. I started by searching around my house, and then going to my parent's office. They had a globe and a few winter decorations that were perfect for Frozen. I also was able to utilize their huge collection of picture frames for the quotes! The more you can borrow for the party, the better. Any money saved on decor can be allocated to something else ;)

Once I collected all my freebies, I went shopping!

How to plan a Disney themed party, filled with craft projects, links, and decor ideas! Perfect for weddings, engagement parties, and birthdays. Click for the full post!

1. Magic Lamp 2. Clock 3. Cloche 4. Ariel’s Candelabra 5. Frog Prince 6. Glass Slipper 7. Moss 8. Pumpkin Jar 9. Coral 10. Rapunzel’s Lantern 11. Mrs. Potts 12. Flamingo Lawn Ornament 13. Enchanted Rose 14. Cinderella’s Carriage 15. Lumiere

Thrift Store

A lot of my stuff came from the thrift store. I was able to repurpose some items, like turning a mail holder into a wishing well. I spray painted a flounder kids' cup into a gold statue for the Little Mermaid table. And, all a tarnished teapot needed was a little elbow grease to become a wonderful Mrs. Potts.

Christmas Tree Shops

If you're looking for affordable decor that seems high end, look no further than Christmas Tree Shops! I purchased all my votive holders, the seashells, and the Beauty and the Beast cloche from there.

How to plan a Disney themed party, filled with craft projects, links, and decor ideas! Perfect for weddings, engagement parties, and birthdays. Click for the full post!

1. Gold Frames 2. Be Our Guest Napkins 3. Love Stirrers 4. Beverage Cups 5. Coral and Mint Dinner Plates 6. Folding Cocktail Table 7. Tablecloth Clips 8. Striped Lanterns 9. Sequin Table Runner 10. White Tent 11. Bottle Opener 12. Shell Garland 13. Pink and Aqua Best Day Ever Tags 14. Beverage Dispenser 15. Gold Dinner and Coral Dessert Plates

Oriental Trading and Party City

Almost all the tableware, decor, and barware came from Oriental Trading and Party City. Oriental trading had these great seashell garlands, and paper lanterns in any color you can imagine. Party City had these Be Our Guest napkins (perfect!), colored cups, and engagement napkins. If you mix and match all the items, you can create a unique mix that can incorporate all the elements of the party.

Amazon

Oh, Amazing Amazon. How did we ever survive without thee?! I was able to find all the obscure things I needed on Amazon- a Cinderella carriage, glass slippers, a tiny magic lamp, and a cute frog prince. I also found some of the barware, like these cute bottle openers and these cute drink stirrers. I added these sequin table runners in all sorts of colors to each table for a little extra sparkle. My favorite thing was probably these pumpkin candle holders that I spray painted gold. I'm using them in my fall decor right now, and they are just soo cute! Ditto for these cheap little pumpkins that I spray painted gold and silver. 

Dollar Store

The dollar store was great for random little items. Things like these horses that I spray painted, these cheap silver trays that looked fancy, and even a magic mirror! I also got my books for the Beauty and the Beast table from the Dollar Store. It was a pretty funny sight- me removing all the book jackets to check out the covers and make sure they were the right colors for the party. In the end, I settled on A World of Pasta, which obviously Belle reads.

Michaels

I don't think any party could be complete without a trip to Michaels. it was here that I picked up some moss for the sign-in area, the rose for my Beauty and the Beast cloche, and a stand for my signature cocktails sign. I also picked up the supplies for the Tangled Lanterns I made using the Cricut.

Misc Crafts

How to plan a Disney themed party, filled with craft projects, links, and decor ideas! Perfect for weddings, engagement parties, and birthdays. Click for the full post!

After I did the purchasing, I also had a few of my own crafts projects. First, I made these DIY balloon pins. I wanted something to distinguish the members of our immediate family, and I wanted it to have an Up vibe to it, like a cross between the balloons and the infamous grape soda pin.

The Wishing Well was made from some sort of hanging letter holder the thrift store. I had my fiance create posts and a roof out of scrap wood and paint stirrers to create a wishing well, and I painted it all white to match. A few vines and flowers from my craft hoard completed the look. 

I had my fiance make these adorable croquet mallets from Damask Love. They were the perfect Disney-themed activity and created an awesome photo op! They were one of my favorite elements of the party. My fiancé thought I was crazy when I told him to make them, but everyone loved them.

For an easy project, create a game of ring toss (aka "engagement ring" toss). All you need are some empty wine bottles. If you don't have any, this is the perfect excuse to drink lots of wine and de-stress from party planning. Soak the bottles to remove the labels, and let them dry fully. Spray paint them in fun colors, arrange them in a box, and toss on some colorful rings

How to plan a Disney themed party, filled with craft projects, links, and decor ideas! Perfect for weddings, engagement parties, and birthdays. Click for the full post!

If you want to learn more about planning a Pinterest worthy party, be sure to sign up to get your FREE Anatomy of a Pinterest Worthy Party guide! It's full of helpful hints on how to pick a theme, the little details that will make your event unique, and tips to take great photos of your event. And, there's even a checklist so you don't forget anything! So what are you waiting for? Get yours now!

If you want to see all the photos from the party, be sure to check out this post!

Are you going to try and plan your own Disney-themed party? What's something you MUST have? Let me know in the comments below!

Disney Themed Backyard Engagement Party

Ok guys. Let's take it WAY back to last June and talk about my amazing engagement party. I honestly can't believe I haven't posted it sooner, but I really wanted to get this post just right. It was GORGEOUS, but also a lot of work. Just showing pretty pictures isn't my thing, so I really wanted to talk about how to use my engagement party as inspiration for your own. I want to talk about how I got it done, where stuff came from, and how to replicate the look for yourselves. This post will showcase the photos, and the next post will be chock full of tips, links, and DIY projects!

It was truly a magical day, with perfect weather. Since it was an outdoor party, and we had about 50 people coming, we were REALLY counting on a warm and sunny day. Luckily, we got that! We used a combination of our own tables/chairs, borrowed ones, and "rented" ones that a family member borrowed from his job. We also had a few small tents set up to block out the sun. We hired a photographer friend to capture the event, Ken Camara. He did an AMAZING job with our photos. I highly recommend having a photographer at your event if you can swing it. If you find an up-and-coming photographer or photo student, you can have gorgeous and affordable photos that you'll always cherish. It's worth the investment!

If you're thinking of throwing a Disney themed wedding or engagement party, look no further! There are tons of ideas, as well as tips to make your party unique and cohesive. Click to see the full post, with lots of other photos!

Fun fact about me- I LOVE DISNEY. No really... I'm pretty obsessed. I watch the movies over and over, I'm listening to a Disney Spotify playlist as I type this, and I'm probably going to Disney World for my honeymoon... Truly a Disney-loving girl over here. Anyway, I love so many of the movies that I don't think I could ever pick just one to focus on for the party, so I decided to have as many Disney-inspired elements as I could. To keep the party cohesive, I decided to have designated zones for each movie. This prevented a yard sale effect and helped people recognize all the elements, especially since some were obscure. I also had my sister make graphics with romantic quotes from Disney movies for each table. The day before the party, I went to the supermarket and purchased a bunch of flowers and created my own arrangements on the day of the party.  This helped me save a lot of money!

Welcome Table

For my welcome table, I used a Snow White and Fairy Tale theme. The Wishing Well was made from some sort of hanging letter holder I found at the thrift store. Using scrap wood and paint stirrers, I had my fiance create posts and a roof, and I painted it all white to match. A few vines and flowers from my craft hoard completed the look. Next to the Wishing Well, I placed some Best Day Ever tags (a Rapunzel reference!) so that people could give us some advice for our wedding, marriage, or life in general. I added some inexpensive accessories to enhance the look, like a spray painted dollar store toy horse, a dollar store mirror, and some moss from Michaels. 

If you're thinking of throwing a Disney themed wedding or engagement party, look no further! There are tons of ideas, as well as tips to make your party unique and cohesive. Click to see the full post, with lots of other photos!

I made these cute Up-themed pins for our parents and siblings. Since not everyone had met, it was a nice way to distinguish our immediate families so that everyone could meet them. If there's any interest in how to craft these, I can definitely make a blog post about it!

If you're thinking of throwing a Disney themed wedding or engagement party, look no further! There are tons of ideas, as well as tips to make your party unique and cohesive. Click to see the full post, with lots of other photos!

Up

Since I figured some people would want to stand, I purchased a folding bar-height table for our deck. I wanted to keep the decor on this table simple since it's pretty small, so I put a globe and a helmet with goggles for UP. I also created a really cute picture frame that was house shaped with balloons for this table, but sadly forgot to put it out! It's hard to remember every little thing when it comes to a party this big, but you've just gotta accept that things get forgotten sometimes.

If you're thinking of throwing a Disney themed wedding or engagement party, look no further! There are tons of ideas, as well as tips to make your party unique and cohesive. Click to see the full post, with lots of other photos!

Peter Pan

When I went thrift store shopping, I added "gold pirate ship" to my list, fairly certain that I wouldn't be able to find anything. Lo and behold, I found this amazing gold ship at the first store I went to! I hung it up on my front door using clear fishing line, and it was such a statement piece. I loved it so much that I left it out for nearly the whole summer!

If you're thinking of throwing a Disney themed wedding or engagement party, look no further! There are tons of ideas, as well as tips to make your party unique and cohesive. Click to see the full post, with lots of other photos!

Tangled

For Rapunzel's table, I decided to go with lots of lanterns and flowers. The gold sequin runner was symbolic of her long golden hair, and the tallest lantern was symbolic of her tower, complete with the "magic golden flower" on top! The small paper lanterns were a pattern from Designs by Miss Mandee. As soon as I saw these lanterns, I knew I had to make them for my party! I went out and purchased a Cricut specifically for this, even though I had put off buying one for years. The smaller lanterns are inexpensive ones from Ikea, filled with dollar store flowers.

If you're thinking of throwing a Disney themed wedding or engagement party, look no further! There are tons of ideas, as well as tips to make your party unique and cohesive. Click to see the full post, with lots of other photos!

Cinderella

Since I ended up ordering a lot of Cinderella items, I was able to use it both indoors and out. Most of the pumpkins were borrowed from my Fall decor, since it was really hard to find pumpkin items in the summer. I took about half my cheap pumpkins and spray painted them gold and silver so they would match better. The horse was from the dollar store and was spray painted silver. Nice and cheap!

If you're thinking of throwing a Disney themed wedding or engagement party, look no further! There are tons of ideas, as well as tips to make your party unique and cohesive. Click to see the full post, with lots of other photos!

The Little Mermaid

This was one of my favorite tables. I added lots of seashells and nautical elements to this table, along with a gold sequin table runner to be the "sand" at the bottom of the ocean. I found this funny Flounder cup at the thrift store (score!) and spray painted him rose gold to match, since his usual yellow and blue color was a bit much for the decor. I added a candelabra since it's one of Ariel's items from her collection, which gave the table some nice height.

If you're thinking of throwing a Disney themed wedding or engagement party, look no further! There are tons of ideas, as well as tips to make your party unique and cohesive. Click to see the full post, with lots of other photos!

I added a half fan garland, which looked like seashells to me! It was way smaller than I thought and the fence kinda make it look even smaller, but whatevs. You win some, you lose some.

If you're thinking of throwing a Disney themed wedding or engagement party, look no further! There are tons of ideas, as well as tips to make your party unique and cohesive. Click to see the full post, with lots of other photos!

Cinderella

Here's the outdoor Cinderella table! This one had a similar feel as the one inside, except it had a few more pumpkins and these awesome pumpkin candle holders I spray painted gold. They're one of my favorite decor items for Thanksgiving now! It's amazing what a can of spraypaint can do.

If you're thinking of throwing a Disney themed wedding or engagement party, look no further! There are tons of ideas, as well as tips to make your party unique and cohesive. Click to see the full post, with lots of other photos!

Frozen

Since this table had an umbrella on it, there was less room for centerpieces. I kept it simple by adding a bouquet of flowers, some wintry candle holders and lots of sparkle. The frozen table was probably the hardest, because how do you prevent it from looking like a winter table?! For this reason, I only used sparkly snowflake items. It reminded me of the scene where they first meet Olaf in Elsa's wintry wonderland. The gold sequin runner (instead of silver) also prevented it from looking too much like winter, and kept the whole thing glam.

If you're thinking of throwing a Disney themed wedding or engagement party, look no further! There are tons of ideas, as well as tips to make your party unique and cohesive. Click to see the full post, with lots of other photos!

Beauty and the Beast

This was my other favorite table. Since this table had larger elements than the others, I kept the rest of the decorations minimal. I had an enchanted rose on a stack of books, a candleholder for Lumiere, and a thrifted teapot for Mrs. Potts. Then, all I did was add some fake roses and voila! You can be our guest.

If you're thinking of throwing a Disney themed wedding or engagement party, look no further! There are tons of ideas, as well as tips to make your party unique and cohesive. Click to see the full post, with lots of other photos!

The rose was a fake one from Michael's that actually looked incredibly real. Funny story about the books- I bought them from the Dollar Store! They have tons of books at the Dollar Tree, but most have a book jacket on them. However, when you peel it off, the hardcover book underneath might be a cool color. So I went around peeling off all the jackets to find the prettiest books, and putting back the ones that weren't. 

If you're thinking of throwing a Disney themed wedding or engagement party, look no further! There are tons of ideas, as well as tips to make your party unique and cohesive. Click to see the full post, with lots of other photos!

Bar Cart

The bar cart didn't have a specific theme, so it was mostly fairytale and engagement/love themed. Since our special sangria ran out before I could find the chalk, our talented photographer, Ken Camara, created this really cute sign using our hashtag. The Pop Fizz Clink sign added some sparkle, and it came from my New Year's Eve decor.

If you're thinking of throwing a Disney themed wedding or engagement party, look no further! There are tons of ideas, as well as tips to make your party unique and cohesive. Click to see the full post, with lots of other photos!

Alice in Wonderland

There's a rabbit hiding in the bushes who's late for a very important date! (Just kidding, there's no rabbits in there!) This was a really easy decoration, since all I had to do was grab our kitchen clock and put it in the bushes.

If you're thinking of throwing a Disney themed wedding or engagement party, look no further! There are tons of ideas, as well as tips to make your party unique and cohesive. Click to see the full post, with lots of other photos!

I also had my fiance make these ADORABLE flamingo croquet mallets as an activity for the guests and kiddos. They were a hit (hah! no pun intended) and made an awesome photo op. The tutorial was by Damask Love, and honestly it was one of my favorite parts!

If you're thinking of throwing a Disney themed wedding or engagement party, look no further! There are tons of ideas, as well as tips to make your party unique and cohesive. Click to see the full post, with lots of other photos!

Oh hey, here I am (on the left) with my super cool sister, posing with our croquet mallets.

If you're thinking of throwing a Disney themed wedding or engagement party, look no further! There are tons of ideas, as well as tips to make your party unique and cohesive. Click to see the full post, with lots of other photos!

Misc

I saved up some wine bottles, which we spray painted to create a ring toss game. I figured this was a cute play on the whole "he put a ring on it" thing. It was really easy and cheap to do! We used an old planter box we had to house the bottles. It was practically free and so much fun!

If you're thinking of throwing a Disney themed wedding or engagement party, look no further! There are tons of ideas, as well as tips to make your party unique and cohesive. Click to see the full post, with lots of other photos!

And, lastly, we had some Disney themed coloring books for the kids! I found the Disney Princess Brides one at the Christmas Tree Shop and there was nothing more perfect! There was a lot of stuff going on so the kids didn't need the coloring books at the party, but they made for a nice favor. It would be cute to scribble a note inside so that maybe the kids could read it one day when they grow up and have an engagement party of their own!

If you're thinking of throwing a Disney themed wedding or engagement party, look no further! There are tons of ideas, as well as tips to make your party unique and cohesive. Click to see the full post, with lots of other photos!

The engagement party was so much fun to plan, and it was an amazing day! I have to thank my family and friends that came and helped out before and after the party. Plus, my fiancé was a HUGE help by finishing up some of the projects I couldn't do, like ring toss and the flamingo croquet mallets. It was definitely a stressful few days leading up to it, but the reward was so much greater than the struggle.

If you want to learn more about planning a Pinterest worthy party, be sure to sign up to get your FREE Anatomy of a Pinterest Worthy Party guide! It's full of helpful hints on how to pick a theme, the little details that will make your event unique, and tips to take great photos of your event. And, there's even a checklist so you don't forget anything! So what are you waiting for? Get yours now!

So what do you think about this Disney themed engagement? Would you do anything differently? Let me know in the comments below!

DIY Zebra Party Tray

Did you know that in high school, there was a period of time that I wanted to be an interior decorator? I imagined myself creating gorgeous, perfectly curated homes filled with amazing goodies. I was eventually talked out of it, but I still have a desire to create a unique and beautiful home for my fiancé and myself. Although it's been a learning curve, I'm starting to figure out my style and realizing what works and what doesn't. I love to fill my home with one-of-a-kind, whimsical purchases. The kind of stuff that makes people want to look around and wonder where the heck I found this amazing item. But, my absolute, very FAVORITE thing to put inside my home is anything I made myself. I love telling people I made things. There's no better feeling in the world.

DIY Zebra Party Tray. Click for the full how-to!

The reason I love this zebra tray is because there really isn't anything else like it out there! I think it adds such a fun feel to any room. You can use it on your desk to hold your paperwork, on your coffee table to hold magazines, or in your kitchen to hold flowers and a notepad. It's also a great party tray for holding cocktails! The best part of all is that it's super easy (and cheap!) to make.

*This post contains affiliate links.

DIY Zebra Party Tray. Click for the full how-to!
DIY Zebra Tray. Click for the full how-to!

You will need:

DIY Zebra Tray. Click for the full how-to!

Aluminum baking tray (mine was from the dollar store, similar here)
Spraypaint (similar here)
Primer & gloss top coat (similar here and here)
Zebra figurines (here
E6000 glue (here)

How To:

DIY Zebra Tray. Click for the full how-to!

1. Purchase a tray. You'll want to look for something with a wide handle on either side, so that you can adhere your plastic animal. Also, be sure to avoid any trays with holes for hanging or too much branding. If you want to save a step, purchase a tray that you don't need to spray paint. For me, purchasing a baking tray ended up being the cheapest route.

DIY Zebra Tray. Click for the full how-to!

2. Spraypaint your tray using the color of your choice. I chose a glossy medium pink, but I think this tray would look AH-MAZING in yellow. I just didn't have any yellow spray paint on hand, and it was one of those rare 60 degree days in February, so I had to work with what I had. Be sure to prime it first and use a topcoat. If not, it'll be easy to scratch, and the paint won't adhere as well. Trust me... I speak from experience!

DIY Zebra Tray. Click for the full how-to!

3. Using E6000 glue, put a drop of glue on each hoof/foot, and wait for it to cure for 2 mins. Then place it down on the widest part of your handle. Let dry 24-48 hours before handling.

DIY Zebra Tray. Click for the full how-to!

This tray is the perfect size for holding paperwork on your desk! I have a love/hate relationship with paper, so I love that this cute tray keeps everything organized while making me smile.

Psst- Interested in the printable above? Just fill out this form to get our FREE Anatomy of a Pinterest Party guide!

DIY Zebra Tray. Click for the full how-to!

And, when it's time to party, you can kick those papers out and grab your drinking glasses! Let's take a moment to say RIP to the adorable pink ombre cup. My fiancé's brother accidentally broke one yesterday :(

DIY Zebra Tray. Click for the full how-to!

The teal glasses are from Pioneer Woman and are awesome! The cotton candy garland, party hats, and animal drink stirrers are all projects from the blog.

DIY Zebra Tray. Click for the full how-to!
DIY Zebra Party Tray. Click for the full how-to!

So what do you think of this zebra tray? You can create it with any animal. I also bought some schnauzers, and can't waittt to make another tray with them! Do you have any DIY projects in your home decor? Let me know about them in the comments below!

DIY Wood Bead Tassel Necklace

Happy March! Wow, I can't believe it's nearly spring already and St. Patrick's day is next week! St. Patrick's Day was always one of my favorite holidays for some reason. I like almost all of them, but I think it's something about how everyone goes crazy and gets all dresses up that makes me like St. Patrick's Day a lot. Instead of doing a traditional St. Patrick's Day craft, I decided to switch it up a little with a pastel rainbow necklace. My fiancé is a quarter Irish, and he said St. Patrick's Day does not involve rainbows. However, there's no way to find a pot of gold without a rainbow. So, at least in the Hallmark version of the holiday, there's definitely rainbows! If you want to add a little bit of celebration to your St. Patrick's Day outfit this year without looking like you belong in a parade, try wearing this necklace! Honestly, it works well all year round and I think it's perfect for the spring!

Add a little color to your wardrobe with this DIY Wood Bead Tassel Necklace. It features painted beads, DIY tassels, and a customizable palette. Make one for your closet today! #diyjewelry #rainbow #stpatricksday
DIY Wood Bead Tassel Necklace
Add a little color to your wardrobe with this DIY Wood Bead Tassel Necklace. It features painted beads, DIY tassels, and a customizable palette. Make one for your closet today! #diyjewelry #rainbow #stpatricksday

You Will Need:

DIY Wood Bead Tassel Necklace

Embroidery floss (similar here)
Wood beads (similar here)
Nylon cord (here)
Jump rings & clasps (similar here)
Paint (similar here)
Paintbrush (mine are from Michael's, similar here)
Styrofoam (here)
Kebab sticks (here)
Washi tape (similar here)
Jewelry tools (here)
Scissors (here)

DIY Wood Bead Tassel Necklace

1. Take your skewer and wrap it in washi tape. You'll want enough so that the beads won't slide down as you're painting. Put your beads on and paint them. I used bright rainbow colors. Put your skewer into some styrofoam to dry. While you wait...

Add a little color to your wardrobe with this DIY Wood Bead Tassel Necklace. It features painted beads, DIY tassels, and a customizable palette. Make one for your closet today! #diyjewelry #diytassels

2. Cut a piece of cardboard that is the size you want your finished tassels to be. I wanted mine to be around the same size as my beads, so I used that as a template. Wrap the embroidery floss around the cardboard 25 times. You can do less or more, depending on how thick or thin you want your tassels to be. Cut a small piece of floss, thread it through the underside of the top, and tie a few tight knots.

DIY Wood Bead Tassel Necklace

3. Slide the floss off the cardboard and onto a pencil or stir stick. Take a piece of embroidery floss and wrap it around just below the stick. Tie several knots, then cut your embroidery floss. Then, take a jump ring and thread it through the top piece of embroidery floss. Comb your tassel to loosen the weave of the embroidery floss and create and fluffy tassel.

DIY Wood Bead Tassel Necklace

(Psst. if you want to save time and buy your tassels, check out this link).

DIY Wood Bead Tassel Necklace

5. Attach your clasp to one crimp, and your jump ring to another crimp, and attach them to your cord. I wanted my necklace to be long, but be warned- I made mine WAY too long. With the clasps on, it came down to about my belly button! Haha. So, I added a few clasps along the way so I could adjust the length if I wanted to.

DIY Wood Bead Tassel Necklace

6. Thread your beads and tassels. I decided to use a coordinating bead and tassel combo, but you can also mix it up.

Add a little color to your wardrobe with this DIY Wood Bead Tassel Necklace. It features painted beads, DIY tassels, and a customizable palette. Make one for your closet today! #diyjewelry #rainbow #stpatricksday

7. Wear and enjoy! I've gotten so many compliments on this necklace the few times I've worn it so far. I truly love it! If you want to add a fun pop of color to your outfit, this necklace is essential.

DIY Wood Bead Tassel Necklace

Oh, did you know I have not one, but THREE cats? This is Roger and he's probably the friendliest cat on the planet. I found him in my backyard in Astoria and decided to keep him. He's the coolest, funniest dude.

Add a little color to your wardrobe with this DIY Wood Bead Tassel Necklace. It features painted beads, DIY tassels, and a customizable palette. Make one for your closet today! #diyjewelry #rainbow #stpatricksday

I love love loveeeeee this necklace. The pastel rainbow colors are just magical! Would you wear a necklace like this? What do you think of it? Let me know in the comments below!