My Party Essentials

I’ve thrown a lot of parties over the years, so I’ve got all the essentials. Here are some of my favorite items for parties.

Click the images to Shop!

Cake Stands- I personally like white cake stands since they match any holiday, but these come in so many cute colors! The pink and mint green ones are calling my name.

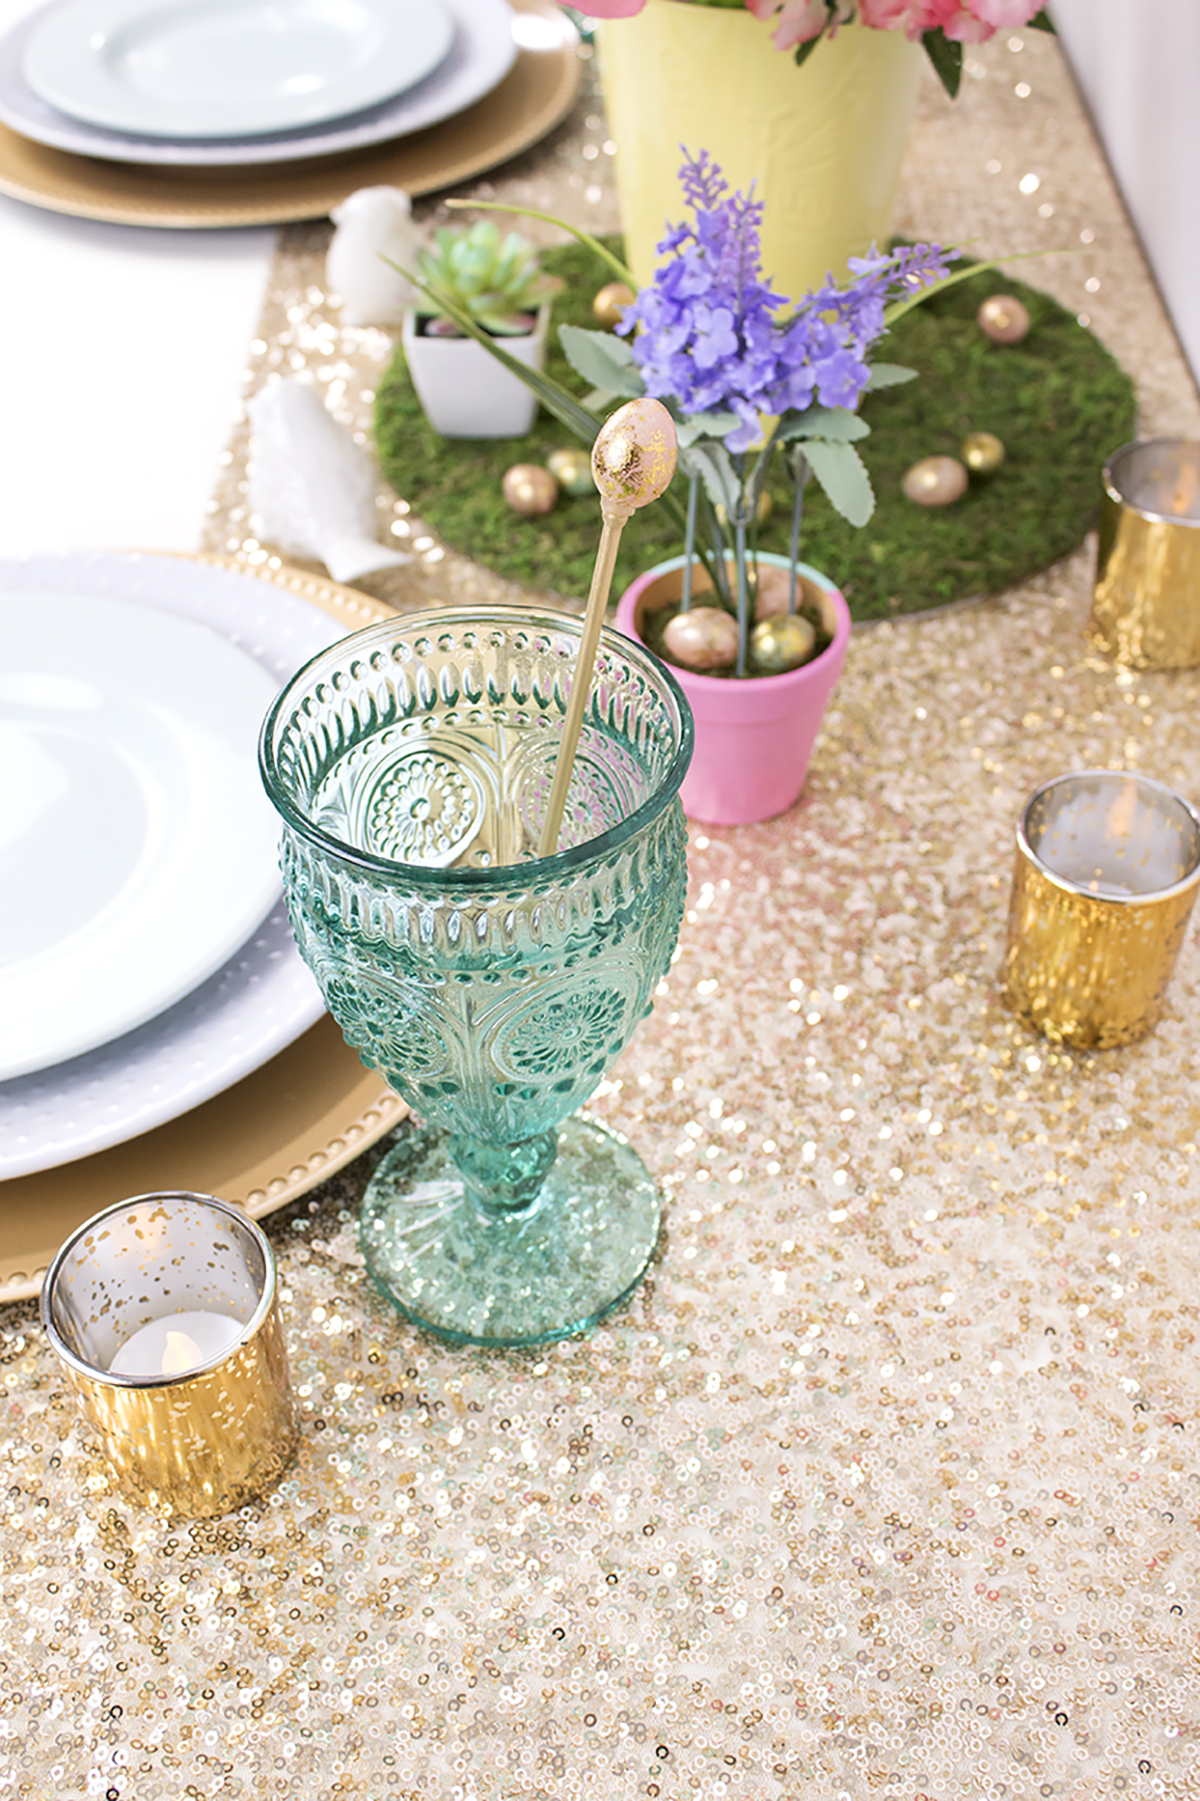
Sequin Tablecloths- I have these in rose gold and silver, and I can’t tell you how many times they have elevated my event. They wash pretty well, although lots of sequins end up in the wash. But, they still look great after 8 years.

Sequin Runners- These are perfect for placing on party tables, on a craft table, or even on a console. I’ve also draped them on my fireplace! I also recently used a cheesecloth runner for Thanksgiving, which looked so nice.

Serving Platters- While my husband is the chef of the family, I can recommend a nice set of white porcelain serving platters. I love having different sizes but within a single set so that they can stack in my cabinets and drawers.

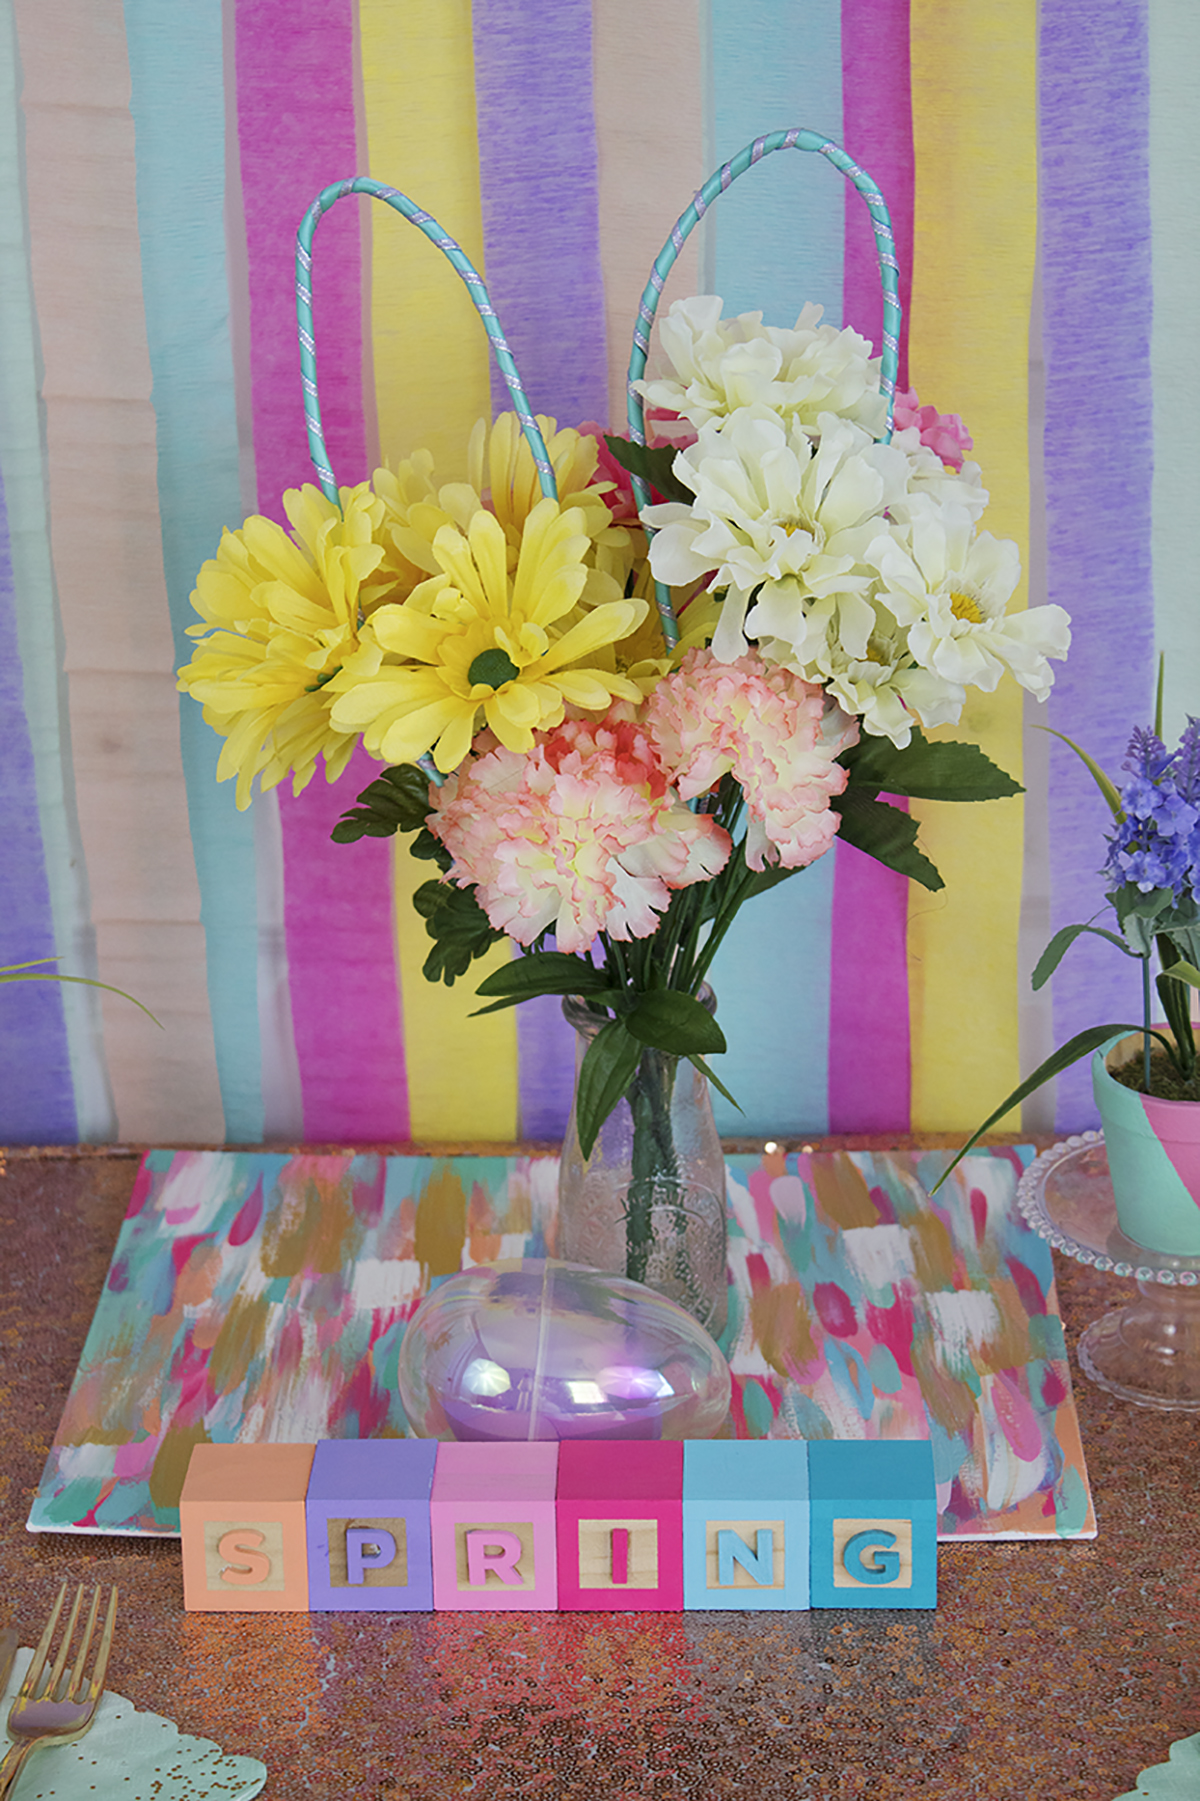
Balloon Stands- These are perfect for balloon decor and centerpieces without the helium.

Balloon Inflator- I borrowed this from a friend and it saved me! In the past I have used a handheld pump as well as a mattress inflator, neither of which I recommend when this is an option!

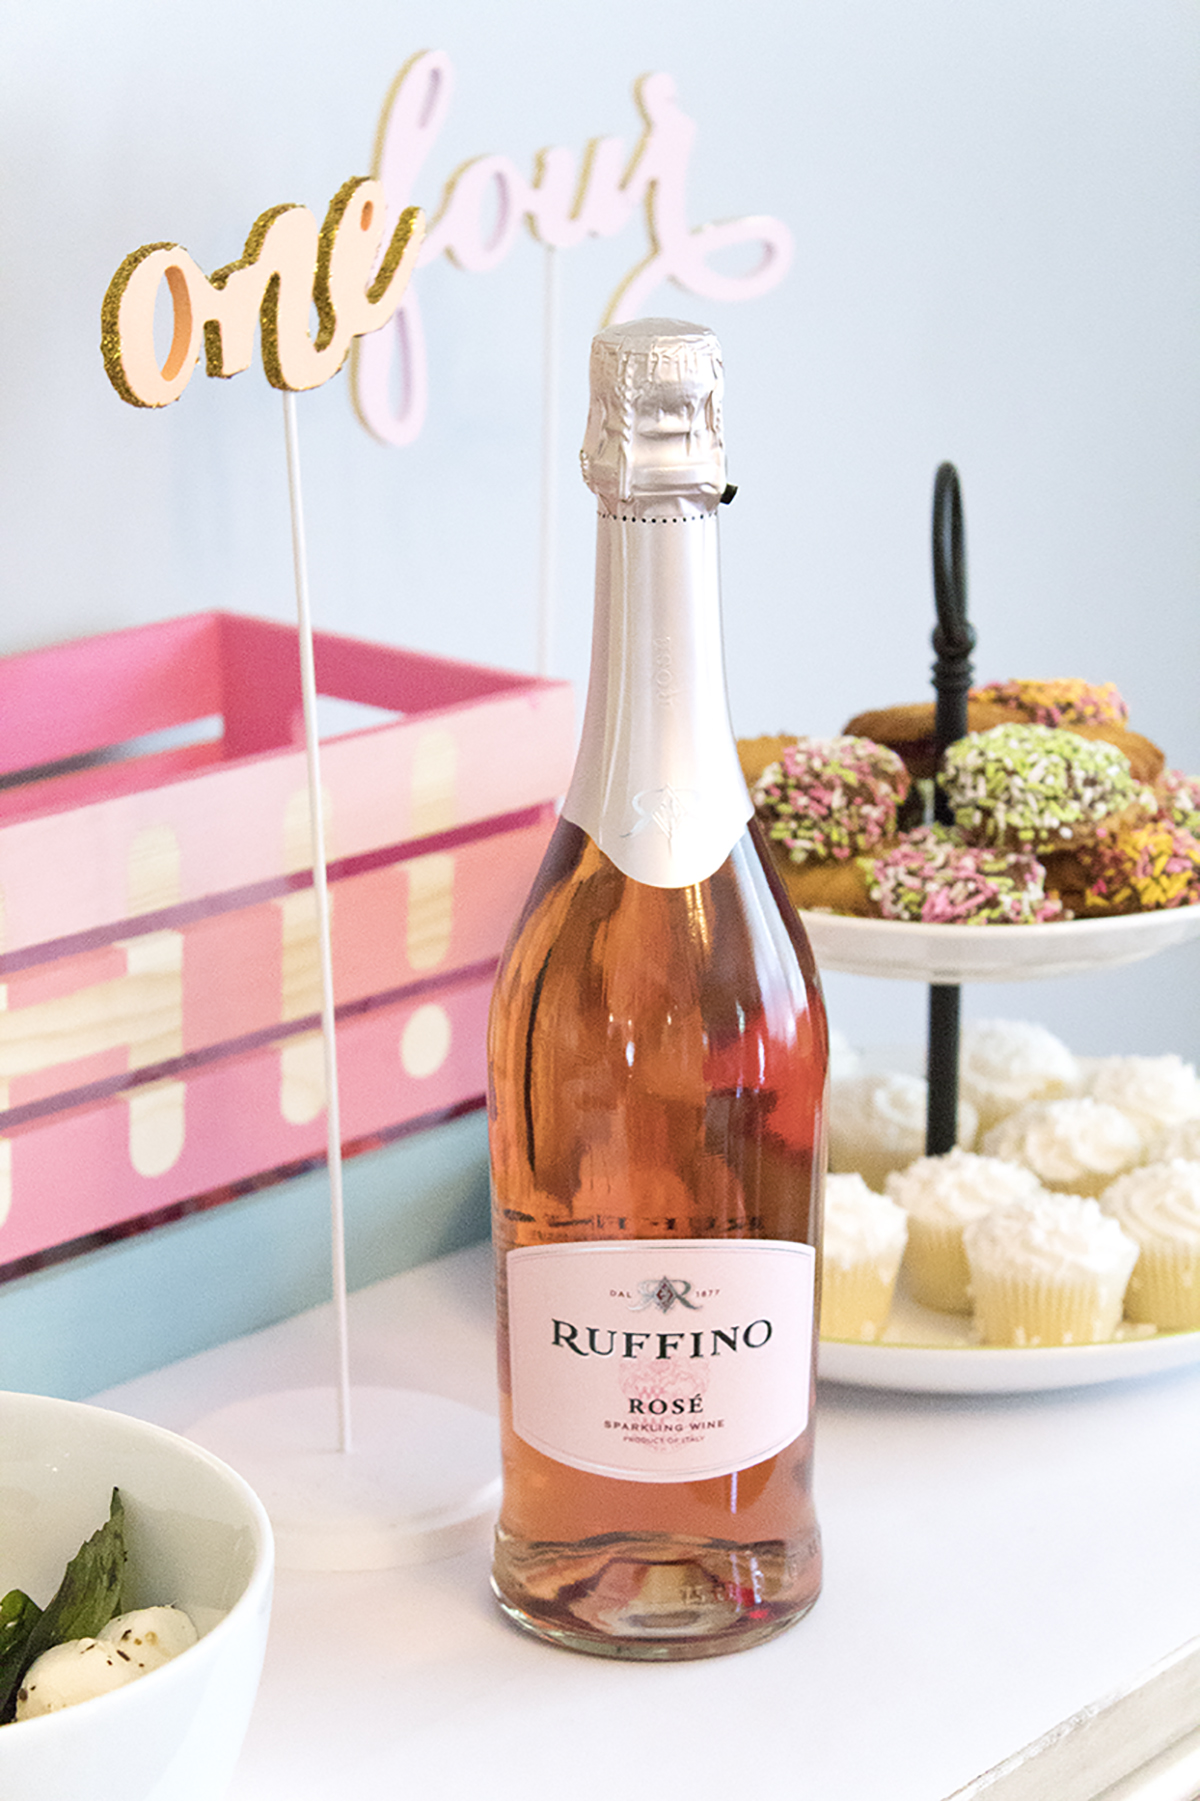
Baskets- I use these for all kinds of things, including holding favors, corralling cards, and displaying some party decor.

Garlands- I personally love a fringe tassel garland! These are so easy to make and can be used over and over.

Sequin Backdrops- These are great for placing behind a party table to make it fancier. I also love a nice tablecloth fringe garland, which can be super colorful!

Backdrop Stand- I use this style for my photography backdrops, but it works perfectly for parties. You can also go with a gold arch style, which would be pretty with a cover.

Painting Supplies- I often do an activity at my parties, and I love using these white aprons for kids along with a simple painting set and acrylic paints. Helpful hint- if you wipe off the extra paint with a napkin, it makes it way easier to wash the palettes!

Paper Fans- I also use these over and over again! I use a paperclip to hold them together, then fold them up after the party so it’s ready for the next use.

Cake Topper- I have a Happy Birthday cake topper that I use for all my parties. It’s economical and eco-friendly. A win-win!

Storage Boxes- I store all these supplies in clear plastic bins or clear bags. I can see what I need, and my supplies stay safe from the elements.

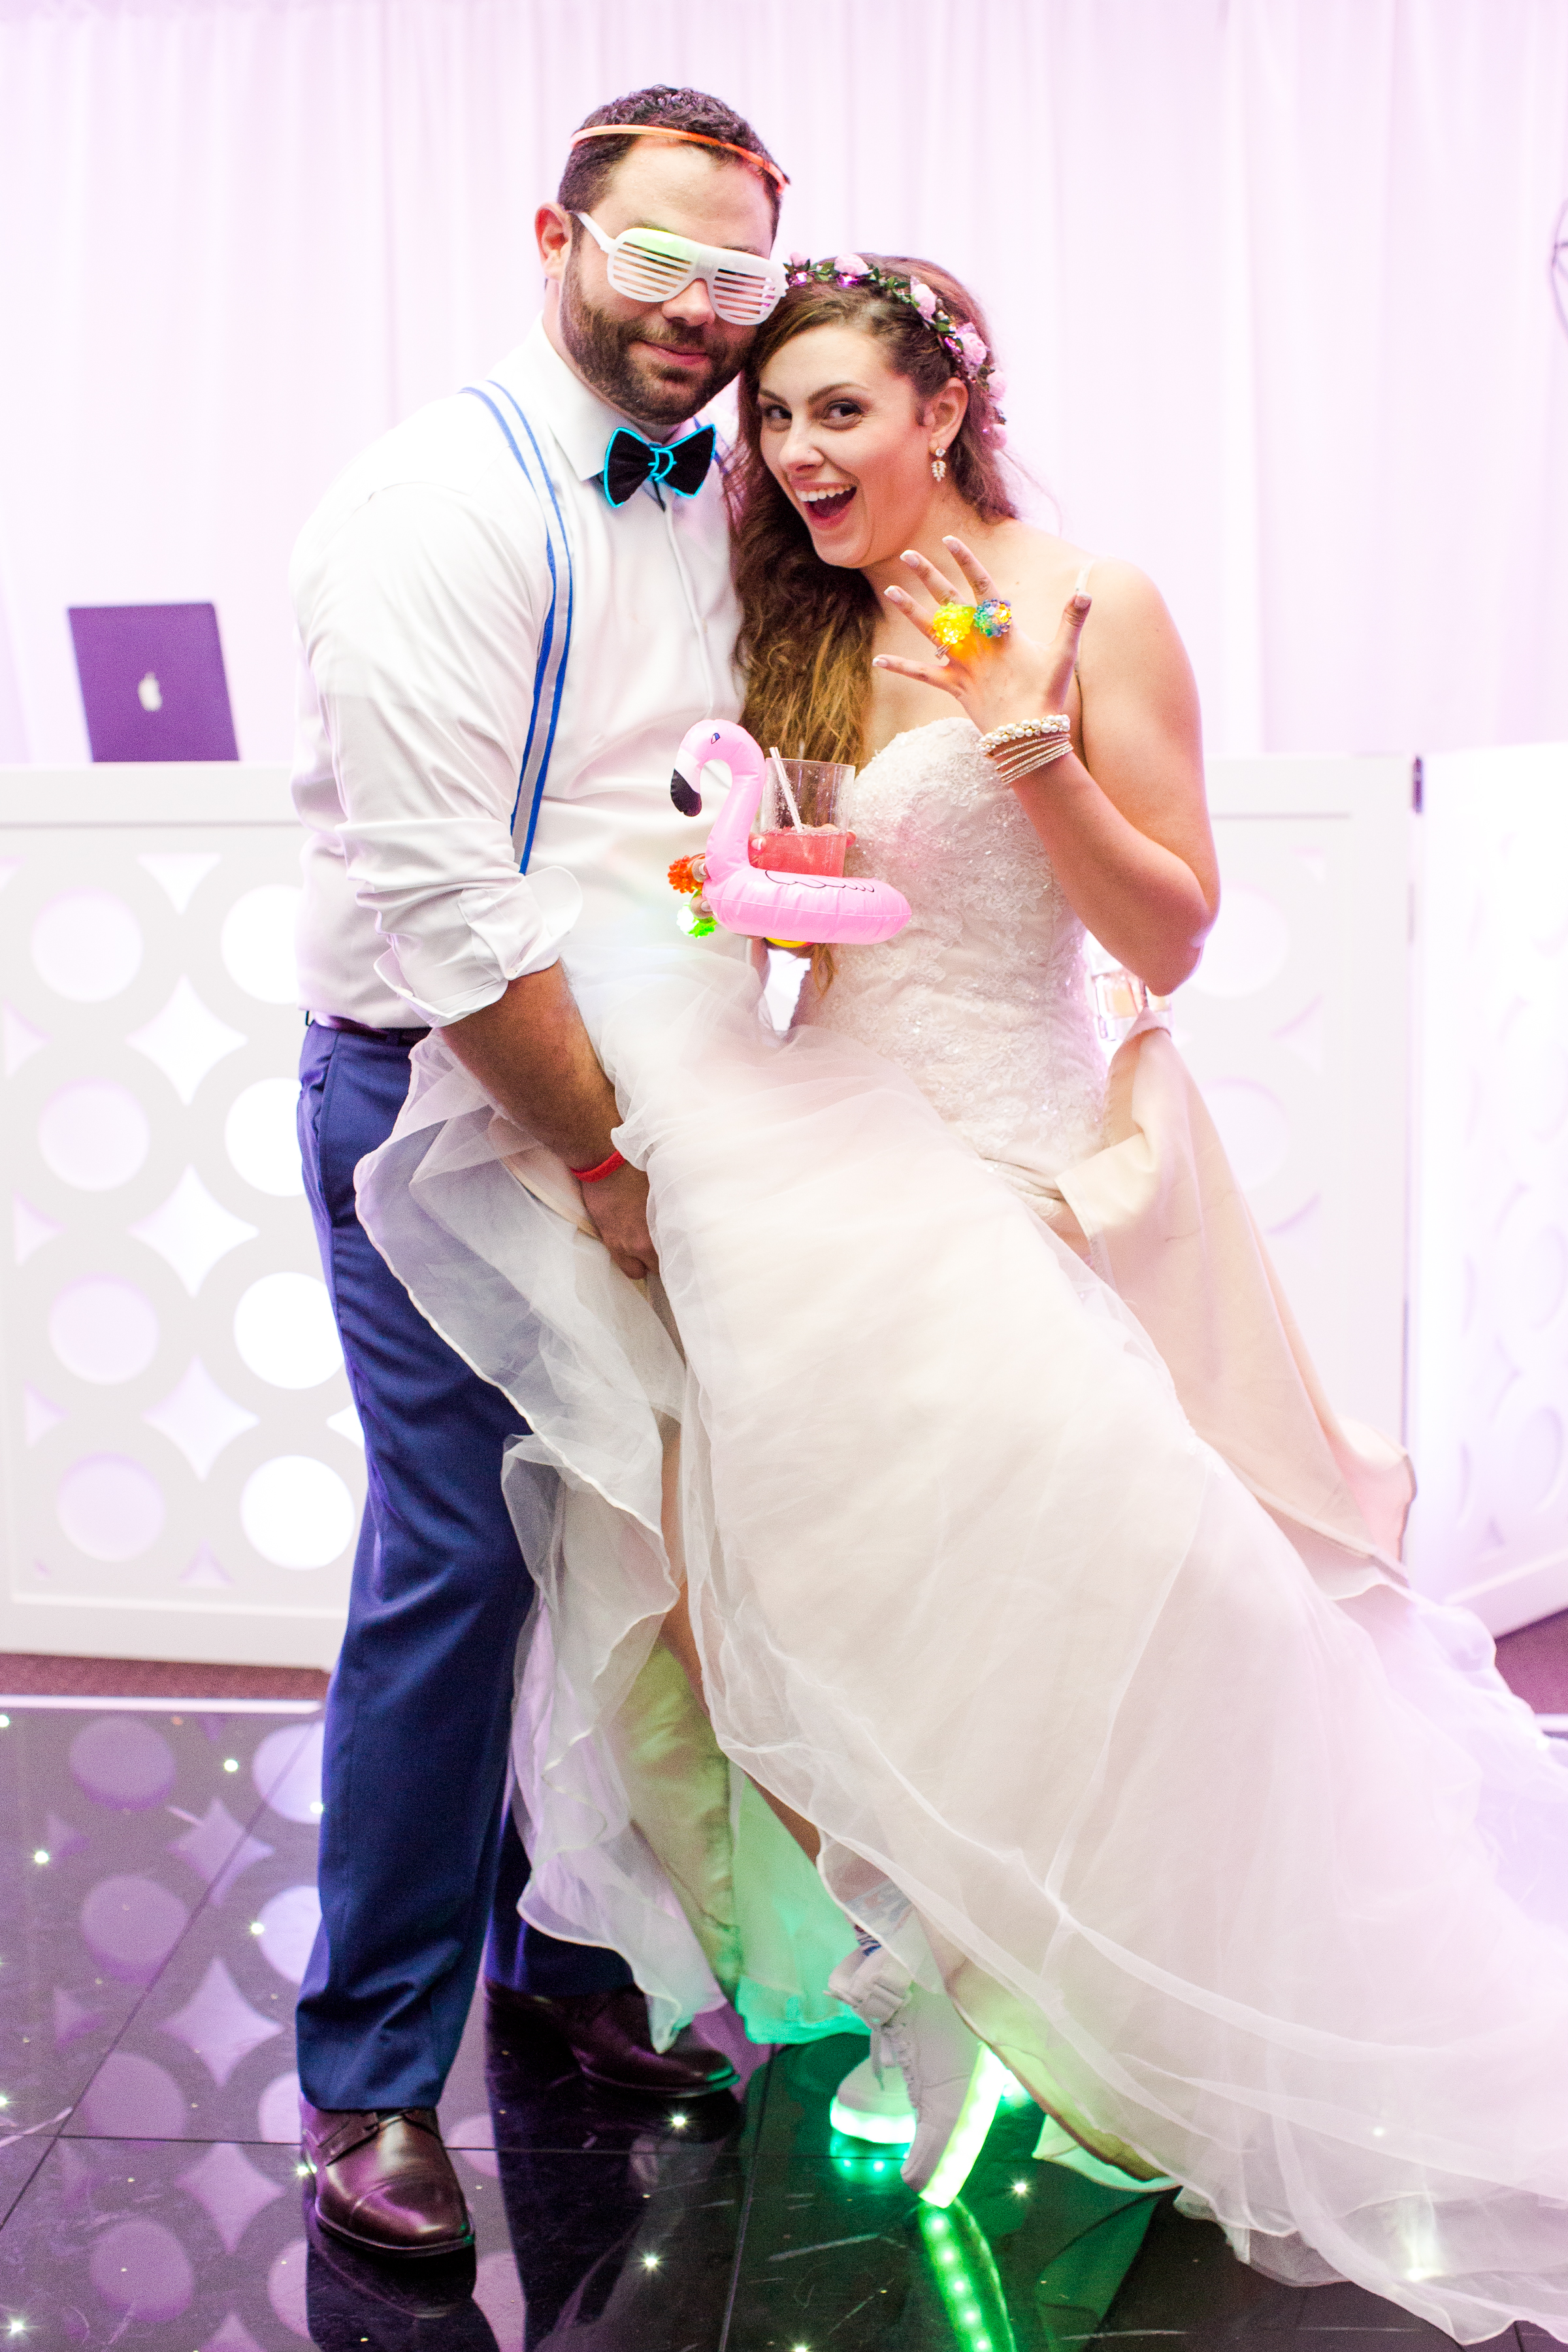
Disco Ball- No party is complete without a disco ball. I have mine permanently hanging in my living room. I just love disco balls!

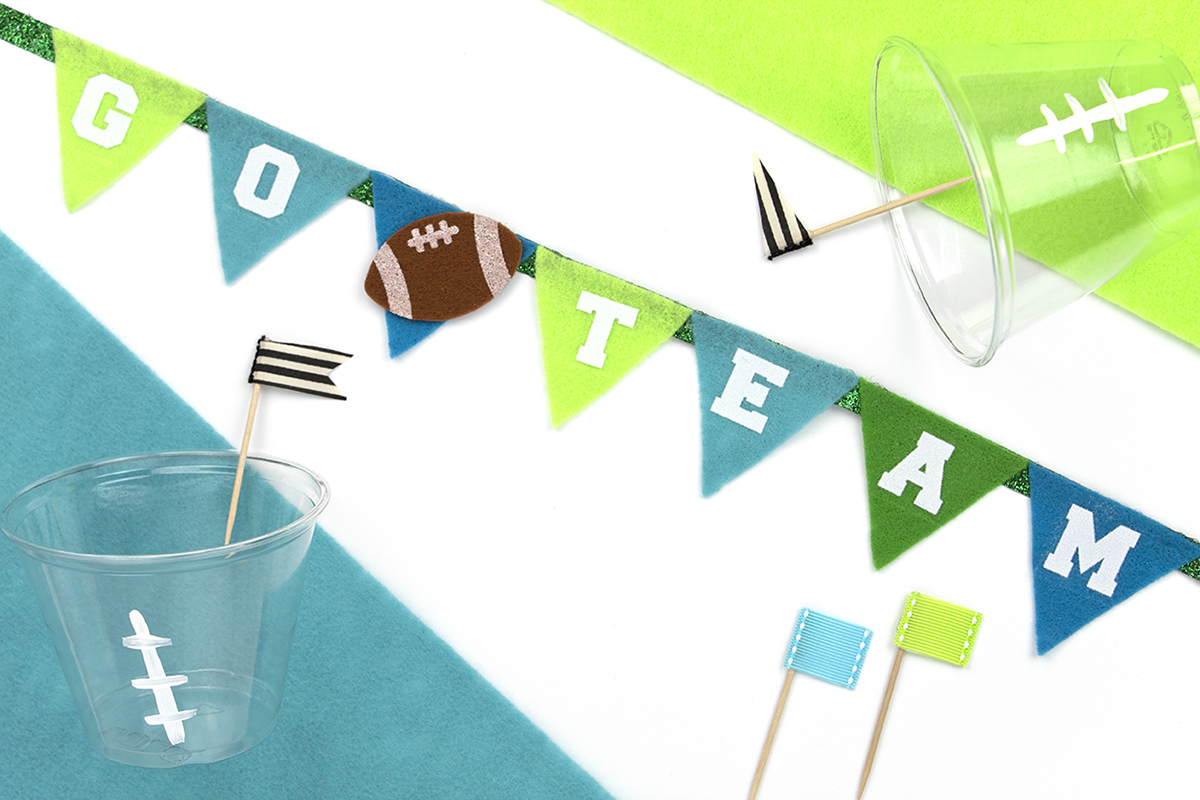
Cricut- Cricuts are perfect for personalizing elements. I’ve used them to create banners with felt and glitter paper; Cut iron-ons for favor bags; Cut vinyl for making signs; Cutting glitter paper for cake toppers; and soooo much more. The smallest one, The Joy, is great for vinyl, making cards, and stores away easily.

Circle Cutters- I just got one of these, but I’m so excited to use them when cutting my circle cupcake toppers from my shop!

Colorful Easter Brunch Party Idea

Welcome everyone, to what is probably the last Easter party/DIY of the season. In all fairness, I’m Greek Orthodox so my Easter is next Sunday (April 8) and so for that I’m right on time! It’s always weird to get the timing right, since I’m always thinking I have an extra week. For this reason, I wanted to keep this Easter table really simple and colorful. And best of all, affordable! I realized a lot of blog posts and parties can break the bank, and I know us millennials are on a budget. Like, always... so, here’s a very cheap, easy, and gorgeous Easter setup made for any budget! 

*This post contains affiliate links.

A lot of blog posts and parties can break the bank, and I know us millennials are on a budget. Like, always... so, here’s a very cheap, easy, and gorgeous Easter setup made for any budget! 

I kept the table setup simple and glam by using this sequin table cloth. My sister got it for my bridal shower, and I’ve been using it ever since! It’s seriously gorgeous while not being too expensive. If you want to keep it even more budget friendly, opt for a white tablecloth (or whatever pastel color you have, really) and add a sequin table runner. At only $9 it’s a steal! All the glam, a fraction of the price. 

A lot of blog posts and parties can break the bank, and I know us millennials are on a budget. Like, always... so, here’s a very cheap, easy, and gorgeous Easter setup made for any budget! 

For the table settings, I stacked some inexpensive plastic plates as sort of “charger plates” and added a cute Easter plate on top. This plate was from the dollar store! Holla for a dolla!! I’m sure you could find something equally cute in your local dollar store but if not check Target or even Party City for another option. I got my napkins from Home Goods. Did you know they have a party supplies section?! With some awesome, hard to find brands as well. These are from Meri Meri and only cost me 5 bucks. Score! I added some gold utensils to make the polka dots pop and I just love how they pick up all the rainbow colors. 

A lot of blog posts and parties can break the bank, and I know us millennials are on a budget. Like, always... so, here’s a very cheap, easy, and gorgeous Easter setup made for any budget! 

Speaking of rainbow colors... how cute is this streamer paper backdrop?! It’s so easy and cheap to make. I got my crepe paper from, you guessed it, the dollar store! Then I measured out one piece to find the length, went color by color and cut out a whole roll of each. I had a lot extra (like, a lot...) so unless you’re doing a big wall, you may only need half a roll. Mine didn’t go all the way down either, so that would affect how much you need as well. Once I tore all the pieces to the right length (that’s right, tore with my hands... like an animal) I taped them up in color order. Super cute, super easy, super colorful. 

A lot of blog posts and parties can break the bank, and I know us millennials are on a budget. Like, always... so, here’s a very cheap, easy, and gorgeous Easter setup made for any budget! 

Now, to spruce up that table! I added some dollar store flowers I got last year and added the bunny ears I made last Easter. I put them in a simple milk jug vase that I got from (you guessed it!) the dollar store and placed that on a “placemat” that’s actually artwork! You can find the easy DIY for that here. I added some holographic Easter eggs (what?!) from Target filled with smaller Easter eggs. A small white crate from my wedding was filled with colorful rainbow Easter eggs and honeycomb balls. And, we can’t forget about bunny ears! A pile of headbands ensures that everyone is in the holiday spirit. 

A lot of blog posts and parties can break the bank, and I know us millennials are on a budget. Like, always... so, here’s a very cheap, easy, and gorgeous Easter setup made for any budget! 

And, let's talk about those blocks! I really wanted a set of pastel rainbow blocks for an Instagram project I was going to do. Unfortunately, they were impossible to find so I made my own! I have a DIY for these coming soon, but I couldn't resist adding them to my Easter post. 

A lot of blog posts and parties can break the bank, and I know us millennials are on a budget. Like, always... so, here’s a very cheap, easy, and gorgeous Easter setup made for any budget! 

And that’s all there is to it! A simple, affordable Easter table setup that will wow your family without breaking the bank. A lot of the items I either had on hand, used last year, or purchased very inexpensively. 

Pssst. Looking for some assistance planning your next big event? I can help! Visit my virtual party planning services page for more info and pricing.

Easy Football Party Crafts

Is it football season yet? I only know the fall for pumpkin picking, apple cider everything, and the ability to totally switch up my wardrobe. However, I know there's a whoooole bunch of people that love it for football! My fiancé is one of those people, so once in a while we hang out with the gang and watch a football game. He's a "less is more" type of guy, and I'm a "what else can we add?" type of gal, so I came up with a happy medium. 

Is it football season yet? I whipped up these easy crafts for your next football gathering. They're quick to make, and feature craft supplies you probably have at home. They're perfect for a mini football party! Click for the DIY.

I whipped up these easy crafts for Mariah at Giggles Galore. They're quick to make, and feature craft supplies you probably have at home. They're perfect for a mini football party. This month, I did not one, but TWO blog posts for her! You can find them here and here.

Is it football season yet? I whipped up these easy crafts for your next football gathering. They're quick to make, and feature craft supplies you probably have at home. They're perfect for a mini football party! Click for the DIY.

So be sure to head over to Giggles Galore now to see how to make these Easy Football Party Crafts and Football Flag Stirrers and Cups.

Bridesmaid Brunch Craft Party Ideas

Let's get real here: wedding planning isn't exactly as glamorous as you imaged it to be. There are a lot of moving parts, tons of decisions to be made, and a whole lot of DIYs you want to try. Planning a wedding kind of becomes a part time job, except you're spending money instead of making it. So, rather than spending your weeknights filled with tears crafting 100+ favors, why not invite your friends or bridesmaids over for a fun crafternoon?! You can pop a bottle of rose, have some finger foods, and take bets on who's going to cry during the ceremony (like your Aunt Bertha, who cries over everything). 

Wedding planning got you down? Take a (short) break and invite your friends over for a crafting brunch party! It's super affordable with Oriental Trading. Click the photo to learn more!

Since you're already spending a ton on wedding related things, I know what you're thinking. You don’t need one extra thing to spend a ton of cash on. Well, fear not my friends! Oriental Trading is your party headquarters, and everything is SO affordable! With their new Marry Me section, you'll find all their wedding-worthy supplies in one place, for a great low price. They've got everything you need for the bridal shower, the ceremony, reception, and more! The options are seriously limitless, and there are tons of ideas under many of their products, showing you how to use them.

*Note: This post is a collaboration with Oriental Trading, but all opinions are my own. My love affair with them started way back when I first got their catalogs as a kid!

Wedding planning got you down? Take a (short) break and invite your friends over for a crafting brunch party! It's super affordable with Oriental Trading. Click the photo to learn more!

Think about how much time you’ll save by having your friends join you in crafting, and how much fun it’ll be! During a time of intense stress and worry, you need a break to hang with your girls and laugh. Plus, it'll be a nice way to say "thank you" if you've been a little bit of a grumpy bridezilla lately. 

Table Setup

Wedding planning got you down? Take a (short) break and invite your friends over for a crafting brunch party! It's super affordable with Oriental Trading. Click the photo to learn more!

To set up the table, I stuck with a simple white (disposable) tablecloth. Since crafting can get messy, I added a table runner using easel paper to catch any spills. I gave each person a place setting for snacking, which was cute and colorful! I started with a square gold dot plastic dessert plate as sort of a charger, topped with a hot pink plate for a pop of color. Each person gets a set of gorgeous gold utensils and a hot pink napkin to keep things tidy, as well as a paint palette for their watercolors.

Wedding planning got you down? Take a (short) break and invite your friends over for a crafting brunch party! It's super affordable with Oriental Trading. Click the photo to learn more!

Everything is more fun with a glass of wine, so each gal gets a really cute purple wine glass for her rose with a gold striped strawClear cupcake stands put the jordan almonds on a pedestal, making it easier for everyone to reach them. 

Wedding planning got you down? Take a (short) break and invite your friends over for a crafting brunch party! It's super affordable with Oriental Trading. Click the photo to learn more!

I kept the rest of the decorations simple by propping up my Pop Fizz Clink sign from my Disney-Themed Backyard Engagement Party. Finger foods and small desserts finish up the fun. P.S.- the white easel paper would be the perfect backdrop for using colorful sharpies to label what's what!

Wedding planning got you down? Take a (short) break and invite your friends over for a crafting brunch party! It's super affordable with Oriental Trading. Click the photo to learn more!

 The Crafts

A few weeks ago, I showed you 3 fun projects you can make using Oriental Trading products to add a pop of color to your wedding. These projects are perfect to make with your besties or bridesmaids!

Jordan Almonds

Place all your almonds in decorative bowls with a spoon for easy scooping. Keep your tulle, ribbon, and charms nearby so that it's easy for everyone to assemble. I also recommend pre-cutting the ribbon to ensure that it's all uniform and to prevent waste. The full DIY is here.

Wedding planning got you down? Take a (short) break and invite your friends over for a crafting brunch party! It's super affordable with Oriental Trading. Click the photo to learn more!


Table Numbers

Have your friends help out by painting the table numbers. I did about 3 coats on each one, so it's definitely time consuming! I recommend enlisting an especially crafty friend for the glitter and/or gold foil. It can get complicated and messy, so you definitely want someone precise to handle it! The full DIY is here.

Wedding planning got you down? Take a (short) break and invite your friends over for a crafting brunch party! It's super affordable with Oriental Trading. Click the photo to learn more!


Watercolor Escort Cards

When you get all your friends together, you've got to do this super fun project! It's seriously easy and best of all, really fun!

Looking for an easy and affordable way to guide people to their seats? This.is.it! The full how-to is on the blog, along with ideas on how to get your bridesmaids to help! Click the photo to learn more.

You will need:

Watercolor Paints (here)
Paintbrushes (similar here)
Paint Palette (here)
White Place Cards (here)
Gold Sharpie (here)

Looking for an easy and affordable way to guide people to their seats? This.is.it! The full how-to is on the blog, along with ideas on how to get your bridesmaids to help! Click the photo to learn more.

Each gal will get a set of watercolor paintbrushes, as well as a paint palette. Grab your watercolor paints and your white place cards and give each card a unique look. I added layers of complimentary colors for variation, but it still looks cohesive.

Looking for an easy and affordable way to guide people to their seats? This.is.it! The full how-to is on the blog, along with ideas on how to get your bridesmaids to help! Click the photo to learn more.

Once they're all dry, use a gold sharpie to add a name and a table number to guide people to their seats in style. Write the names in script, or make it fancy with some faux calligraphy!

Looking for an easy and affordable way to guide people to their seats? This.is.it! The full how-to is on the blog, along with ideas on how to get your bridesmaids to help! Click the photo to learn more.

I did the script freehand, but I think if you either got someone to do calligraphy, picked a friend with fancy handwriting, or printed the names on the cards, it would look even better! Be sure to make some extras, as you're bound to mess up a few of them while writing.

Looking for an easy and affordable way to guide people to their seats? This.is.it! The full how-to is on the blog, along with ideas on how to get your bridesmaids to help! Click the photo to learn more.

Woo! I'm not sure about you guys, but a bridesmaid crafternoon brunch party seems like exactly what I need to get over these pre-wedding blues! A few laughs does everyone a world of good. Be sure to check out Oriental Trading's new Marry Me section for everything you'll need for this party, the bridal shower, the wedding, and beyond! 

What's been the hardest part of wedding planning for you? For me, it's been the fact that my mom, sister, and friends live kinda far away, so I've been doing it (cue Eric Carmen) all by myyyseeelllfff. I wish I had them to help/laugh/decide on things. How about you? Let me know in the comments below!

DIY Dollar Store Easter Decorations

Hey guys! It seems that we hopped into April pretty quickly, huh? I had an eggcelent idea to do a Easter tablescape, but I'm on a budget this year. Planning a wedding ain't cheep, ya know? So I decided to visit my local Dollar Tree and raid my cabinets to create an Easter affair to remember, without breaking the bank. In all, I spent only about $30 dollars to create this classy table setup. Many of the Easter decorations came from my collection and I DIY'd a few things, because what's an event without a few handmade details ;). 

*This post contains affiliate links.

I decided to visit my local Dollar Tree and raid my cabinets to create an Easter affair to remember, without breaking the bank. Click for the full how-to, plus tips on how to save! #dollartree #easter #springcrafts

DIY Painted Plant Pots

You will need:

Pots or Plants (From DollarTree or larger version here)
Acrylic Paint (here)
Painter's Tape (here)
Paint Brushes (similar here)

Steps:

  1. Paint your pot the lighter of your 2 colors. Let dry fully.

  2. Using your tape, create an interesting line or pattern. I decided to do a diagonal pattern, but you could do polka dots, triangles, half and half, etc.

  3. Paint the desired area, then peel off your tape while it's still a little wet. Let dry!

For a full list of my favorite craft supplies, check out this blog post!

DIY Banner

You will need:

Paper Bunting (from DollarTree)
Ribbon (DT or similar here)
Glue Gun (similar here)
Spray Adhesive (here)

Steps:

  1. Be sure to adequately cover your workspace. This stuff is deceptively sticky!

  2. Place your top bunting face-down and spray with the adhesive.

  3. Pick up carefully and place on top of the other bunting. Lay flat to dry.

  4. Take a length of thin ribbon and glue your bunting onto it while keeping the flags an equal distance apart.

  5. Hang up and enjoy.

Related: How to Rock your DIY Party Projects

DIY Bunny Ears Bouquet

You will need:

Thick Wire/Covered wire (From DollarTree or here)
Ribbon (DT or similar here)
Thin sparkly ribbon (DT or similar here)
Scissors (here)
Wire cutters (here)
Glue gun (similar here)

Steps

  1. Take your wire and straighten it out the best you can.

  2. Measure and cut. Mine was 20 inches.

  3. Fold gently in the middle to create a bunny ear shape.

  4. Using your hot glue gun, carefully wrap your wire with ribbon. I found that not overlapping the ribbon on top of itself worked best.

  5. Keep going up your wire, wrapping and gluing every few rotations.

  6. Once you've wrapped it in your thicker ribbon, go back around with your thinner ribbon to cover the seams and any bald spots.

  7. Repeat for the other ear, then place in a bouquet of flowers and enjoy!


Setting your Table

Place Settings

I purchased inexpensive white plates and chargers for each setting, and topped them with blue appetizer plates from my cupboard. I added some drinking glasses I already had on hand, and placed a handmade drink stirrer inside. I finished it off with my super cute bird salt and pepper shakers that I purchased from Pier 1 Imports a few years ago.

Easter Table 17.jpg

Centerpieces

For the centerpieces, I used a sequin table runner and fake moss from my engagement party, and topped it with my painted flowerpots, bunny ears bouquet, and some mercury tealights.  I scattered some small golden eggs I picked up at the dollar store to add to that Easter feel.


Tips for Saving Money on your Easter Table

  1. Create your own bouquets by purchasing flowers from the supermarket, or purchase inexpensive fake ones that you can reuse again and again.

  2. If you purchase new servingware, go for white, which can be reused for many holidays. It'll get much more use than a baby pink tray with a bunny on it!

  3. Collect items from around your house. Tealights, votives, pastel decor items, etc. This will add to the ambiance of the event without you necessarily having to purchase (and store!) Easter items.

  4. Mix high-end items with dollar store items to save money while still keeping it classy. The inexpensive items will be camouflaged among the more expensive ones, as long as you don't purchase anything too cheap looking.

  5. DIY where you can to create something one of a kind. Search Pinterest for ideas, and see how you can re-create more expensive items.

  6. For an inexpensive tablecloth or runner, use a piece of fabric that has been folded and ironed. This will allow you to make it any size or shape you need!

  7. Go for a mix of larger items and smaller items to create a visually interesting mix for your table. Too many small items will look cluttered, and too many large ones will seem unbalanced.

Easter Table 10.jpg

The best part about this table setup is that you can take away the bunny ears and little eggs, and use it for the remainder of the spring! This helps it to do double duty, saving you money. Do you have any dollar store crafts as part of your Easter decor? Do you decorate for Easter, or are you more of a "save it for Christmas" type of gal? Let me know in the comments below!