
DIY Dollar Store Easter Decorations
/Hey guys! It seems that we hopped into April pretty quickly, huh? I had an eggcelent idea to do a Easter tablescape, but I'm on a budget this year. Planning a wedding ain't cheep, ya know? So I decided to visit my local Dollar Tree and raid my cabinets to create an Easter affair to remember, without breaking the bank. In all, I spent only about $30 dollars to create this classy table setup. Many of the Easter decorations came from my collection and I DIY'd a few things, because what's an event without a few handmade details ;).
*This post contains affiliate links.

DIY Painted Plant Pots


Steps:
Paint your pot the lighter of your 2 colors. Let dry fully.
Using your tape, create an interesting line or pattern. I decided to do a diagonal pattern, but you could do polka dots, triangles, half and half, etc.
Paint the desired area, then peel off your tape while it's still a little wet. Let dry!
For a full list of my favorite craft supplies, check out this blog post!
DIY Banner


Steps:
Be sure to adequately cover your workspace. This stuff is deceptively sticky!
Place your top bunting face-down and spray with the adhesive.
Pick up carefully and place on top of the other bunting. Lay flat to dry.
Take a length of thin ribbon and glue your bunting onto it while keeping the flags an equal distance apart.
Hang up and enjoy.
Related: How to Rock your DIY Party Projects
DIY Bunny Ears Bouquet


Steps
Take your wire and straighten it out the best you can.
Measure and cut. Mine was 20 inches.
Fold gently in the middle to create a bunny ear shape.
Using your hot glue gun, carefully wrap your wire with ribbon. I found that not overlapping the ribbon on top of itself worked best.
Keep going up your wire, wrapping and gluing every few rotations.
Once you've wrapped it in your thicker ribbon, go back around with your thinner ribbon to cover the seams and any bald spots.
Repeat for the other ear, then place in a bouquet of flowers and enjoy!

Setting your Table


Place Settings
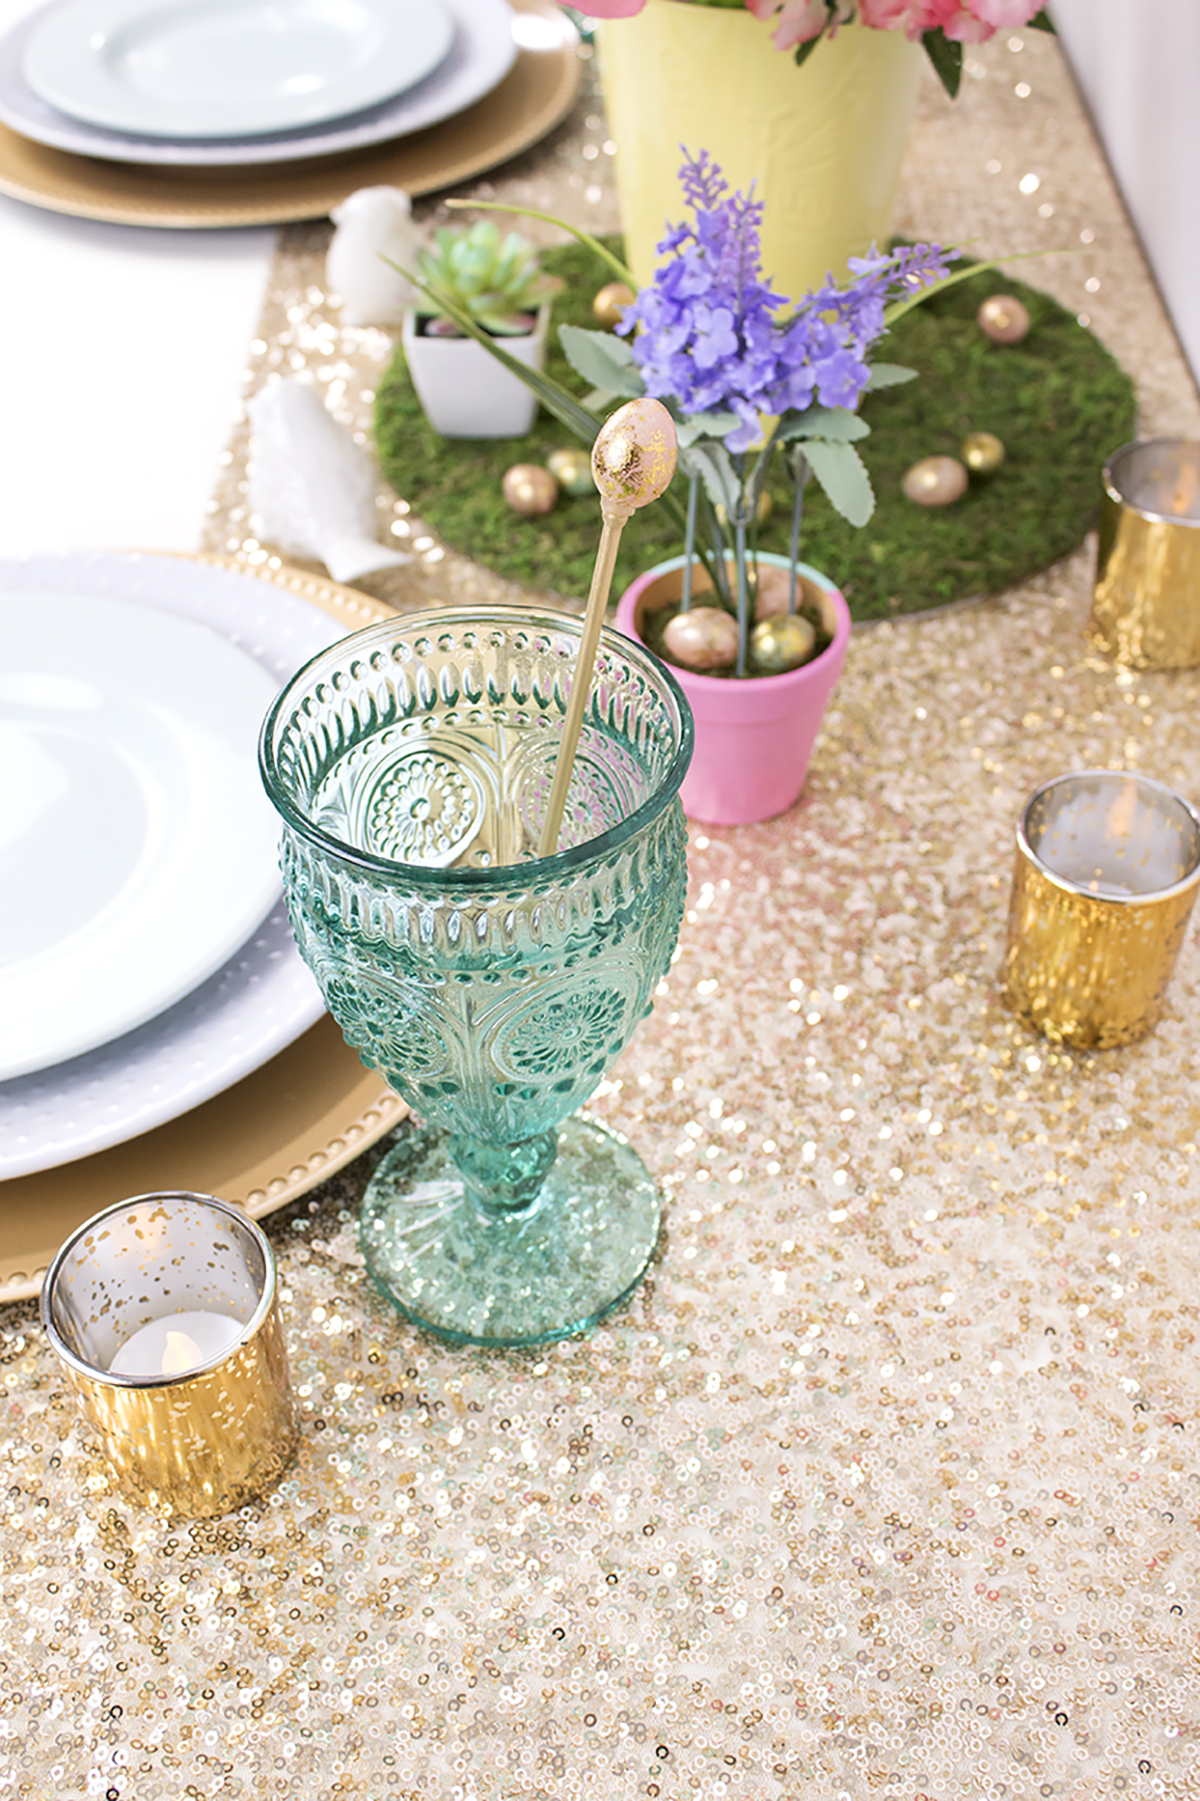
I purchased inexpensive white plates and chargers for each setting, and topped them with blue appetizer plates from my cupboard. I added some drinking glasses I already had on hand, and placed a handmade drink stirrer inside. I finished it off with my super cute bird salt and pepper shakers that I purchased from Pier 1 Imports a few years ago.


Centerpieces
For the centerpieces, I used a sequin table runner and fake moss from my engagement party, and topped it with my painted flowerpots, bunny ears bouquet, and some mercury tealights. I scattered some small golden eggs I picked up at the dollar store to add to that Easter feel.


Tips for Saving Money on your Easter Table
Create your own bouquets by purchasing flowers from the supermarket, or purchase inexpensive fake ones that you can reuse again and again.
If you purchase new servingware, go for white, which can be reused for many holidays. It'll get much more use than a baby pink tray with a bunny on it!
Collect items from around your house. Tealights, votives, pastel decor items, etc. This will add to the ambiance of the event without you necessarily having to purchase (and store!) Easter items.
Mix high-end items with dollar store items to save money while still keeping it classy. The inexpensive items will be camouflaged among the more expensive ones, as long as you don't purchase anything too cheap looking.
DIY where you can to create something one of a kind. Search Pinterest for ideas, and see how you can re-create more expensive items.
For an inexpensive tablecloth or runner, use a piece of fabric that has been folded and ironed. This will allow you to make it any size or shape you need!
Go for a mix of larger items and smaller items to create a visually interesting mix for your table. Too many small items will look cluttered, and too many large ones will seem unbalanced.


The best part about this table setup is that you can take away the bunny ears and little eggs, and use it for the remainder of the spring! This helps it to do double duty, saving you money. Do you have any dollar store crafts as part of your Easter decor? Do you decorate for Easter, or are you more of a "save it for Christmas" type of gal? Let me know in the comments below!


