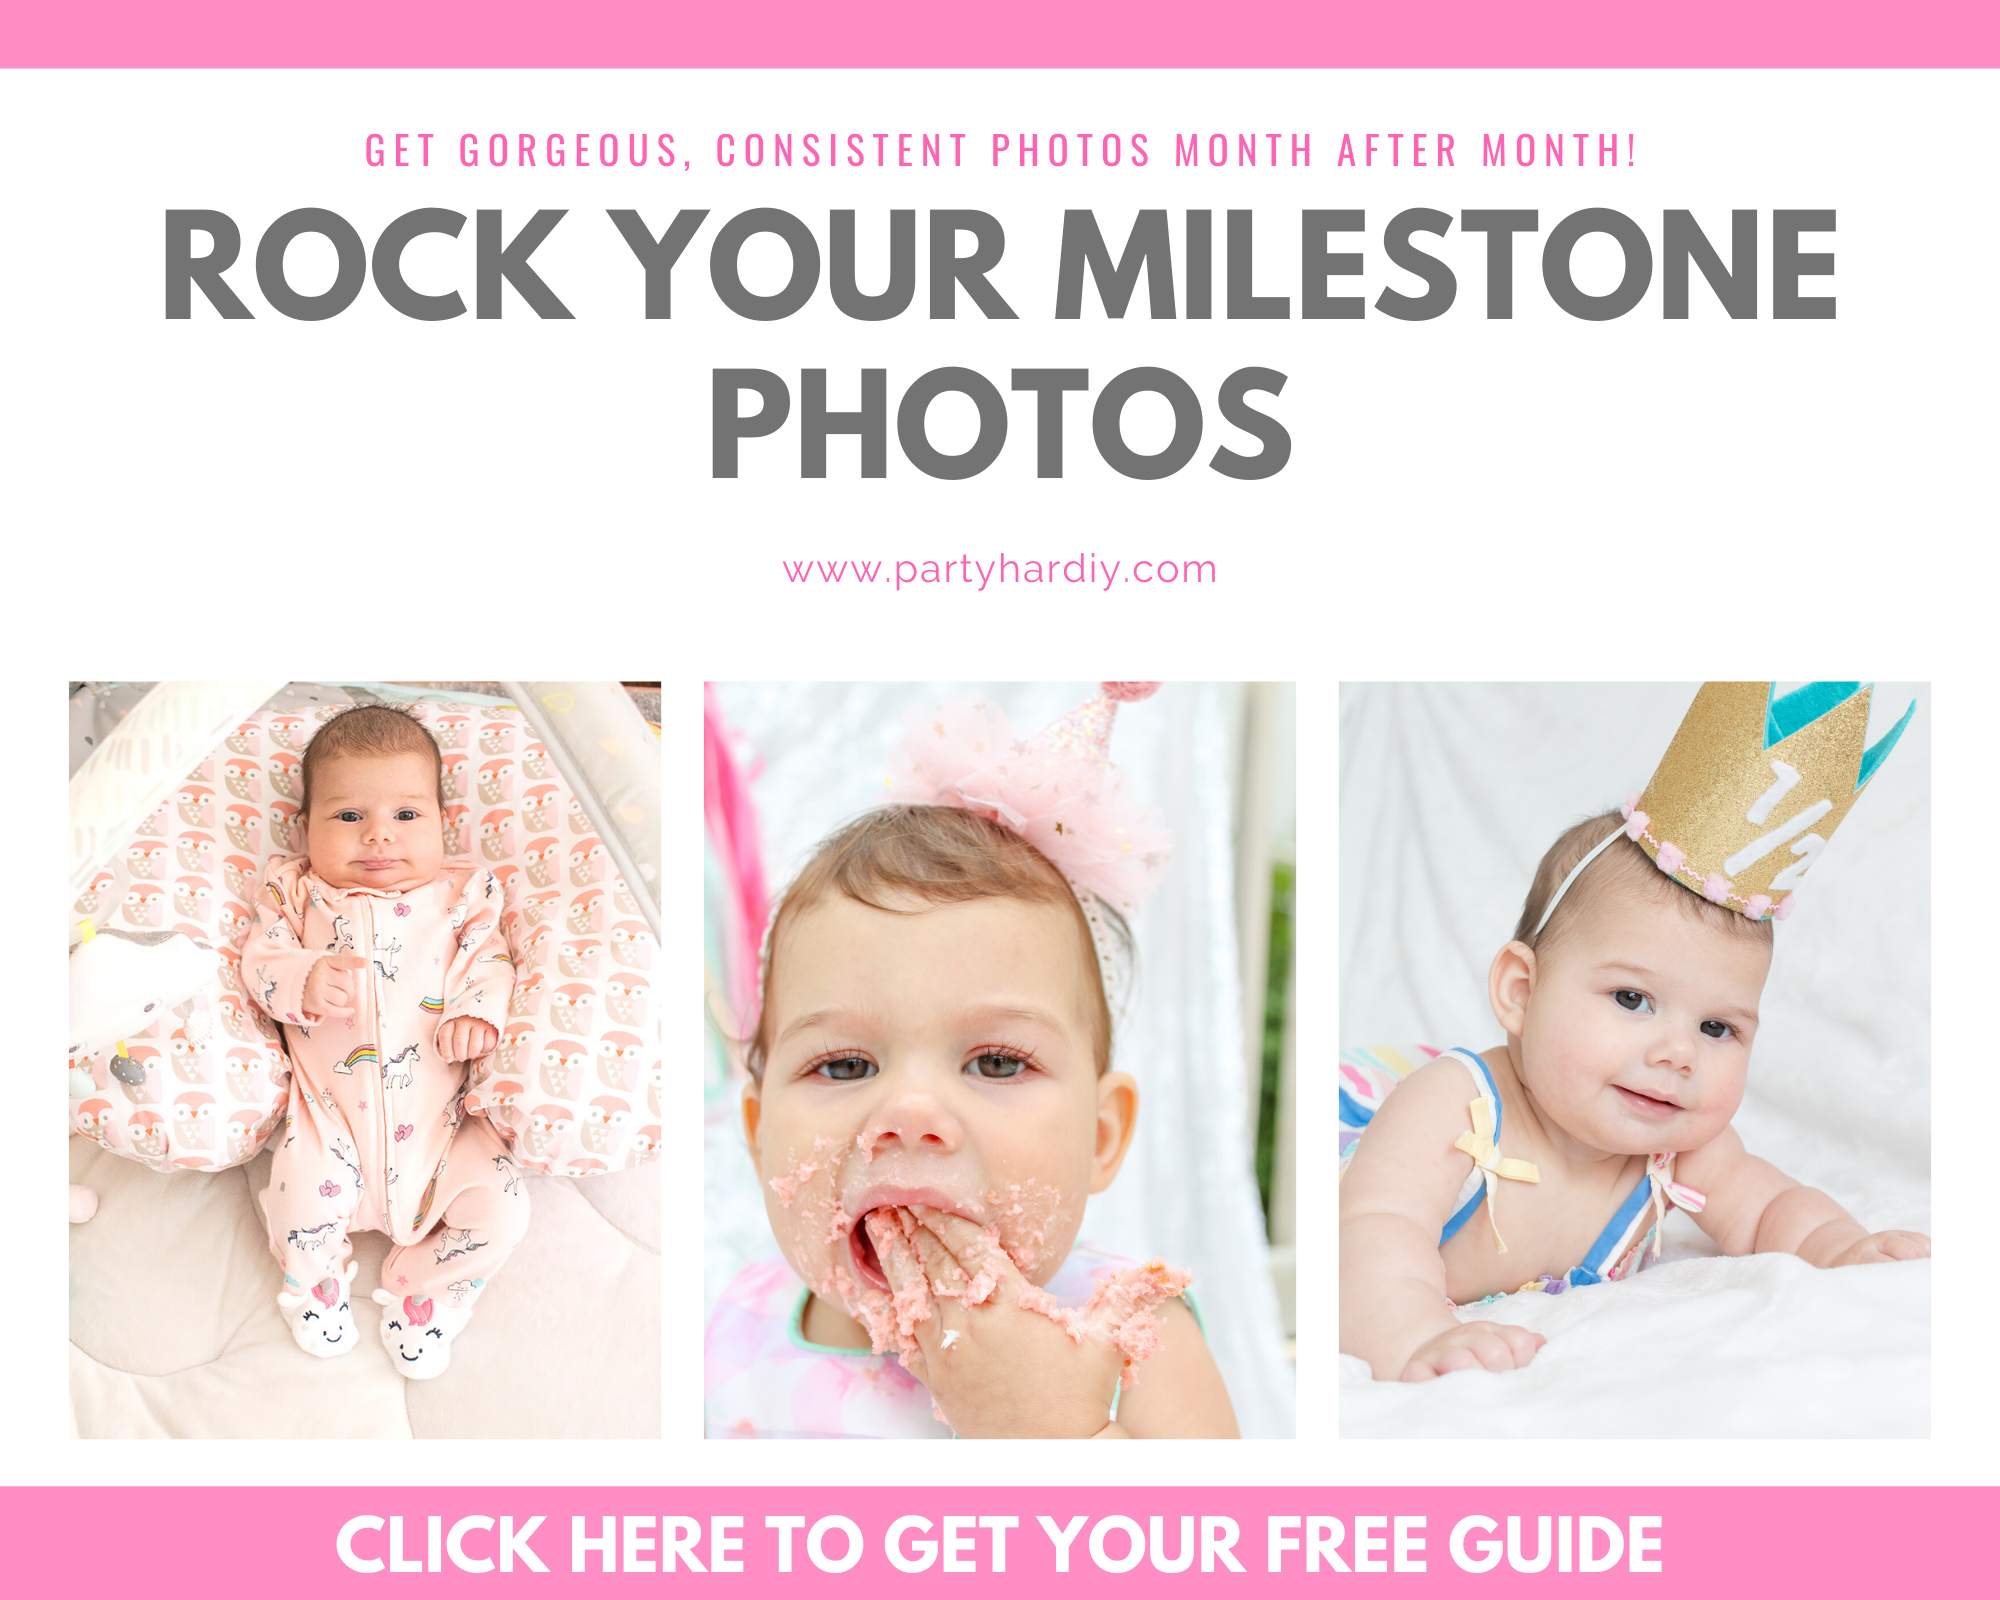
Beginner Photography Essentials
/Photography is one of the best ways to capture and preserve moments. As a photographer myself, I know that a few of the right tools can make all the difference. These are some of my favorite basics that will help take your party photos to the next level.
*This post contains affiliate links.

A Great Camera- You can definitely use your phone for your pictures, but I would highly recommend getting a camera if you’ve been on the fence! I personally have the older version of this Canon EOS Rebel (mine is the T6) but this newer one has such great features! Touchscreen is a newer feature, which is great for selecting your focus!
Lightroom/Photoshop - these are my go-to apps for photo editing! You can do so much with these apps for only $10/month. If you want a more budget friendly option, try the Lightroom phone app! It has tons of free features.
Lightroom Presets- These party presets from my shop are perfect for editing all kinds of indoor photos.
Tripod- If you want to take your own photos, I would highly recommend this tripod! You can tilt the head so that you can take landscapes or portraits. It's light, compact and folds up small. It's perfect for taking on the go and storing in a closet when it's not in use. This is the exact one I use for my photos!
Phone Tripod Mount- If you want to attach your phone on the tripod, you'll need a special adapter. I use this one, which does the trick! You just swap out the head it comes with and then expand it for your phone. The great part is that it's adjustable, so you can use anyone's phone. I'd recommend checking the measurements if you have a newer iPhone though. Those things just keep getting bigger and bigger.
Mini Tripod- If you want a tiny tripod for a tabletop or even easier portability, try this one! I haven't used this one personally, but it had great reviews on Amazon. I'm considering getting one myself. If you want something more affordable, try this one instead.
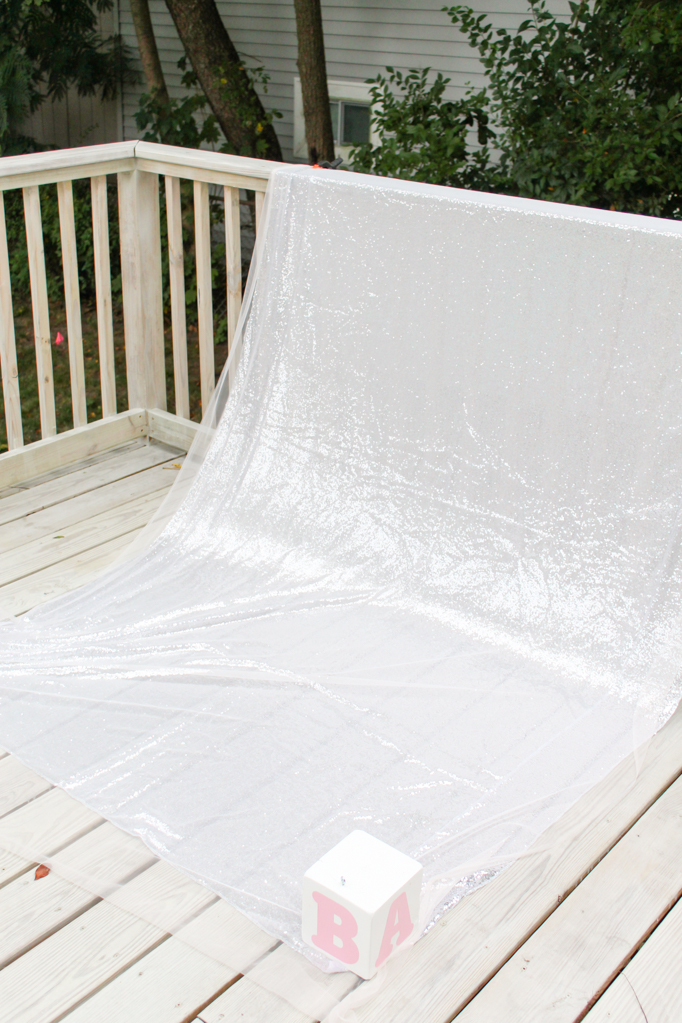
Box Light for Flash- These are a bit of an investment, but I honestly can't recommend them enough! I use them for practically all my blog photos and occasionally whip them out when the lighting isn't ideal for portraits. Another option is these umbrella lights, which aren't quite as bright. Both of them fold up super tiny and can take up just a corner of a closet! It's actually pretty remarkable how mighty yet tiny they are. Just a note that these won't make a dark room bright, but they will assist in compensating when the room just isn't bright enough for a good picture.
Screen Wipes- If your phone photos are not great, I have news for you- CLEAN YOUR CAMERA LENS! I can’t tell you how many times I’ve been handed someone’s phone to take a photo and the very first thing I notice is the blur of an oily fingerprint on the lens. These wipes are lint free, and I love using them for my camera and phone.
SD Card to Phone Adapter- If you’re using a camera for better pics but want to post to your phone immediately, invest in a simple adapter. There’s lots of options for both iPhone and Android. Using them is simple- plug them into your phone, pop in your SD card, and view/save your images to your device. Easy peasy, and great for on the go!
Selfie Light- Many party venues are poorly lit, and a lot of parties happen at night. By using a selfie light, you’ll get better photos without having to use your on-camera flash. This one attaches to both a phone and a camera. You can also adjust the warmth of the light, which is helpful for achieving the perfect white balance (color) for your images. If your images look yellow, use a bluer tint to counteract it, and vice versa. I’ve never used this one personally, but it seems like a perfect device for a beginner photographer.
Instax Camera- Make sure you have lots of film on hand. You can also invest in a variety of cute cases, but I think this one would be perfect.