My Baby Photo Essentials

When I first started taking photos of my daughter, Hailey, I wasn’t sure where to start. The truth is, taking pictures of a baby can be difficult since they can’t sit up, pose, smile, or generally cooperate. So, while my process was a lot of trial and error, I figured not everyone needed to go that route! So, I’ve rounded up my baby photo essentials, starting from newborn all the way to their cake smash session! Although you don’t need all of these items for a successful shoot, they will be helpful. You might even find items around your house that you can use!

2020 posts.png

For newborns:

Heater- newborns get really cold, especially since a lot of their photos involve being nude or barely dressed! You should invest in a heater for the photo session, which you can also use if it’s cold. We have a Dyson heater/fan, which we keep in Hailey’s room for the winter. It’s perfect for setting to a reasonable temperature (for us, it’s 75) and it comes on when the room goes below that temp. For newborn sessions, keep the heater high and closely to ensure baby stays warm and cozy.

Butterfly Pillow- Newborn babies can be a little “mushy” so one of these pillows will help you pose baby so that they look cute!

Donut Pillow- Ditto for this one, except it’s also perfect for putting inside a basket. You can adjust all the mini pillows inside too!

Swaddles- Swaddles are perfect for keeping baby in position, staying warm, and being comfortable so they don’t wake up. You can get a set of knit wraps or a few of these swaddles for your photos so that baby looks nice and “dressy”. As an alternative, you can use lacy or patterned fabric for swaddles. Check your local fabric store for something fun! Just make sure it’s soft and pre-washed for baby’s sensitive skin.

Fur Blanket- Give your photos some fun texture with a fur blanket! This will help your photo look “warm”, even when baby’s sitting around naked.

Basket- perfect for keeping baby in position and having some visual interest in the photo! There are tons of options and I’d recommend hitting your local Target or Home Goods for affordable options!

2019-03-28_01.jpg

All ages

White blanket- This is my favorite backdrop for photos! I have a large blanket that’s probably full or queen size that I use to cover my headboard, lay on the floor, etc. It’s wrinkle resistant and easy to wash, which makes it perfect for photos!

Stepstool- If you want to take photos of baby laying down, you could use a bit of height! This step stool is SUPER light but also very sturdy. Perfect for taking around the house and being super safe while you’re at it! I fell off a chair and fractured my toe, so I don’t recommend using one for pics. Get a step stool. Better safe than sorry!

Boppy- you probably have one of these pillows already for nursing or bottle feeding baby, but they make perfect photo props! You can use them for tummy time pics, to let baby lounge, or to help them sit up in photos. There are so many uses!

Monthly Blanket- this is a really easy way to have consistent milestone photos plus it provides a nice backdrop for your pics. There are tons of different cute options for every style!

Monthly Milestone Markers- Use these to easily distinguish how old baby is! You can get stickers, wood markers, or even blocks!

Hailey-Roger-Tail-24.jpg

Photo Equipment

A Great Camera- You can definitely use your phone for your pictures, but I would highly recommend getting a camera if you’ve been on the fence! I personally have the older version of this Canon EOS Rebel (mine is the T6) but this newer one has such great features! Touchscreen is a newer feature, plus this set includes a remote which means super easy shooting if you want to do some family portraits on timer mode!

Lightroom/Photoshop - these are my go-to apps for photo editing! You can do so much with these apps for only $10/month. If you want a more budget friendly option, try the LR phone app! It has tons of free features.

Tripod-  Perfect for taking photos with your baby! If you want to try and take your own photos, I would highly recommend this tripod! It folds up really small, plus you can tilt the head so that you can take landscapes or portraits! It's light, compact and folds up small. It's perfect for taking on the go and storing in a closet when it's not in use. This is the exact one I use for my photos!

Phone Tripod Mount- If you want to attach your phone on this tripod, you'll need a special adapter. I use this one, which does the trick! You just swap out the head it comes with and then expand it for your phone. The great part is that it's adjustable, so you can use anyone's phone. I'd recommend checking the measurements if you have a newer iPhone though. Those things just keep getting bigger and bigger, so I'm not sure if this particular one will get big enough.

Mini Tripod- If you want a tiny tripod for a tabletop or even easier portability, try this one! I haven't used this one personally, but it had great reviews on Amazon. I'm considering getting one myself, especially since I like to take videos of Hailey doing cute stuff. She always stops when she sees me holding the camera, so with this I can go into stealth mode! If you want something more affordable, try this one instead.

Box Lights- These are a bit of an investment, but I honestly can't recommend them enough! I use them for practically all my blog photos and occasionally whip them out when the lighting isn't ideal for portraits. Another option is these umbrella lights, which aren't quite as bright. Both of them fold up super tiny and can take up just a corner of a closet! It's actually pretty remarkable how mighty yet tiny they are. Just a note that these won't make a dark room bright, but they will assist in compensating when the room just isn't bright enough for a good picture.

Ring Light- These are perfect for low light situations. Full disclosure- I’ve never used one, but I know a lot of people have great luck with them. For the love of all that is holy, don’t blind your child with flash! You should never use flash- it’s just not flattering at all.
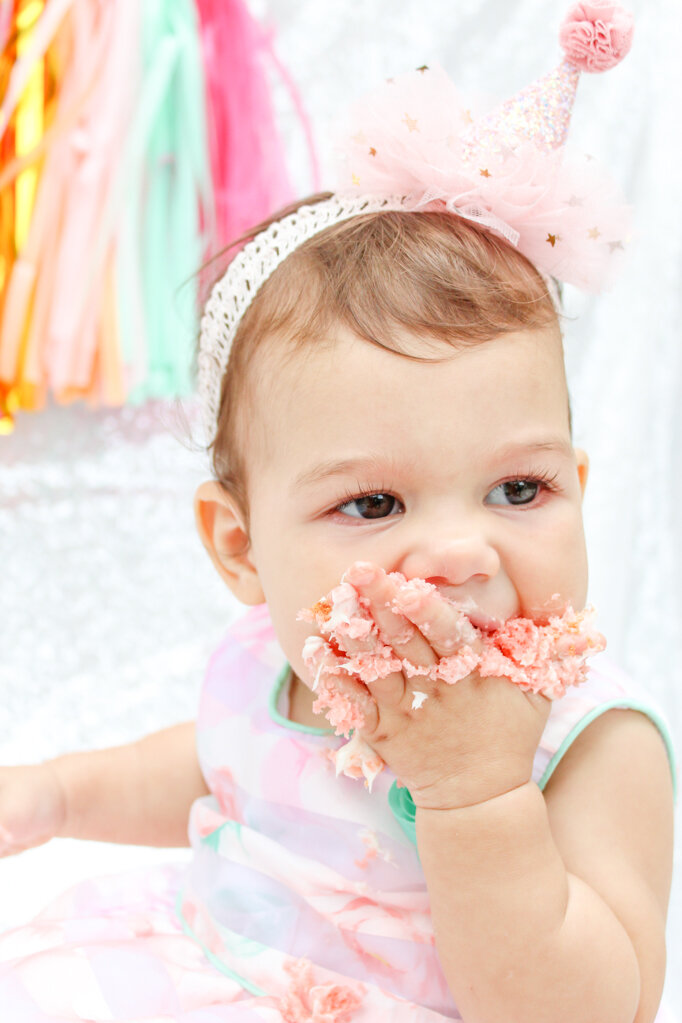
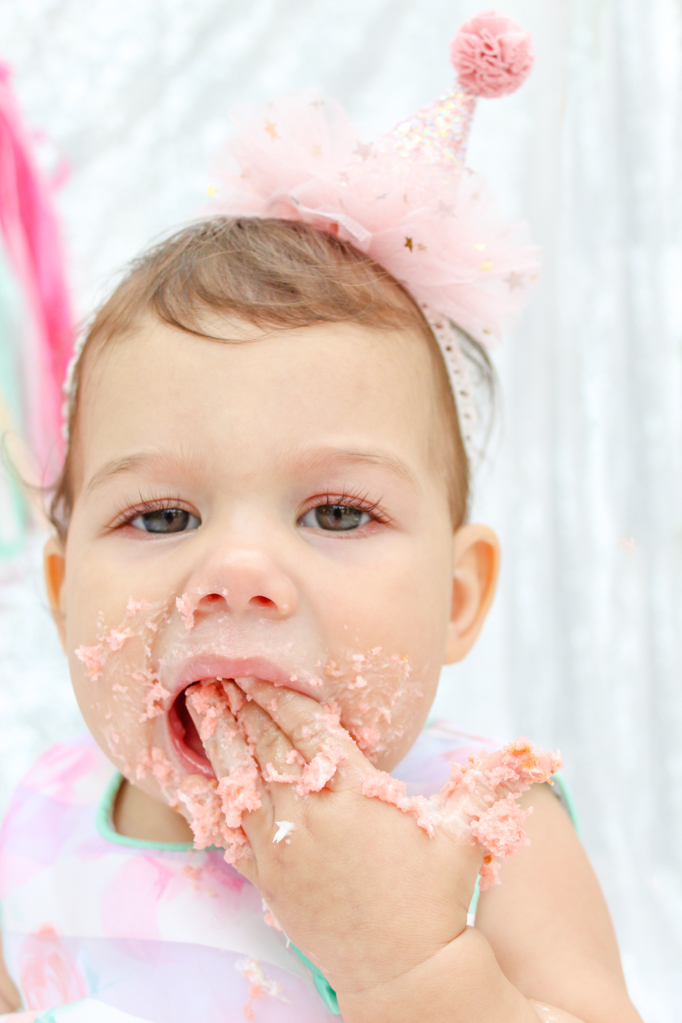
Cake-Smash-22.jpg

Cake Smash

Once your baby turns a year old, you may want to do a cake smash! These are so much fun and there are so many ideas on the internet (especially Pinterest!) that will help you decide on a theme. I’ve got a blog post all about my cake smash I did with Hailey, including what I used for it! No fancy lights or even a backdrop required! You can check that out here.

Once I started taking my own photos, I realized the importance of having the right equipment to be able to take the best pictures possible. Taking these photos helped me to feel more connected to my baby, and break up the monotony of the day!

DIY Geode Trinket Box

For Christmas, I had to make my own gifts and I was pretty bummed about it at first. For starters, I was sad because it meant I was broke and no one likes to be without money! But I also felt like there was no way I could get anyone anything for Christmas and that’s a shitty feeling. So, I decided to do what I do best- get creative! I made a list of everyone that needed gifts, along with ideas of what I could make them based off what I had on hand. I loved this trinket box that I made for my sister so much that I ended up making a second one for my sister-in-law too! I use these containers to hold my hair ties, but you can use them for anything. I created this using containers I already had (look familiar?) and purchased some geodes from Michael’s on sale. I ended up making them for about $2.50 each! However, they look like they cost WAY more than that. I really want to make one for myself now too!

geode-trinket-box-3.jpg

You will need:

Acrylic paint (similar here and here)
Geode pendant (similar here or here)
Ceramic container (similar here)
527 multi use glue (similar here)

Directions:

  1. Paint your canister with your choice of colors. I used Martha steward metallic yellow gold and satin moonstone purple for one, and Martha Stewart metallic copper and craft smart light pink for the other. I did two coats. 

  2. Take any hanging tools off the geode and glue it onto your lid. I just used a small dab- a little goes a long way! You don’t want a bunch seeping out. 

AND THAT’S ALL SHE WROTE. This project is so fun and best of all, EASY to make! I personally didn’t paint the bottom because I find that the paint sticks to stuff and I didn’t want to ruin anyone’s furniture. If you’d like, you can add a piece of felt to cover up the unfinished bottom and prevent scratches on your dresser, but it’s totally not necessary. I didn’t and I think it still looked great!

geode-trinket-box-1.jpg
geode-trinket-box-4.jpg
geode-trinket-box-2.jpg

What would you keep in this little trinket box? Earrings, rings, loose buttons, bobby pins? Let me know in the comments below!

Introducing... My Magic Mess!

A few weeks ago, I was sitting on my couch and trying to think about my values. I was struggling to figure them out and how they play out in my blog and in my life. I finally settled on authenticity and creativity, because those are really important to me. I want to be real and a true inspiration- not just some fake instagram #GOALS that no one can attain- even me! And then creativity for obvious reasons. So as I sat there, I thought about how I could inspire others in a way that matters. I thought about my story (which I’ll share more about soon) and what would be the best way to tell you guys about it so that you can go on your changed paths too. And that’s when it hit me- a challenge that will help people be more creative! So many of you guys voted to help me pick the name- so, thank you! I couldn’t have done it without you.

EDIT: This series was cancelled.

Introducing… My Magic Mess! A year-long journey to adore your creativity, develop a crafting community, and find creative freedom. Join now to make new friends and be more creative!

YOU GUYS. I am so excited to introduce to this idea. It all started from me being a perfectionist and stifling my creativity. And I KNOW a lot of people feel that way about being creative too. I can’t tell you how many people have told me that they wish they had my creativity or that they “can’t” make anything. It’s just not true! Everyone can be creative and make things. The only thing stopping them is their belief that they have to be GOOD at it to do it.

The point of this challenge is not to be good. It’s to be great. To try something new and get out of your comfort zone. To abandon the idea that you’re not creative or bad at crafting. This is about having fun and being part of a community of people that inspire each other. There is no negativity and no impossible standards to achieve- as long as you try to be creative every week, you can say that you succeeded.

The challenge will work as follows:

  1. Every Wednesday starting on Jan 1, 2020 a new topic will be revealed. I’ll also give some suggestions on ways that you can join, ranging from easy to more complicated. I’ll also try to include some family-friendly options so that you can get your kids involved as well!

  2. The challenge details will come via email, with a teaser posted on instagram and on the blog that reveals the topic. You’ll have a week to gather supplies and do your projects. I purposely picked Wednesdays because it gives you a couple of days to pick a project, and then the weekend to get any necessary supplies and work on it!

  3. Post the projects to your instagram using the hashtag #mymagicmess. You can also send them to me on Instagram if you’re a private account so that I can see them!

  4. Every Tuesday, I’ll share my favorite projects on Instagram stories so that you can see the way everyone interpreted the theme and get inspired for upcoming weeks.

  5. Once a month, I’ll do a giveaway with some amazing supplies just for being a member!

  6. I’ll be doing instagram lives where you can join me and ask questions, overcome your fears, and get some advice and tough love to help you through this challenge. I’m hoping this will be a transformative journey not just for you, but for me too!

  7. Sign up via the official My Magic Mess challenge page to join- it’s totally FREE! After you sign up, you’ll have the option to purchase the accompanying workbook. This workbook is totally optional and not necessary for the challenge. However, it will help you to learn more about yourself and stay organized through the challenge.

    • Deep dive into your creative blocks and how you prevent yourself from being creative.

    • Keep track of the challenge details via weekly and monthly calendars. The weekly calendars contain inspiring quotes to help you succeed!

    • Monthly recap worksheets where you share your strengths and failures to help you grow.

    • Give some additional ideas for being creative in ways you didn’t think about- like, making a mural or digging in the trash.

    • Additional journal prompts to explore and allow you to be more creative through your words, actions, thoughts and experiences.

I hope you’ll join me on this creative journey! Sign up via the official challenge page and get ready to transform your 2020. I’ve covered a few FAQ’s there as well if you’re unsure if this challenge is for you. I’ll give you a hint though- if you’ve ever wanted to live a more creative life and something has held you back then this challenge is for you!