DIY Mean Girls Conversation Hearts Banner (and how to use Cricut Iron On Vinyl!)

There are some movies that you watch once and enjoy, but never really have the desire to see again. Then, there are those movies that you watch over and over again until you've memorized practically every word. Mean Girls is one of those movies. If you can't recite at least one of those memorable quotes, then you can't sit with us! It's got Lindsay Lohan at the peak of her career, Tina Fey's comedy, Rachel McAdams & Amanda Seyfriend before they were super famous, and Lacey Chabert from everyone's favorite show, Party of Five (people liked that show, right? I never watched it...). Combine that with the awesome 2004 fashion sense, the catchy lines, the harsh reality of frenemies, and the fact that you always wanted to be popular, and you've pretty much got the makings of a FANTASTIC movie. It was basically made by girls, for girls, so there's no way it wouldn't succeed. PS, can we talk about how everyone in Mean Girls wore lip gloss?! I'm not sure about you guys, but I don't wear lip gloss anymore. Is that just a high school thing? Idk...

Give your sweetheart candies a little bit of attitude this year by making them into Mean Girls Conversation Hearts. So Fetch! Click for the full tutorial, along with how to use Cricut iron on vinyl.

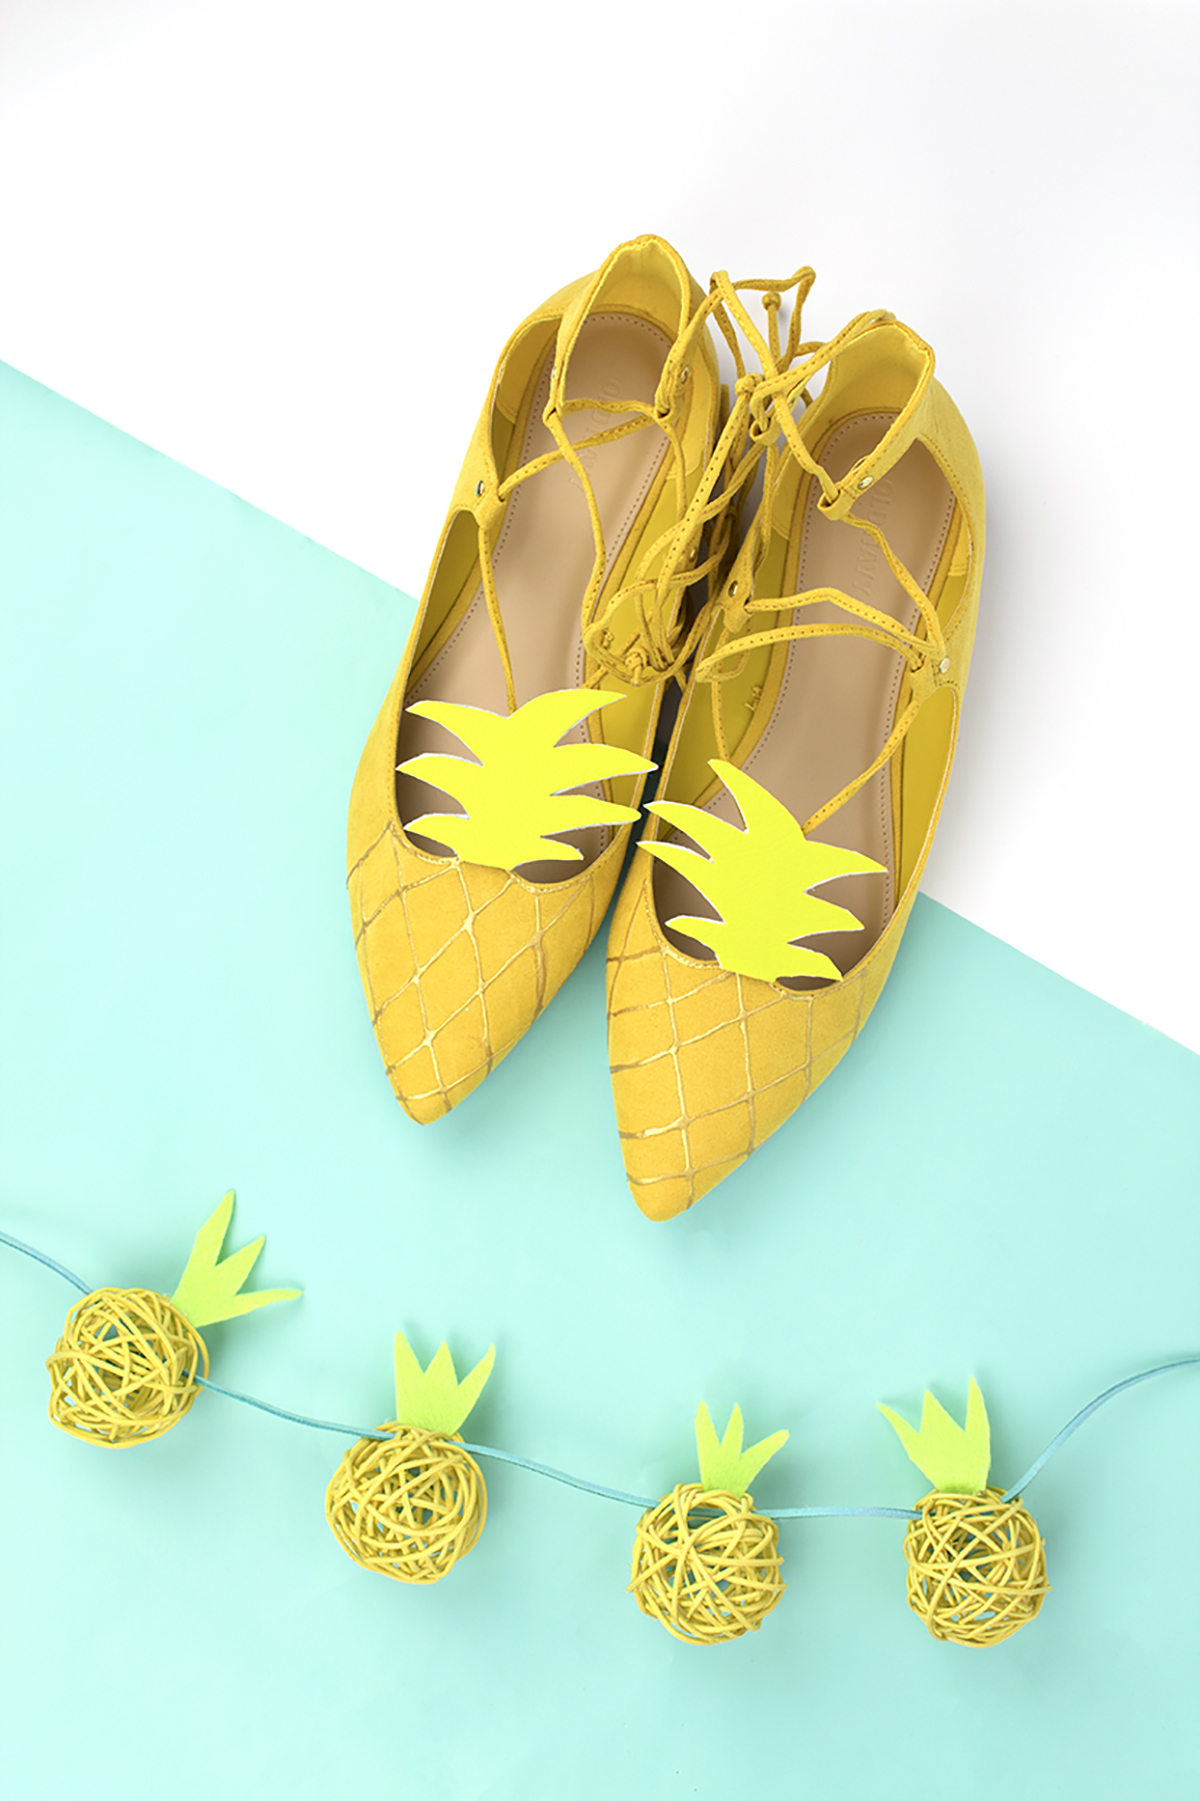
With Valentine's Day coming up, I wanted to make something fun with some felt hearts I picked up at Target. They look to me like Conversation Hearts candy, which are usually boringly sweet. "U R CUTE"? "CALL ME"? C'mon.... But, what if they were sorta sassy instead? PERFECT OPPORTUNITY for a Mean Girls DIY. Just sayin'.

Go grab some popcorn, your Mean Girls DVD, and your glue gun. This is going to be Grool!
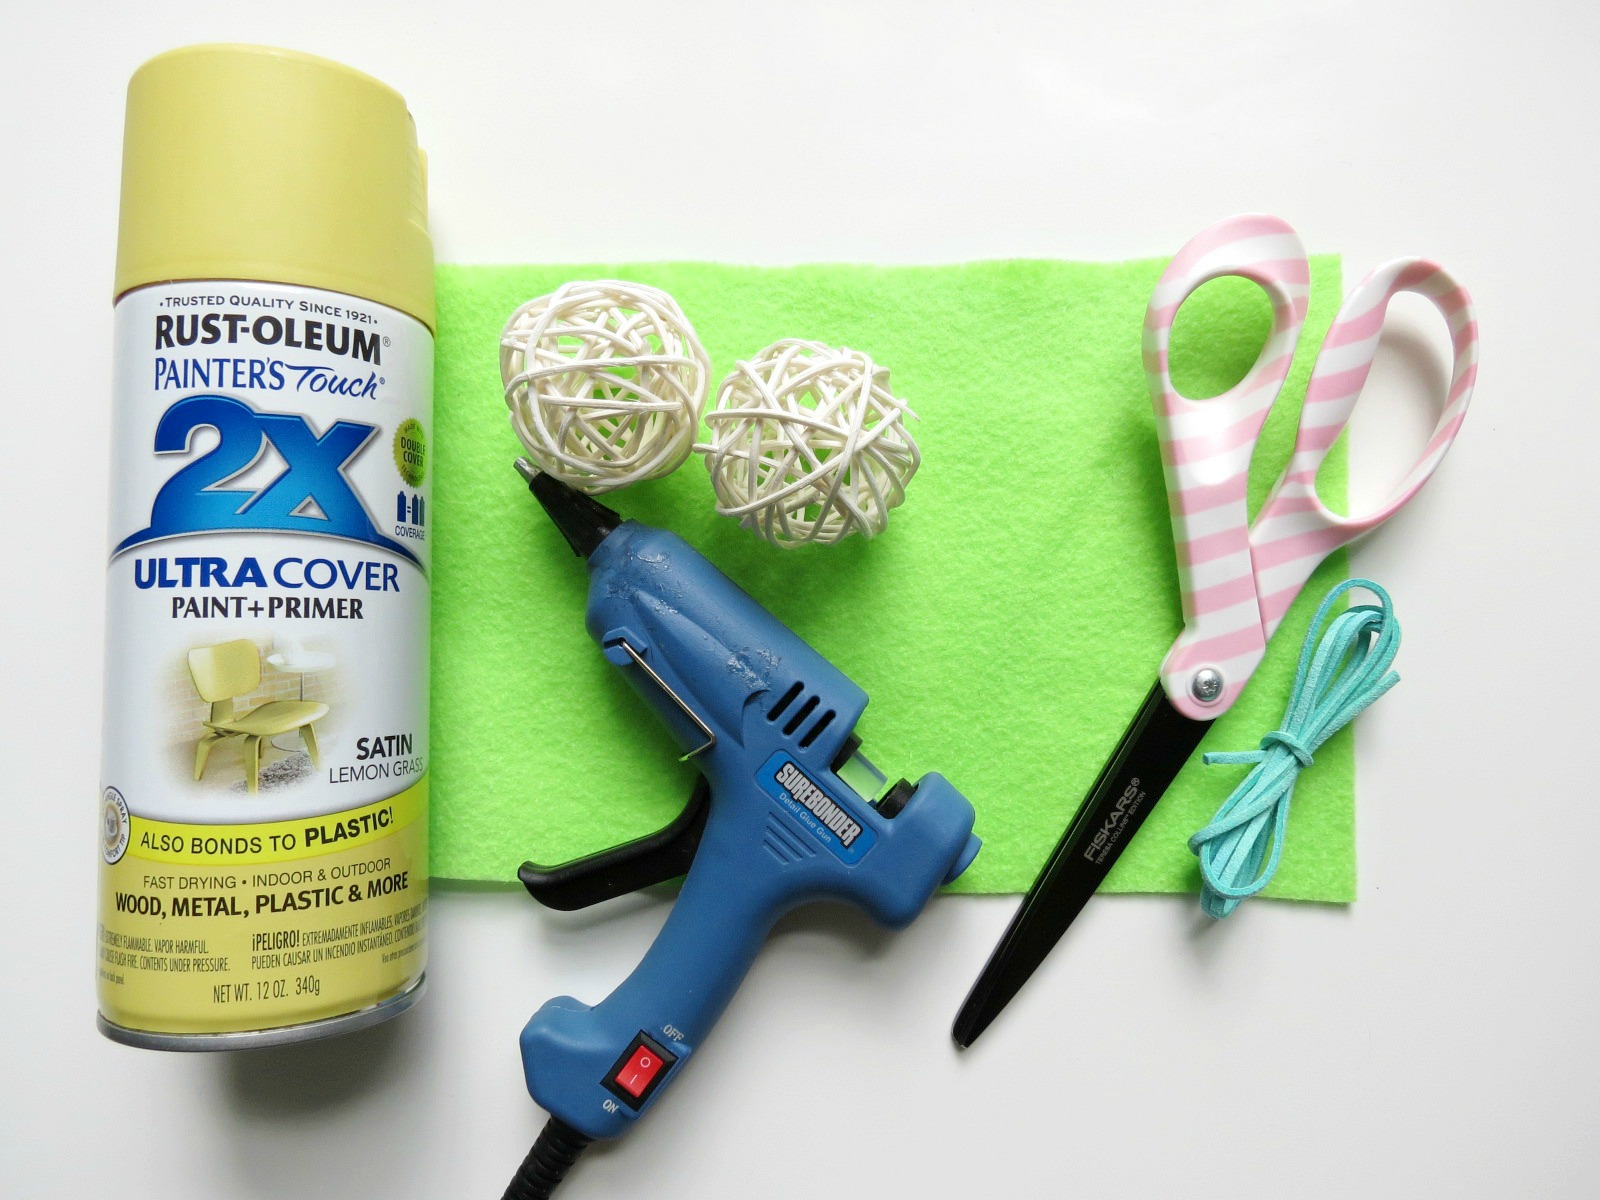
You will need:

Cricut iron-on vinyl is actually pretty simple to use, as long as you know which way the vinyl goes and how to make sure your letters aren't backwards. Click for the full tutorial, along with how to make some Mean Girls conversation hearts!

Cricut Explore Air Machine (here)
Pastel felt hearts (from Target)
Iron (here)
Red iron-on transfer (here)
Cricut tool kit or Tweezers (here)
Ribbon
Glue gun

I know what you're thinking..."How do I use Cricut iron on vinyl?" I knew you'd ask, so I have just the tutorial for you. How did I know? I have a fifth sense... It's like I have ESPN or something. The iron on vinyl is actually pretty simple to use, as long as you know which way the vinyl goes and how to make sure your letters aren't backwards.

How to Use Cricut Iron-On Vinyl

1. Open the Mean Girls Conversation Hearts Candy document in Cricut Design Space. 

Cricut iron-on vinyl is actually pretty simple to use, as long as you know which way the vinyl goes and how to make sure your letters aren't backwards. Click for the full tutorial, along with how to make some Mean Girls conversation hearts!

2. Take your red iron-on vinyl and place it on your cutting sheet, liner side down. You'll be cutting the vinyl (matte side), so that means the shiny side goes down.

Cricut iron-on vinyl is actually pretty simple to use, as long as you know which way the vinyl goes and how to make sure your letters aren't backwards. Click for the full tutorial, along with how to make some Mean Girls conversation hearts!

3. Set up the file to cut on your Cricut machine by following the steps below. 

a. Set your Cricut machine mode to vinyl +

Cricut iron-on vinyl is actually pretty simple to use, as long as you know which way the vinyl goes and how to make sure your letters aren't backwards. Click for the full tutorial, along with how to make some Mean Girls conversation hearts!

b. Press Go

Cricut iron-on vinyl is actually pretty simple to use, as long as you know which way the vinyl goes and how to make sure your letters aren't backwards. Click for the full tutorial, along with how to make some Mean Girls conversation hearts!

c. Set to mirror image! This is very important, since your text needs to be backwards so that it'll be the right way when you finish.

Cricut iron-on vinyl is actually pretty simple to use, as long as you know which way the vinyl goes and how to make sure your letters aren't backwards. Click for the full tutorial, along with how to make some Mean Girls conversation hearts!

c. Load your Cricut cutting mat and start cutting.

Cricut iron-on vinyl is actually pretty simple to use, as long as you know which way the vinyl goes and how to make sure your letters aren't backwards. Click for the full tutorial, along with how to make some Mean Girls conversation hearts!

d. Wait for the Cricut machine to cut your file. Mine wouldn't cut the full document in one shot (annoying!) so after it stopped each time, I would remove the ones it cut from the document/cutting mat, reload the mat, and start cutting again.

Cricut iron-on vinyl is actually pretty simple to use, as long as you know which way the vinyl goes and how to make sure your letters aren't backwards. Click for the full tutorial, along with how to make some Mean Girls conversation hearts!

Look at all those fabulous quotes just waiting to get out there into the world!

Cricut iron-on vinyl is actually pretty simple to use, as long as you know which way the vinyl goes and how to make sure your letters aren't backwards. Click for the full tutorial, along with how to make some Mean Girls conversation hearts!

4. Once your document has finished cutting on the Cricut machine, carefully cut around each quote. It's best to cut as close as you can to the letters, and try to make the border around each side even. This will make it easier to center them on the conversation hearts.

Cricut iron-on vinyl is actually pretty simple to use, as long as you know which way the vinyl goes and how to make sure your letters aren't backwards. Click for the full tutorial, along with how to make some Mean Girls conversation hearts!

5. Peel off the remaining vinyl, aka the extra red background. You'll be left with the clear liner and your letters. To do this, I take my Cricut hook tool and scrape a corner to make a hole.

Cricut iron-on vinyl is actually pretty simple to use, as long as you know which way the vinyl goes and how to make sure your letters aren't backwards. Click for the full tutorial, along with how to make some Mean Girls conversation hearts!

Then, I carefully and slowly peel away the liner to reveal the letters beneath. I found that peeling the vinyl from left to right was easier, since most of the letters face that way. Otherwise, you're going against the grain. So, aka... not the way I'm doing it in the photos.

Cricut iron-on vinyl is actually pretty simple to use, as long as you know which way the vinyl goes and how to make sure your letters aren't backwards. Click for the full tutorial, along with how to make some Mean Girls conversation hearts!

See how the E and the D in "Wednesday" are connected? That's because I'm peeling it the "wrong" way and it ripped the vinyl. It's not a big deal at all, because that's a scrap section anyway, but it makes it easier to peel if you go with the grain.

Cricut iron-on vinyl is actually pretty simple to use, as long as you know which way the vinyl goes and how to make sure your letters aren't backwards. Click for the full tutorial, along with how to make some Mean Girls conversation hearts!

6. Once you've pulled away the excess Cricut vinyl, go back and remove the excess vinyl in the letter holes, or any that was left over. Flip it over and double check that everything is where it should be.

Cricut iron-on vinyl is actually pretty simple to use, as long as you know which way the vinyl goes and how to make sure your letters aren't backwards. Click for the full tutorial, along with how to make some Mean Girls conversation hearts!

7. Center your quote on your conversation heart and press it down. To make sure it's evenly centered, I would look at a few things, like which word is in the center of the heart, how much distance is on either side, and how far it is from the top. If you're still not sure, take a quick picture with your phone to see if it's off center or crooked.

Give your sweetheart candies a little bit of attitude this year by making them into Mean Girls Conversation Hearts. So Fetch! Click for the full tutorial, along with how to use Cricut iron on vinyl.

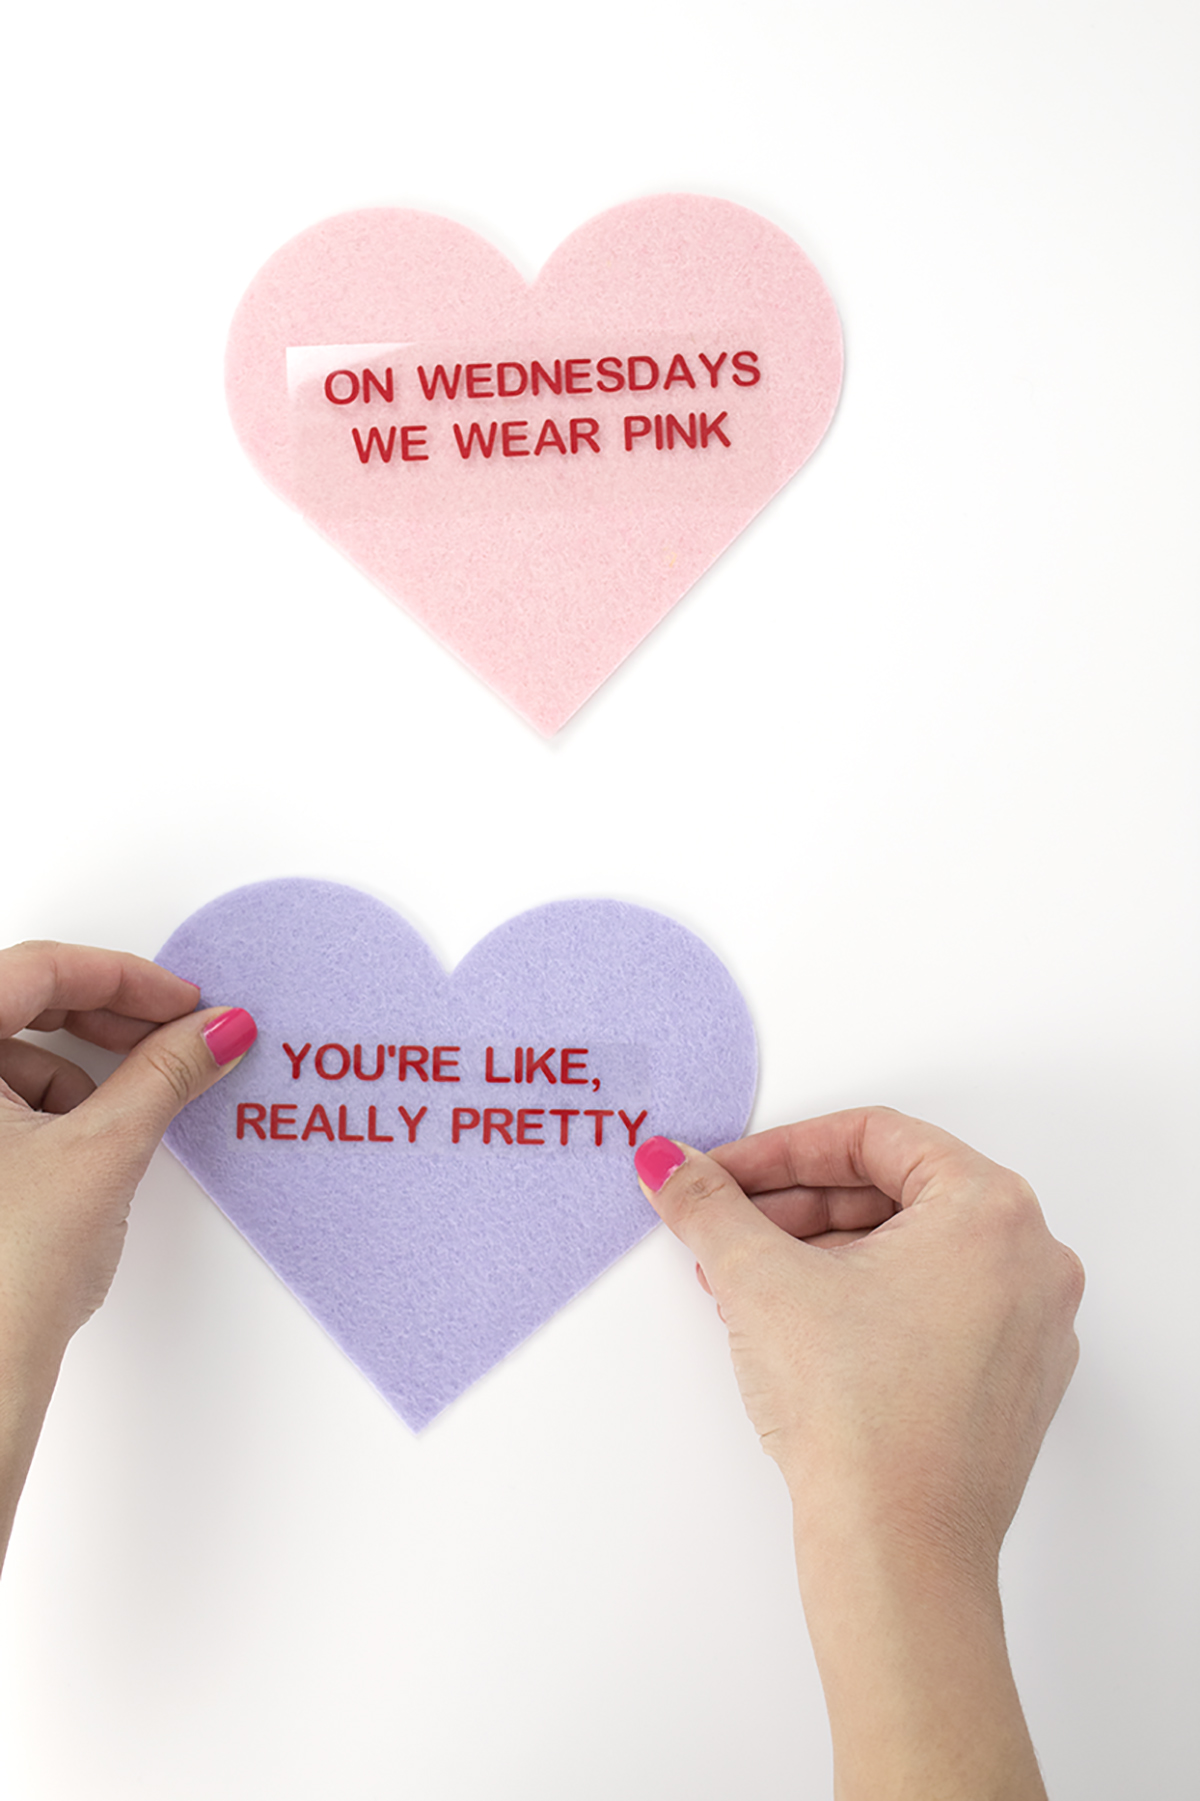
8. Use your iron to carefully iron your quote onto the heart. Use the wool/low setting and place a cloth over it so you don't scorch the felt. Then, flip your heart over and iron the underside. If you have a small craft iron, you may be able to do it without a cloth like I did.

Give your sweetheart candies a little bit of attitude this year by making them into Mean Girls Conversation Hearts. So Fetch! Click for the full tutorial, along with how to use Cricut iron on vinyl.

9. Let it cool, then peel the liner off from the corner. Do this carefully to make sure all the letters fully adhered. If not, go back over it again, let it cool, and continue peeling.

Give your sweetheart candies a little bit of attitude this year by making them into Mean Girls Conversation Hearts. So Fetch! Click for the full tutorial, along with how to use Cricut iron on vinyl.

Once all your quotes are ironed on, you can begin arranging your banner! See how I did that below.

Give your sweetheart candies a little bit of attitude this year by making them into Mean Girls Conversation Hearts. So Fetch! Click for the full tutorial, along with how to use Cricut iron on vinyl.
Cricut iron-on vinyl is actually pretty simple to use, as long as you know which way the vinyl goes and how to make sure your letters aren't backwards. Click for the full tutorial, along with how to make some Mean Girls conversation hearts!

Making your banner

1. Arrange your hearts in the order you'd like to see them, or by color.

Give your sweetheart candies a little bit of attitude this year by making them into Mean Girls Conversation Hearts. So Fetch! Click for the full tutorial, along with how to use Cricut iron on vinyl.

2. Cut a small piece of ribbon. This will act as a "tape" to hold the hearts together.

Give your sweetheart candies a little bit of attitude this year by making them into Mean Girls Conversation Hearts. So Fetch! Click for the full tutorial, along with how to use Cricut iron on vinyl.

3. Glue the ribbon onto the hearts at the widest part. Be sure to hold them as close together as you can to prevent a gap from forming between the hearts. I used pink ribbon, but a white one will probably camouflage the best. You can't really see it when you flip the banner over, so technically it doesn't matter.

Give your sweetheart candies a little bit of attitude this year by making them into Mean Girls Conversation Hearts. So Fetch! Click for the full tutorial, along with how to use Cricut iron on vinyl.

I also recommend adding some extra ribbon or twine at the ends to hang it. I originally didn't want to do that, but taping felt on a wall is basically impossible.

Give your sweetheart candies a little bit of attitude this year by making them into Mean Girls Conversation Hearts. So Fetch! Click for the full tutorial, along with how to use Cricut iron on vinyl.

Woohoo! Now, hang up your banner and revel in the joy of a Mean Girls Valentine's Day. You can also paste up some hearts as a party backdrop! This is my best Mean Girls face. Slightly friendly, slightly fierce, 100% Fetch. 

Give your sweetheart candies a little bit of attitude this year by making them into Mean Girls Conversation Hearts. So Fetch! Click for the full tutorial, along with how to use Cricut iron on vinyl.

P.S. "And none for Gretchen Weiners. Bye!" is basically my favorite Mean Girls quote, and I use it in everyday life. It has so many practical uses.

Give your sweetheart candies a little bit of attitude this year by making them into Mean Girls Conversation Hearts. So Fetch! Click for the full tutorial, along with how to use Cricut iron on vinyl.

So you agree? You think you're really pretty?

Give your sweetheart candies a little bit of attitude this year by making them into Mean Girls Conversation Hearts. So Fetch! Click for the full tutorial, along with how to use Cricut iron on vinyl.

I really need to start wearing pink on Wednesdays. I mean, that's just like, the rules of feminism

Give your sweetheart candies a little bit of attitude this year by making them into Mean Girls Conversation Hearts. So Fetch! Click for the full tutorial, along with how to use Cricut iron on vinyl.

So what's your favorite Mean Girls quote? Is it one I missed? Let me know in the comments below!

DIY Cotton Candy Garland

Ok guys, I have a confession to make. I'm a cotton candy addict. I loooove cotton candy. I know I shouldn't love it quite so much- it's pure sugar, and I'm a 27 year old woman. But something about that magical and fluffy cloud of candy tastes so good. Yes, I actually still eat it. Most people just admire it or decorate things with it, but I eat it. The only negative thing about cotton candy (besides the inevitable cavities) is the fact that the colored ones turn your mouth all kinds of colors. Then I get to walk around all day after a sporting event with blue lips, while people stare and my fiancé laughs at me. Oh well, c'est la vie. Luckily for you guys, this cotton candy won't turn your mouth any kinds of colors! Well, unless you try to eat it... I can't speak to that. With only a few steps, this garland is the cutest and easiest way to display your love for cotton candy. 

Zebra Tray 15.jpg

You will need:

Cotton Candy Picks (from Oriental Trading)
Ribbon (Mine was from Michael's on clearance)
Glue gun
Scissors (here)
 

1. Peel the sticks off the cotton candy picks. I recommend starting at the bottom tip of the cone, since it's the most delicate part. 

2. Cut off the tabs on the fluffy part of the cotton candy that keep it open. They're the teardrop shaped parts in the photo above.

3. Glue the honeycomb top open. Hold in place for a few seconds until the glue dries.

4. Once you've glued all your honeycombs open, grab your ribbon. Leave a few inches on the end so that you can hang it up. Then, glue the cotton candy evenly spaced out.

5. Hang it up and enjoy!

cotton candy garland 2.jpg

And there you have it! A quick and simple banner DIY that'll sweeten up any party. It would also make a really sweet addition to a little girl's room, your desk at work, basically anywhere you'd want to declare your love for cotton candy.

cotton candy garland 4.jpg

Do you still eat cotton candy, or do you have a different guilty snack you love? Let me know in the comments below!

DIY Colorful Leaf Garland

One of my favorite things about the fall is the leaves changing colors. For a few weeks, the world looks like a painting and it's so magical! Even though these colorful leaves can't be found on any natural tree (but can you imagine?!) I think they will add the perfect hint of color to your fall decor or Friendsgiving dinner. This tutorial features leaves from my fave party shop, Oriental Trading, and some Martha Stewart Paints. This garland is so easy to make that it's not even funny! If you've ever wanted to paint a tree but had no artistic talent, this project's for you! 

Dress up your Thanksgiving tablescape with this DIY Colorful Leaf Garland! These painted leaves will add a burst of color and are perfect for the kids’ table! #thanksgiving #kidstable #colorfulthanksgiving

You will need:

Burlap Leaves from Oriental Trading
Twine
Hot Glue Gun
Neon Paints* 
*The colors I used were Hydrangea Purple, Beach Glass, Orange Soda, Yellowjacket, and Date Night Pink

Even though these colorful leaves can't be found on any natural tree (but can you imagine?!) I think they will add the perfect hint of color to your fall decor or Friendsgiving dinner. This garland is so easy to make that it's not even funny! Click …

Step 1: If your paints are brand new, remove the seal. Deduct points if you were accidentally slightly squeezing the bottle and spewed neon paint all over yourself, then dropped the seal on the carpet, paint-side down.....

2. Cover your workspace with scrap paper. The paint will seep through the holes in the burlap, so be sure you have it adequately covered!

Even though these colorful leaves can't be found on any natural tree (but can you imagine?!) I think they will add the perfect hint of color to your fall decor or Friendsgiving dinner. This garland is so easy to make that it's not even funny! Click …

3. Paint the leaves with complimentary colors so that the original color gets covered up. Let dry. Flip over and paint the other side. If the color of the leaf is still seeping through, paint a second coat.

Even though these colorful leaves can't be found on any natural tree (but can you imagine?!) I think they will add the perfect hint of color to your fall decor or Friendsgiving dinner. This garland is so easy to make that it's not even funny! Click …

4. Repeat for as many leaves as you would like and let them dry overnight.

5. Cut a length of ribbon or twine long enough for your leaves plus a little extra to hang it. Glue the leaves onto the twine, evenly spaced out, starting at the center.

Even though these colorful leaves can't be found on any natural tree (but can you imagine?!) I think they will add the perfect hint of color to your fall decor or Friendsgiving dinner. This garland is so easy to make that it's not even funny! Click …

6. Hang up and enjoy!

Even though these colorful leaves can't be found on any natural tree (but can you imagine?!) I think they will add the perfect hint of color to your fall decor or Friendsgiving dinner. This garland is so easy to make that it's not even funny! Click …

And that's all there is to it! I think this would be a super fun pre-Friendsgiving day activity. You can invite over your gals, have some moscato, and paint leaves into the night while watching a rom-com! Then everyone gets a fun parting gift they can hang up and remember you by. It's super affordable too!

Even though these colorful leaves can't be found on any natural tree (but can you imagine?!) I think they will add the perfect hint of color to your fall decor or Friendsgiving dinner. This garland is so easy to make that it's not even funny! Click …
PPP Promo Blog Posts.png

So what do you think? Will you be inviting your besties over to create this colorful garland? What would you watch as you make it? Let me know in the comments below!

Easy Pineapple Garland DIY

A few weeks ago, I did a Michael's party supplies haul and I picked up some awesome tropical party supplies! Did you see those decorative straw balls and wonder what they can be used for? Well, wonder no more! I've created a super cute and super easy tutorial for a pineapple garland made from those kooky straw balls you see everywhere. The best part? This is a super easy and super affordable project that anyone can do! 

*Contains affiliate links

The perfect summer craft idea for a BBQ, end of summer party, or backyard decor! This easy garland only needs a few supplies and can even be strung up in your dorm room! #pineapplecrafts #summercrafts #garland
DIY Pineapple Garland- Cute and Easy!

 For this project, you will need:

Spray paint (here)
Green felt (here)
Faux Suede cord (here)
Straw balls (similar here)
Tweezers
Scissors (here)
Glue gun 

DIY Pineapple Garland- Cute and Easy! | WellKeptChaos

Step 1: Spray paint the balls yellow. You can also use paint but it's harder to get the inside of the balls

DIY Pineapple Garland- Cute and Easy! | WellKeptChaos

Step 2: Cut pineapple toppers out of the green felt. To do this, I cut a long rectangle out of the felt, then cut 2 triangles out the middle. Finally, I angled the sides so that it was long and narrow. This helps you have enough surface area to glue it down. 

DIY Pineapple Garland- Cute and Easy! | WellKeptChaos
Try this super cute and super easy tutorial for a pineapple garland made from those kooky straw balls you see everywhere. The best part? This is a super easy and super affordable project that anyone can do! Click for the full how-to.

Step 3: Find the front of the ball by picking the part that looks most oval. Be sure there is a good spot to glue the topper on. 

DIY Pineapple Garland- Cute and Easy! | WellKeptChaos

Step 4: Put a thin line of glue on the ball and place the topper on. Hold a few seconds until it dries. 

DIY Pineapple Garland- Cute and Easy! | WellKeptChaos

Step 5: Thread the faux suede through the ball in the area near the topper. Use tweezers to carefully pull the end through the holes. 

DIY Pineapple Garland- Cute and Easy! | WellKeptChaos

Step 6: Hang up and enjoy!

DIY Pineapple Garland- Cute and Easy! | WellKeptChaos

This is a super cute and easy DIY project that's perfect for summer. I think this project would also be adorable if you made the pineapples in all kinds of colors too! 

DIY Pineapple Garland- Cute and Easy! | WellKeptChaos

Dying to make more garlands? Check out my Pinterest board