Happy Home: Colorful Bar Decor

Earlier this week, I showed you how to make easy and affordable book art. Today, I wanted to show you how I styled my bar! We've had this piece of furniture since we lived at our small apartment, so it held all our drinking glasses and acted as an entry table. Now that we have a larger home, it's only the bar. It's been a bit neglected, so I wanted to spruce it up after I added our artwork. 

*This post contains affiliate links

Add a pop of color to your bar decor! Click to see how I styled mine for everyday use.

We bought our bar at Home Goods, but I found similar ones herehere and here. I wanted to set up my bar so that it would feature all my favorite items, while still being really colorful and simple to use. You don't really want to cover it in junk that needs to be removed every time you want to make a drink, right? 

Add a pop of color to your bar decor! Click to see how I styled mine for everyday use.

I started by using my zebra tray for a drink station. I added some cute cactus glasses and my adorable confetti shaker. I love paper straws, since they are more colorful and better for the environment. I added some of my faves for easy access, and stored them in a tall shot glass/champagne flute. I put the cups on my cute glitter coasters and added painted animal and disco ball drink stirrers. I also featured my adorable Life is the Bubbles champagne flute that's handmade and oh so cute!

Add a pop of color to your bar decor! Click to see how I styled mine for everyday use.

Since there was a random empty spot in the middle, I needed something with height that didn't block the light switch. I decided to add some fun and colorful books. I don't really read these books too often (if at all) so I thought they would look nice featured on the bar instead of stuffed on my bookshelf for a change. I also added my painted sketch book that I use a lot to sketch blog post ideas, home decor ideas, etc. It added some color and pizzazz to the whole thing.

Add a pop of color to your bar decor! Click to see how I styled mine for everyday use.

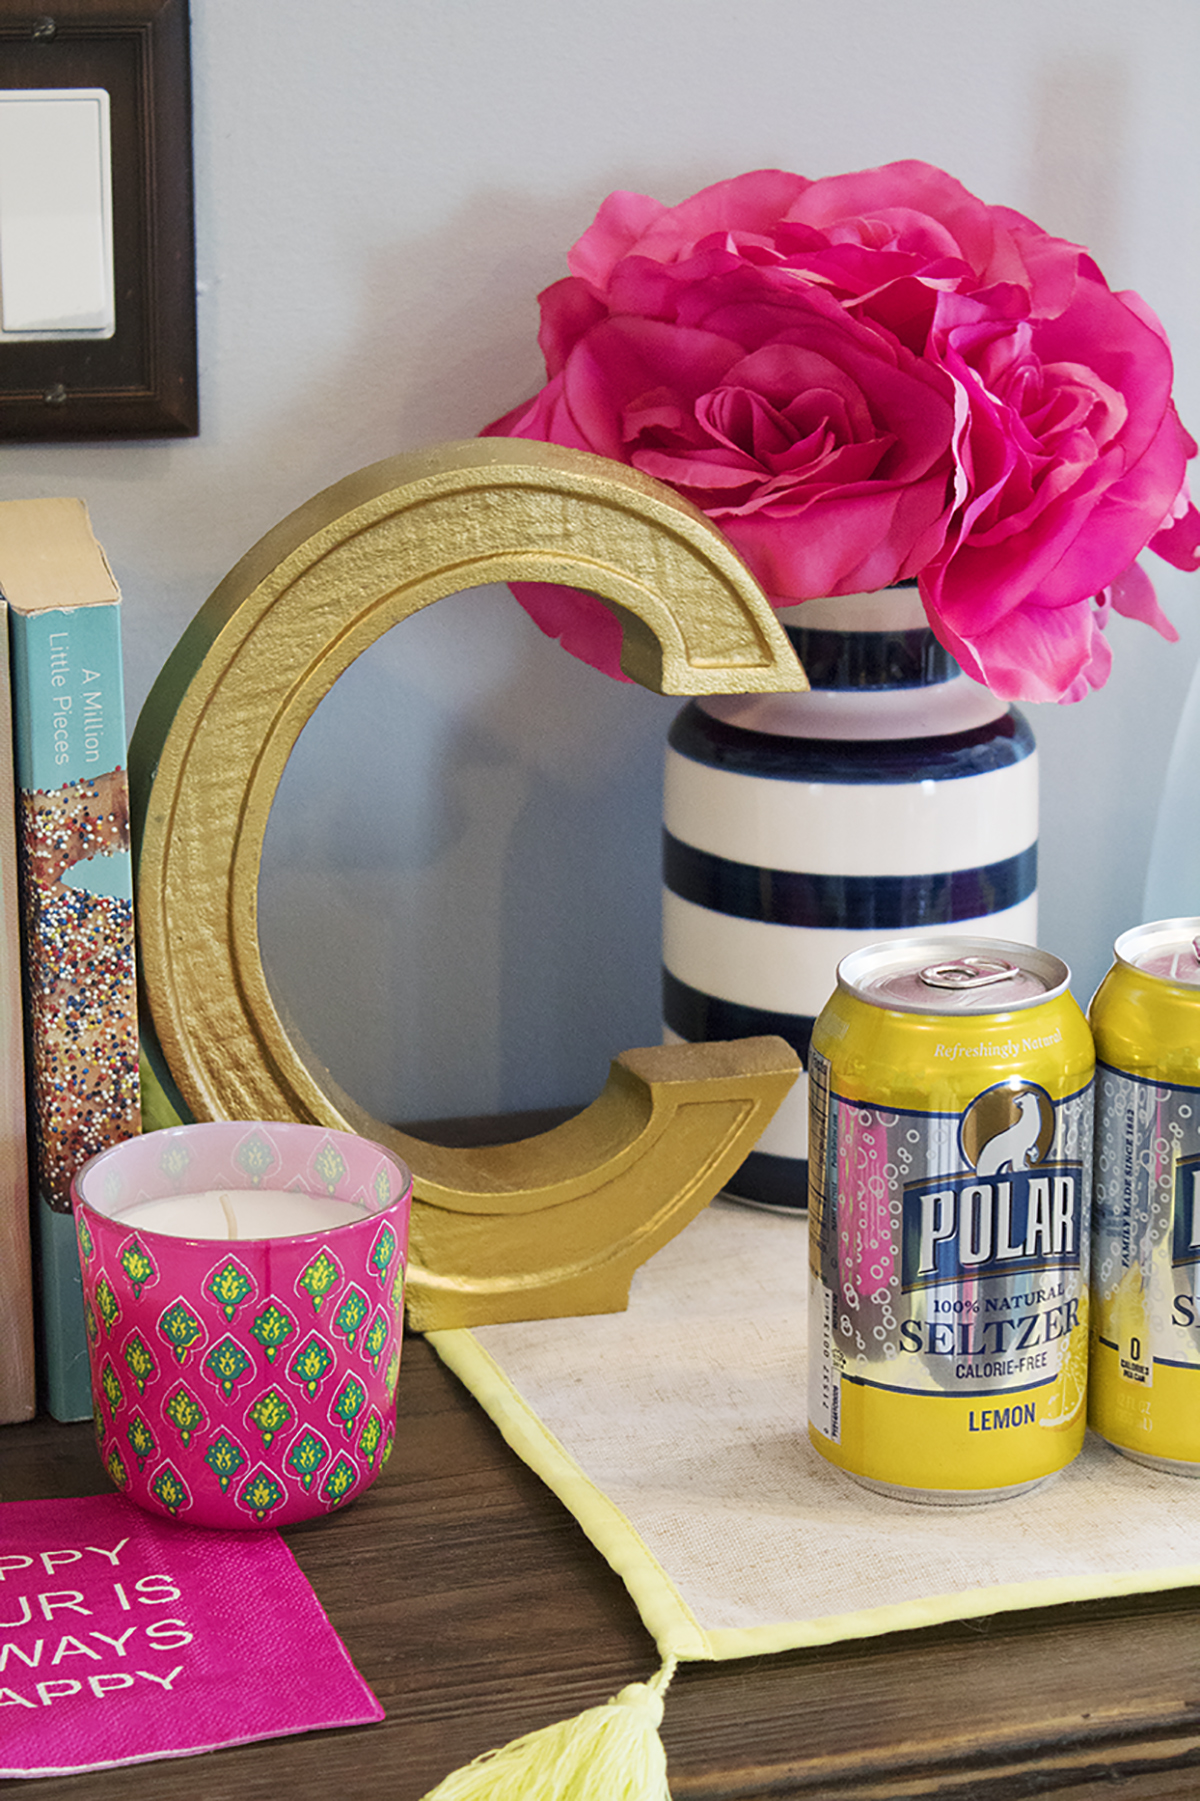
In the corner, I featured some of my favorite liquors (or are they liqueurs?) and my favorite drinking glass, a pink ombre wine glass (similar). I had two but one sadly broke, so it's extra special to me now haha. Some Polar seltzers as mixers help guests to serve themselves, while fake flowers add some elegance without any upkeep.

Add a pop of color to your bar decor! Click to see how I styled mine for everyday use.

I placed these items on an extra placemat I had from my dining table, and a C (for Cardona) statue thingy that I usually put on my entry table. I thought it looked really elegant amongst all the colorful bar items. For a finishing touch, I added my pineapple garland to add a bit of whimsy to the space.

Add a pop of color to your bar decor! Click to see how I styled mine for everyday use.

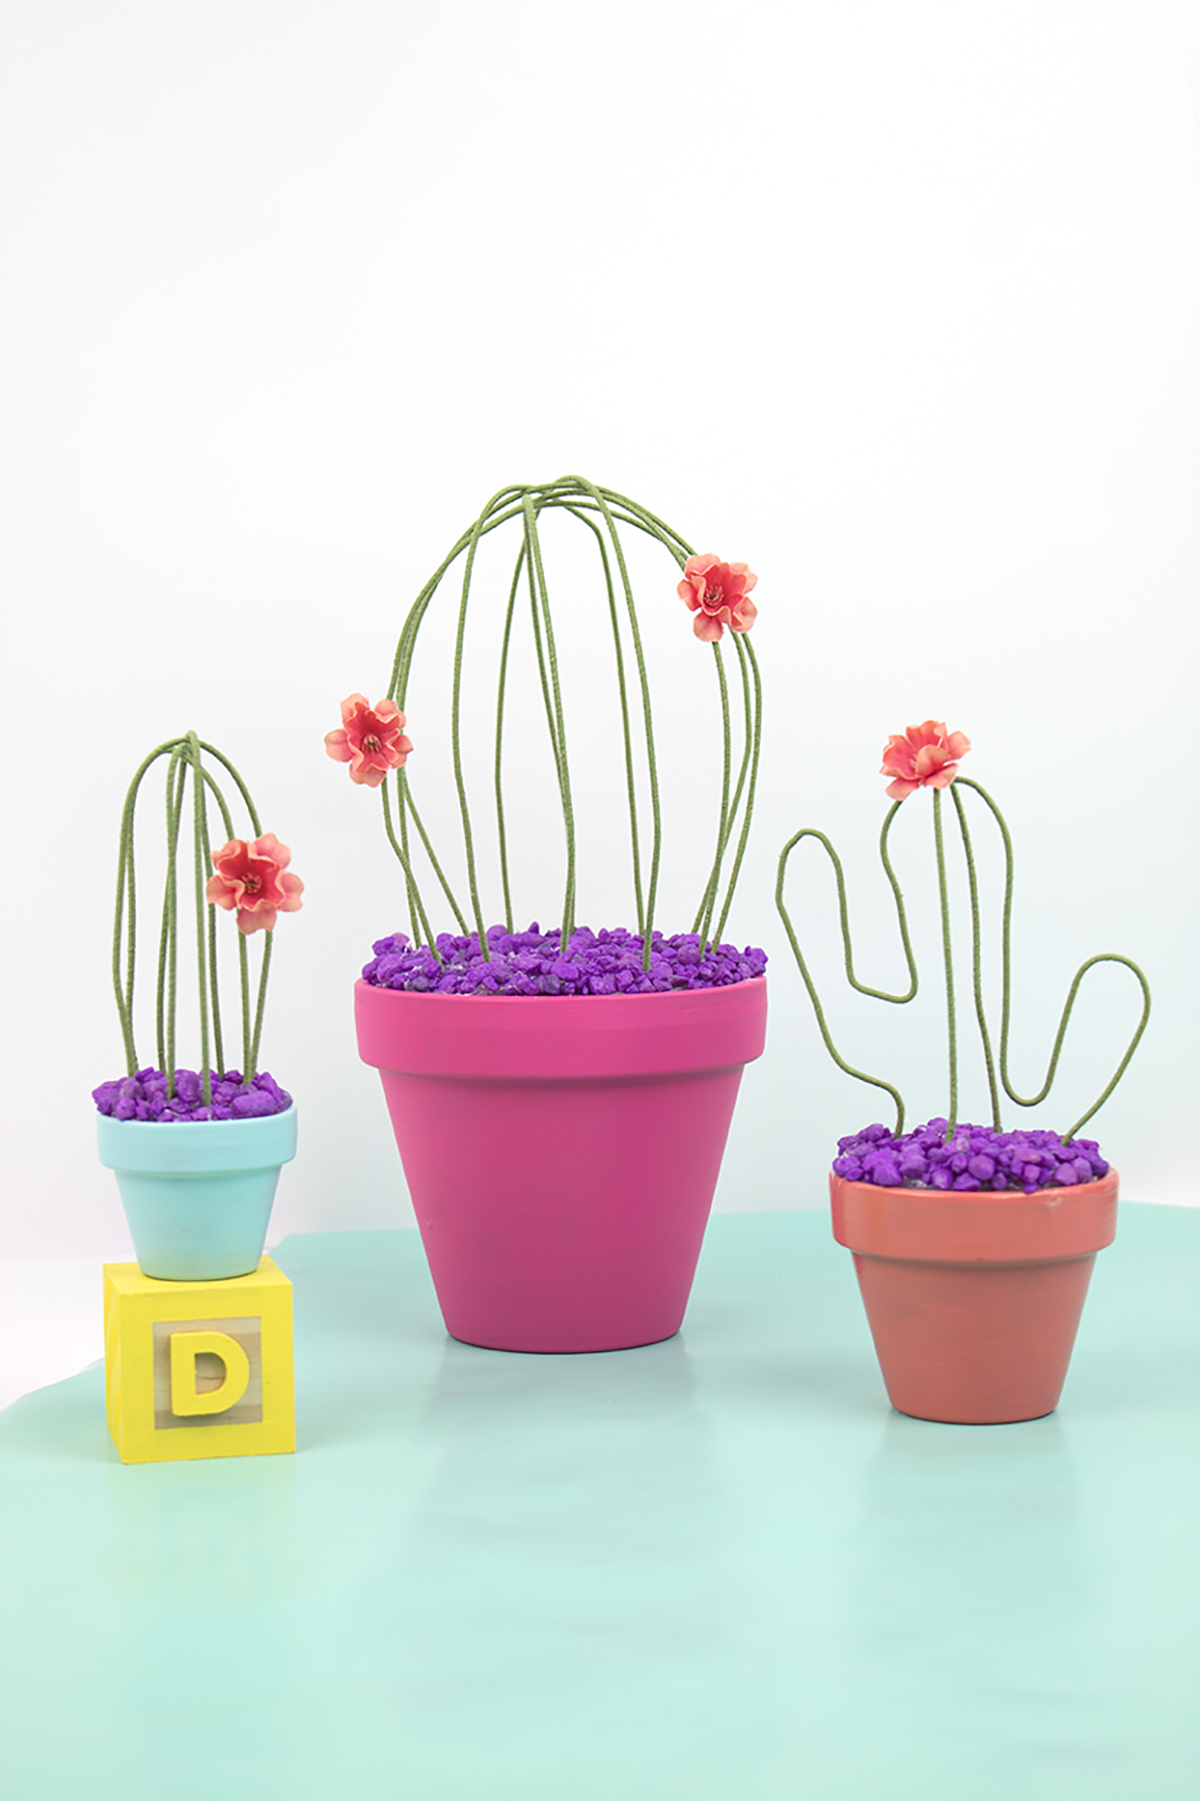
To fill in the gaps, I gathered some random decor items from my home. I had these fake potted plants from an Easter DIY so I added them in for some color. I love these candles that I got from Ikea so I added those as well. Some appropriately themed napkins added a finishing touch and an extra pop of color.

Add a pop of color to your bar decor! Click to see how I styled mine for everyday use.

If you want to have a bar in your home for parties but don't have room for a permanent piece of furniture, I highly recommend this foldable bar cart. It's really compact, sturdy and it works indoor and out! It's really versatile and I love mine. It's also a great add-on for bigger parties.

Do you have bar cart at home? How do you style it? Let me know in the comments below!

DIY Monogram Stockings

So, it's happened. Christmas is over! If you're like me, you're sadly putting away your decorations until next year, while simultaneously scouring the stores for new discount Christmas decor and supplies. Plain stockings are abundant, but what can you really do with those? Well, how about adding a monogram for every member of your family!? Aside from being stinking adorable, these stockings make great place settings at the dinner table. Just tuck a few utensils in them, or use them for a crafting party. The options are endless!

Plain stockings are abundant, but what can you really do with those? Well, how about adding a monogram for every member of your family!? Click for the full tutorial.

You will need:

Plain stockings are abundant, but what can you really do with those? Well, how about adding a monogram for every member of your family!? Click for the full tutorial.

White Stockings
Acrylic paint (here)
Foam Brush (here)
Stencils (here)
Tassels (here)
Pom poms (here)
Needle & thread
Painter's tape or washi tape
Scissors

Directions:

Plain stockings are abundant, but what can you really do with those? Well, how about adding a monogram for every member of your family!? Click for the full tutorial.

1. Decide which style of letter you want to use, and collect the letters you need for your stockings.

2. Place your stencil on the stocking and tape it in place.

3. Using a foam brush, paint on the letter. My stencil didn't lay 100% flat, so I had to press it down while I painted so paint didn't seep through. Once you've made sure there are no missing spots, carefully peel off the stencil.

4. While your letters dry, start making your pom pom tassel charms. Take a needle and thread, and string it through your pom poms. Then, add a tassel charm, and sew back up through the pom poms.

Plain stockings are abundant, but what can you really do with those? Well, how about adding a monogram for every member of your family!? Click for the full tutorial.

Voila! That's all you need for these adorable monogrammed stockings. Mine are mini sized, but you can definitely get a set of larger ones to hang by the fireplace!

Easy Striped Halloween Art

It's FALL!!! Halloween is almost here!!! YAYYYY!

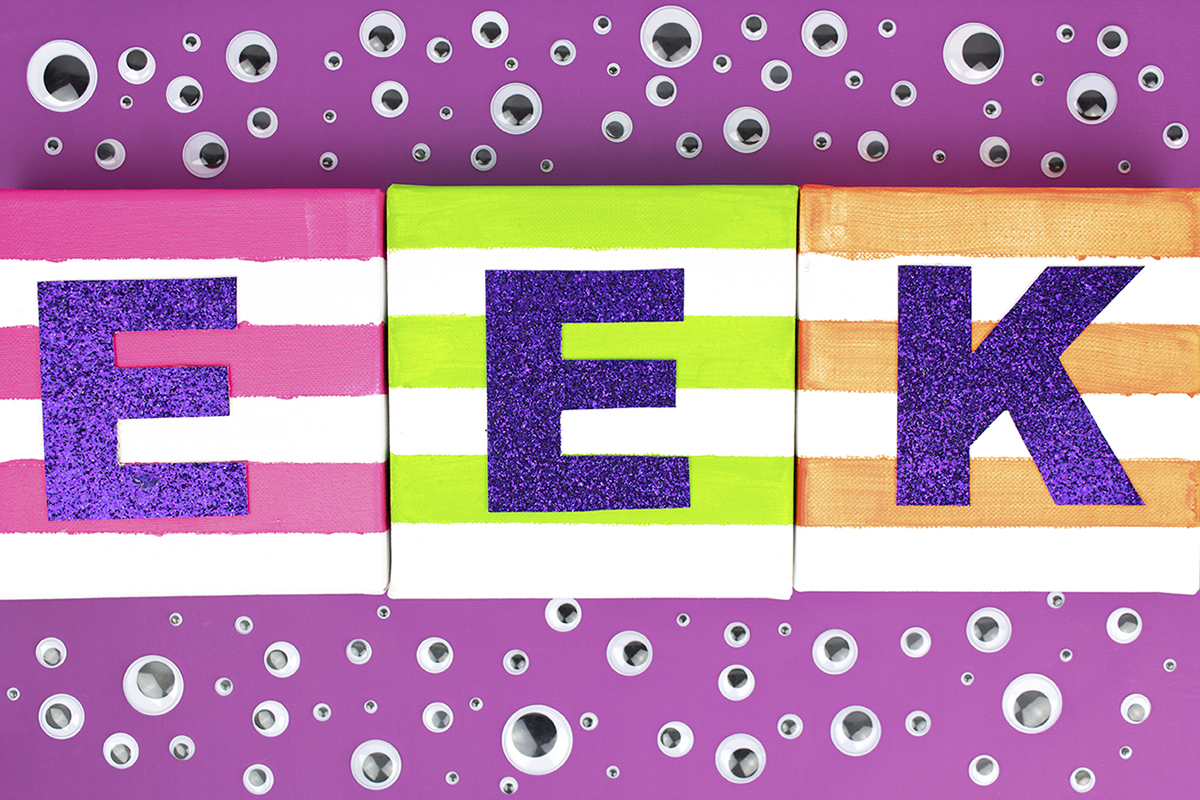
Ok, I think I'm a little bit too excited about Halloween, but I just can't help it. Halloween is one of my favorite holidays, and fall is my favorite season! This week, I whipped out my Halloween decorations, and started to decorate. While I love the traditional black and orange, I wanted something with a little more color to add a pop to my usual Halloween decor. Lucky for me, I knew just what to do! And lucky for you, I made a DIY for ya ;)

While I love the traditional black and orange, I wanted something with a little more color to add a pop to my usual Halloween decor. Click to check out the easy DIY! #halloweenart #diyhalloween #halloweencrafts

You will need:

While I love the traditional black and orange, I wanted something with a little more color to add a pop to my usual Halloween decor. Click to check out the easy DIY! #halloweenart #diyhalloween #halloweencrafts

Square canvas (here)
Glitter Paper (from the craft store, similar here)
X-Acto Knife (here)
1" Painter's Tape (here)
T-Square or Ruler (here)
Neon Paint (similar here)
Scissors (here)
Pencil
Paint Brush

How to:

While I love the traditional black and orange, I wanted something with a little more color to add a pop to my usual Halloween decor. Click to check out the easy DIY! #halloweenart #diyhalloween #halloweencrafts

1. Using your T-Square or ruler, make lines going across the sides of your canvas at every inch. Flip it, and make lines on the other side. We are doing this so that we know where our tape needs to go without making lines on the front. We want our lines to be as straight as possible!

2. Add your tape, starting at one end, wrapping across the front, and lining up on the other side. Press it down so the paint doesn't sneak in like mine did ;)

3. Paint your canvas, making sure to get the sides too. I found the neon paint to be a bit thin, so I did a few coats. 

4. When your paint is dry, peel off the tape .

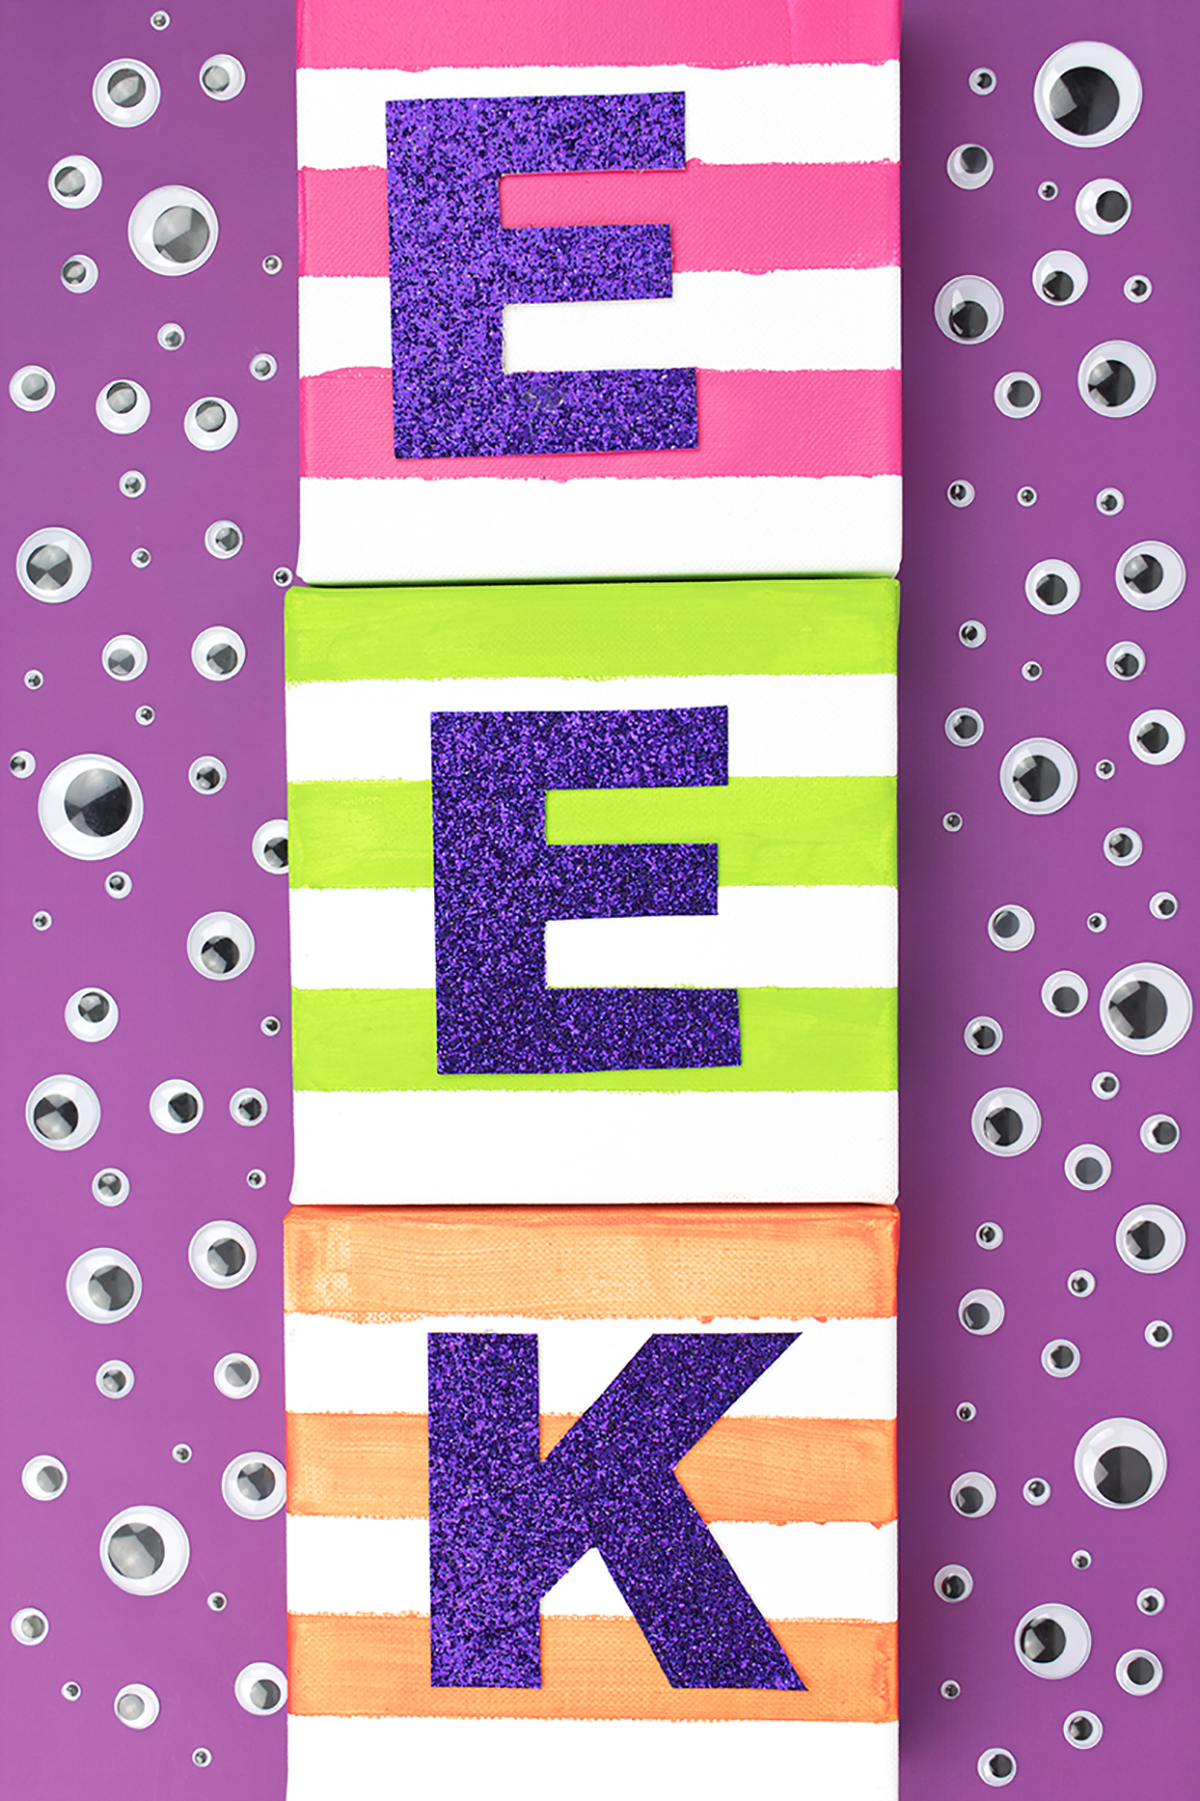
4. Create large letters on your computer and print. I did EEK because it would be easier to cut out, but you can do anything! I cut out my printed letters, traced them onto the glitter paper (BACKWARDS!) and then cut them out using scissors, and an X-Acto knife for the smaller parts. I use this cutting mat to protect my work surface and love it! 

While I love the traditional black and orange, I wanted something with a little more color to add a pop to my usual Halloween decor. Click to check out the easy DIY! #halloweenart #diyhalloween #halloweencrafts

5. Hot glue your letters onto your canvas. You'll want to make marks so it's centered, by making a very faint line on the canvas and then gluing the letter right on top.

While I love the traditional black and orange, I wanted something with a little more color to add a pop to my usual Halloween decor. Click to check out the easy DIY! #halloweenart #diyhalloween #halloweencrafts

"Eye" hope you liked this post! If you're not into the whole neon Halloween thing, you can definitely change it up to the classic black and orange. Or, if Halloween isn't your thing at all, you can make one of these and use it as a monogram decor in your home! The possibilities are endless. You can make these for every holiday! Especially if you get the canvases on sale with a coupon from Michael's (which is what I did!)

While I love the traditional black and orange, I wanted something with a little more color to add a pop to my usual Halloween decor. Click to check out the easy DIY! #halloweenart #diyhalloween #halloweencrafts

What's your favorite color combo for Halloween? Do you like to keep it classic? Try new things? Hate Halloween in general? Let me know in the comments below!

DIY Fruit Slice Container

Ohhh hey summer babes! Can you believe it's Mid-August?! Summer is coming to an end, and I'm a little bit bummed. It went by really quickly (as summers usually do) but it was fun, despite being so busy with wedding planning! Ever since I was a kid, summer always held a special place in my heart. One of my favorite things about summer is enjoying a sweet, juicy piece of fruit on a hot day. Bonus points if it was in the fridge! Since I had some time to create one last summer craft, I decided to pay homage to my love of fruit by creating this fruit slice container. It's perfect for storing all your little knick-knacks, like rings, hair ties, or even fortune cookie fortunes!

One of my favorite things about summer is enjoying a sweet, juicy piece of fruit on a hot day. Since I had some time to create one last summer craft, I decided to pay homage to my love of fruit by creating this fruit slice container. It's perfect fo…

You can find everything you need to make these containers (and more!) at Oriental Trading. They're one of my favorite places to shop online, since they have everything you need for weddings and for craft projects! So invite your besties over for a craft day, and let's have some fun!

One of my favorite things about summer is enjoying a sweet, juicy piece of fruit on a hot day. Since I had some time to create one last summer craft, I decided to pay homage to my love of fruit by creating this fruit slice container. It's perfect fo…

You will need:

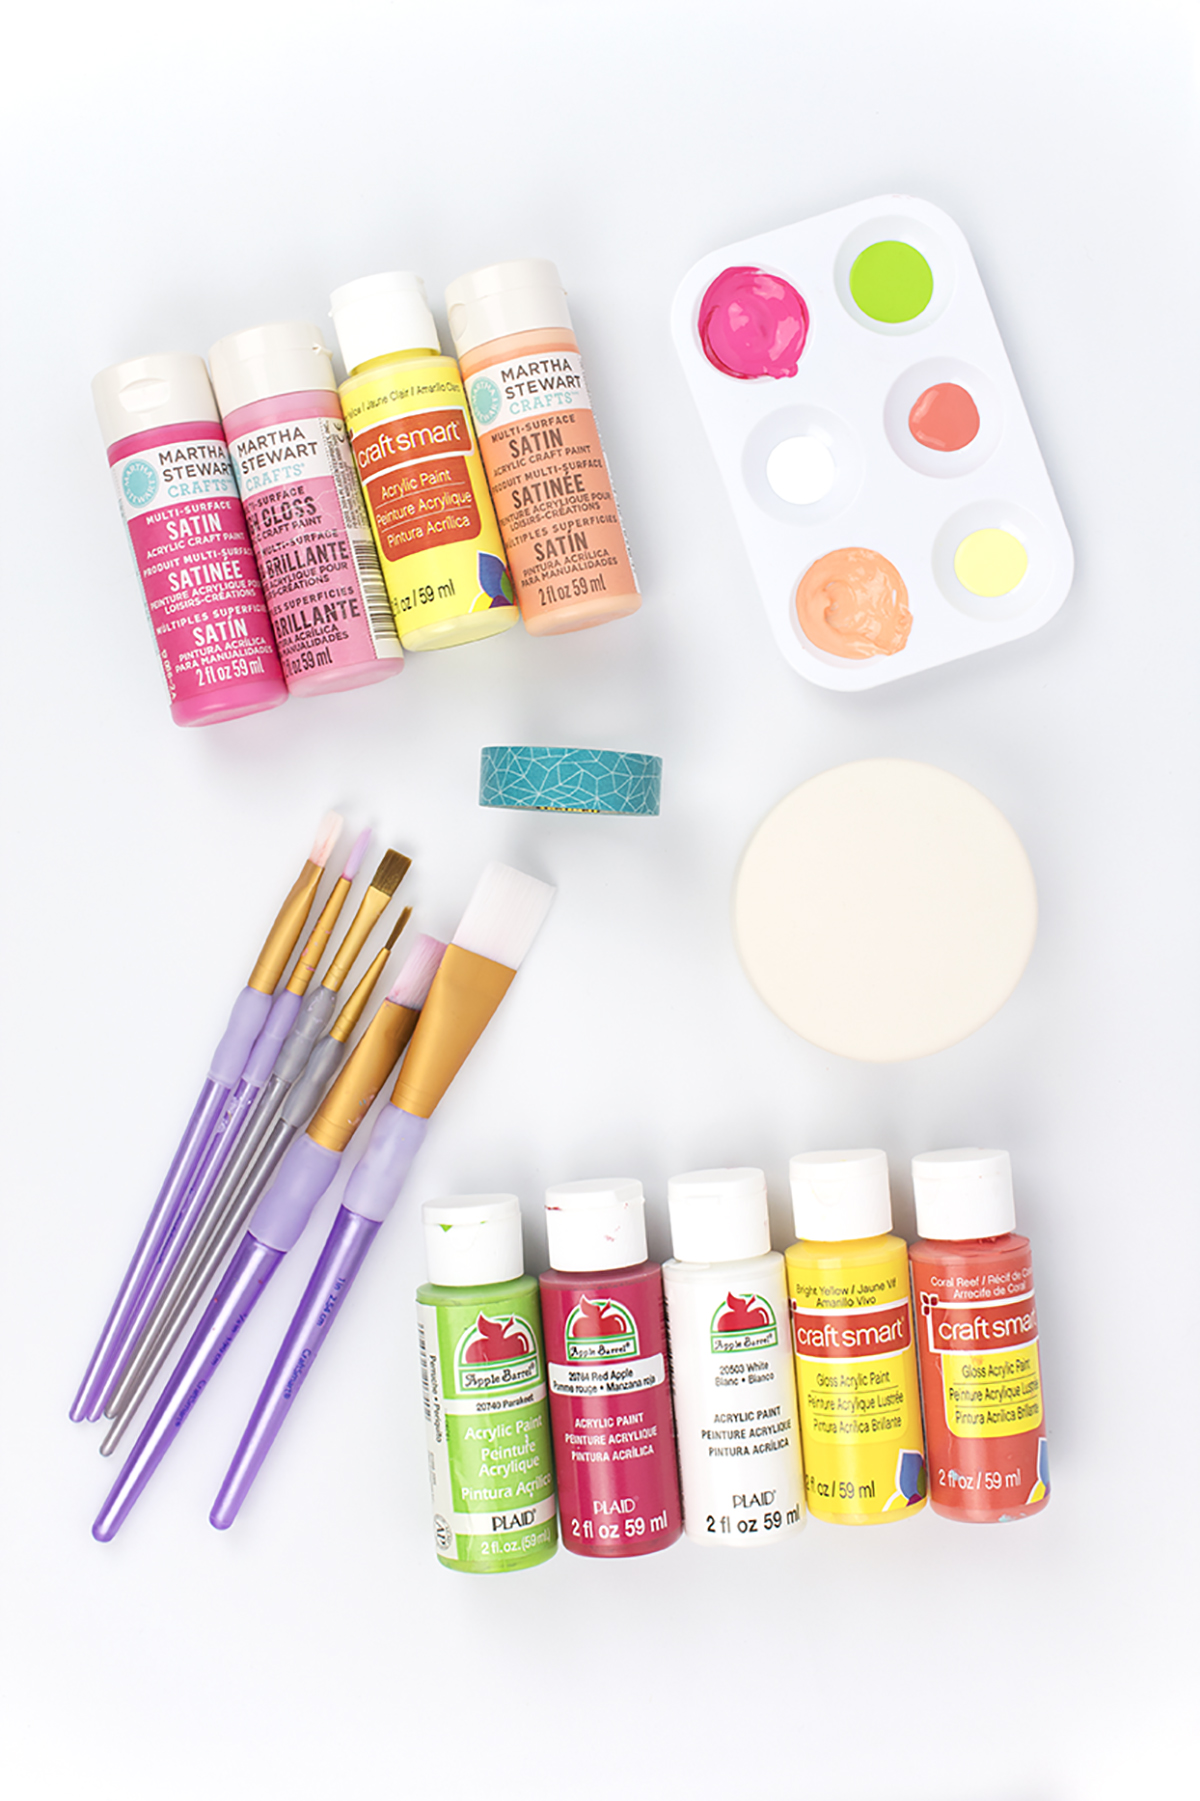
Acrylic Paint (here)
Paintbrushes (here)
Paint Palette (here)
Washi Tape (here)
Round Ceramic Container (here)
Mod Podge (here)
Colorful Sharpies (here)

One of my favorite things about summer is enjoying a sweet, juicy piece of fruit on a hot day. Since I had some time to create one last summer craft, I decided to pay homage to my love of fruit by creating this fruit slice container. It's perfect fo…


For the Citrus Slices:

  1. Paint your lid and the inside of your container white.

  2. Using your stickers and tape, create a spoke pattern with a circle in the middle.

  3. Paint your exposed sections in your choice of color.

  4. Paint the rest of the container (the bottom) to match the peel.

  5. Remove the tape and add a rim for the rind.

  6. Paint with mod podge to prevent scratches.

  7. Write a funny note in the container.

One of my favorite things about summer is enjoying a sweet, juicy piece of fruit on a hot day. Since I had some time to create one last summer craft, I decided to pay homage to my love of fruit by creating this fruit slice container. It's perfect fo…

For the Watermelon Slices:

One of my favorite things about summer is enjoying a sweet, juicy piece of fruit on a hot day. Since I had some time to create one last summer craft, I decided to pay homage to my love of fruit by creating this fruit slice container. It's perfect fo…


  1. Paint the top reddish-pink and the inside white.

  2. Add a green rim around the red top to create the rind.

  3. Paint the rest of the container (the bottom) green.

  4. Add seeds using paint and a thin paint brush.

  5. Write a funny note in the container.

One of my favorite things about summer is enjoying a sweet, juicy piece of fruit on a hot day. Since I had some time to create one last summer craft, I decided to pay homage to my love of fruit by creating this fruit slice container. It's perfect fo…

Yay summer! I'm such a hoarder of small containers. I have them everywhere, and sometimes I have smaller containers within larger containers. I think I'm an addict. 

What do you keep in your little containers? Let me know in the comments below!

DIY Colorful Leaf Garland

One of my favorite things about the fall is the leaves changing colors. For a few weeks, the world looks like a painting and it's so magical! Even though these colorful leaves can't be found on any natural tree (but can you imagine?!) I think they will add the perfect hint of color to your fall decor or Friendsgiving dinner. This tutorial features leaves from my fave party shop, Oriental Trading, and some Martha Stewart Paints. This garland is so easy to make that it's not even funny! If you've ever wanted to paint a tree but had no artistic talent, this project's for you! 

Dress up your Thanksgiving tablescape with this DIY Colorful Leaf Garland! These painted leaves will add a burst of color and are perfect for the kids’ table! #thanksgiving #kidstable #colorfulthanksgiving

You will need:

Burlap Leaves from Oriental Trading
Twine
Hot Glue Gun
Neon Paints* 
*The colors I used were Hydrangea Purple, Beach Glass, Orange Soda, Yellowjacket, and Date Night Pink

Even though these colorful leaves can't be found on any natural tree (but can you imagine?!) I think they will add the perfect hint of color to your fall decor or Friendsgiving dinner. This garland is so easy to make that it's not even funny! Click …

Step 1: If your paints are brand new, remove the seal. Deduct points if you were accidentally slightly squeezing the bottle and spewed neon paint all over yourself, then dropped the seal on the carpet, paint-side down.....

2. Cover your workspace with scrap paper. The paint will seep through the holes in the burlap, so be sure you have it adequately covered!

Even though these colorful leaves can't be found on any natural tree (but can you imagine?!) I think they will add the perfect hint of color to your fall decor or Friendsgiving dinner. This garland is so easy to make that it's not even funny! Click …

3. Paint the leaves with complimentary colors so that the original color gets covered up. Let dry. Flip over and paint the other side. If the color of the leaf is still seeping through, paint a second coat.

Even though these colorful leaves can't be found on any natural tree (but can you imagine?!) I think they will add the perfect hint of color to your fall decor or Friendsgiving dinner. This garland is so easy to make that it's not even funny! Click …

4. Repeat for as many leaves as you would like and let them dry overnight.

5. Cut a length of ribbon or twine long enough for your leaves plus a little extra to hang it. Glue the leaves onto the twine, evenly spaced out, starting at the center.

Even though these colorful leaves can't be found on any natural tree (but can you imagine?!) I think they will add the perfect hint of color to your fall decor or Friendsgiving dinner. This garland is so easy to make that it's not even funny! Click …

6. Hang up and enjoy!

Even though these colorful leaves can't be found on any natural tree (but can you imagine?!) I think they will add the perfect hint of color to your fall decor or Friendsgiving dinner. This garland is so easy to make that it's not even funny! Click …

And that's all there is to it! I think this would be a super fun pre-Friendsgiving day activity. You can invite over your gals, have some moscato, and paint leaves into the night while watching a rom-com! Then everyone gets a fun parting gift they can hang up and remember you by. It's super affordable too!

Even though these colorful leaves can't be found on any natural tree (but can you imagine?!) I think they will add the perfect hint of color to your fall decor or Friendsgiving dinner. This garland is so easy to make that it's not even funny! Click …
PPP Promo Blog Posts.png

So what do you think? Will you be inviting your besties over to create this colorful garland? What would you watch as you make it? Let me know in the comments below!