Bridesmaid Brunch Craft Party Ideas

Let's get real here: wedding planning isn't exactly as glamorous as you imaged it to be. There are a lot of moving parts, tons of decisions to be made, and a whole lot of DIYs you want to try. Planning a wedding kind of becomes a part time job, except you're spending money instead of making it. So, rather than spending your weeknights filled with tears crafting 100+ favors, why not invite your friends or bridesmaids over for a fun crafternoon?! You can pop a bottle of rose, have some finger foods, and take bets on who's going to cry during the ceremony (like your Aunt Bertha, who cries over everything). 

Wedding planning got you down? Take a (short) break and invite your friends over for a crafting brunch party! It's super affordable with Oriental Trading. Click the photo to learn more!

Since you're already spending a ton on wedding related things, I know what you're thinking. You don’t need one extra thing to spend a ton of cash on. Well, fear not my friends! Oriental Trading is your party headquarters, and everything is SO affordable! With their new Marry Me section, you'll find all their wedding-worthy supplies in one place, for a great low price. They've got everything you need for the bridal shower, the ceremony, reception, and more! The options are seriously limitless, and there are tons of ideas under many of their products, showing you how to use them.

*Note: This post is a collaboration with Oriental Trading, but all opinions are my own. My love affair with them started way back when I first got their catalogs as a kid!

Wedding planning got you down? Take a (short) break and invite your friends over for a crafting brunch party! It's super affordable with Oriental Trading. Click the photo to learn more!

Think about how much time you’ll save by having your friends join you in crafting, and how much fun it’ll be! During a time of intense stress and worry, you need a break to hang with your girls and laugh. Plus, it'll be a nice way to say "thank you" if you've been a little bit of a grumpy bridezilla lately. 

Table Setup

Wedding planning got you down? Take a (short) break and invite your friends over for a crafting brunch party! It's super affordable with Oriental Trading. Click the photo to learn more!

To set up the table, I stuck with a simple white (disposable) tablecloth. Since crafting can get messy, I added a table runner using easel paper to catch any spills. I gave each person a place setting for snacking, which was cute and colorful! I started with a square gold dot plastic dessert plate as sort of a charger, topped with a hot pink plate for a pop of color. Each person gets a set of gorgeous gold utensils and a hot pink napkin to keep things tidy, as well as a paint palette for their watercolors.

Wedding planning got you down? Take a (short) break and invite your friends over for a crafting brunch party! It's super affordable with Oriental Trading. Click the photo to learn more!

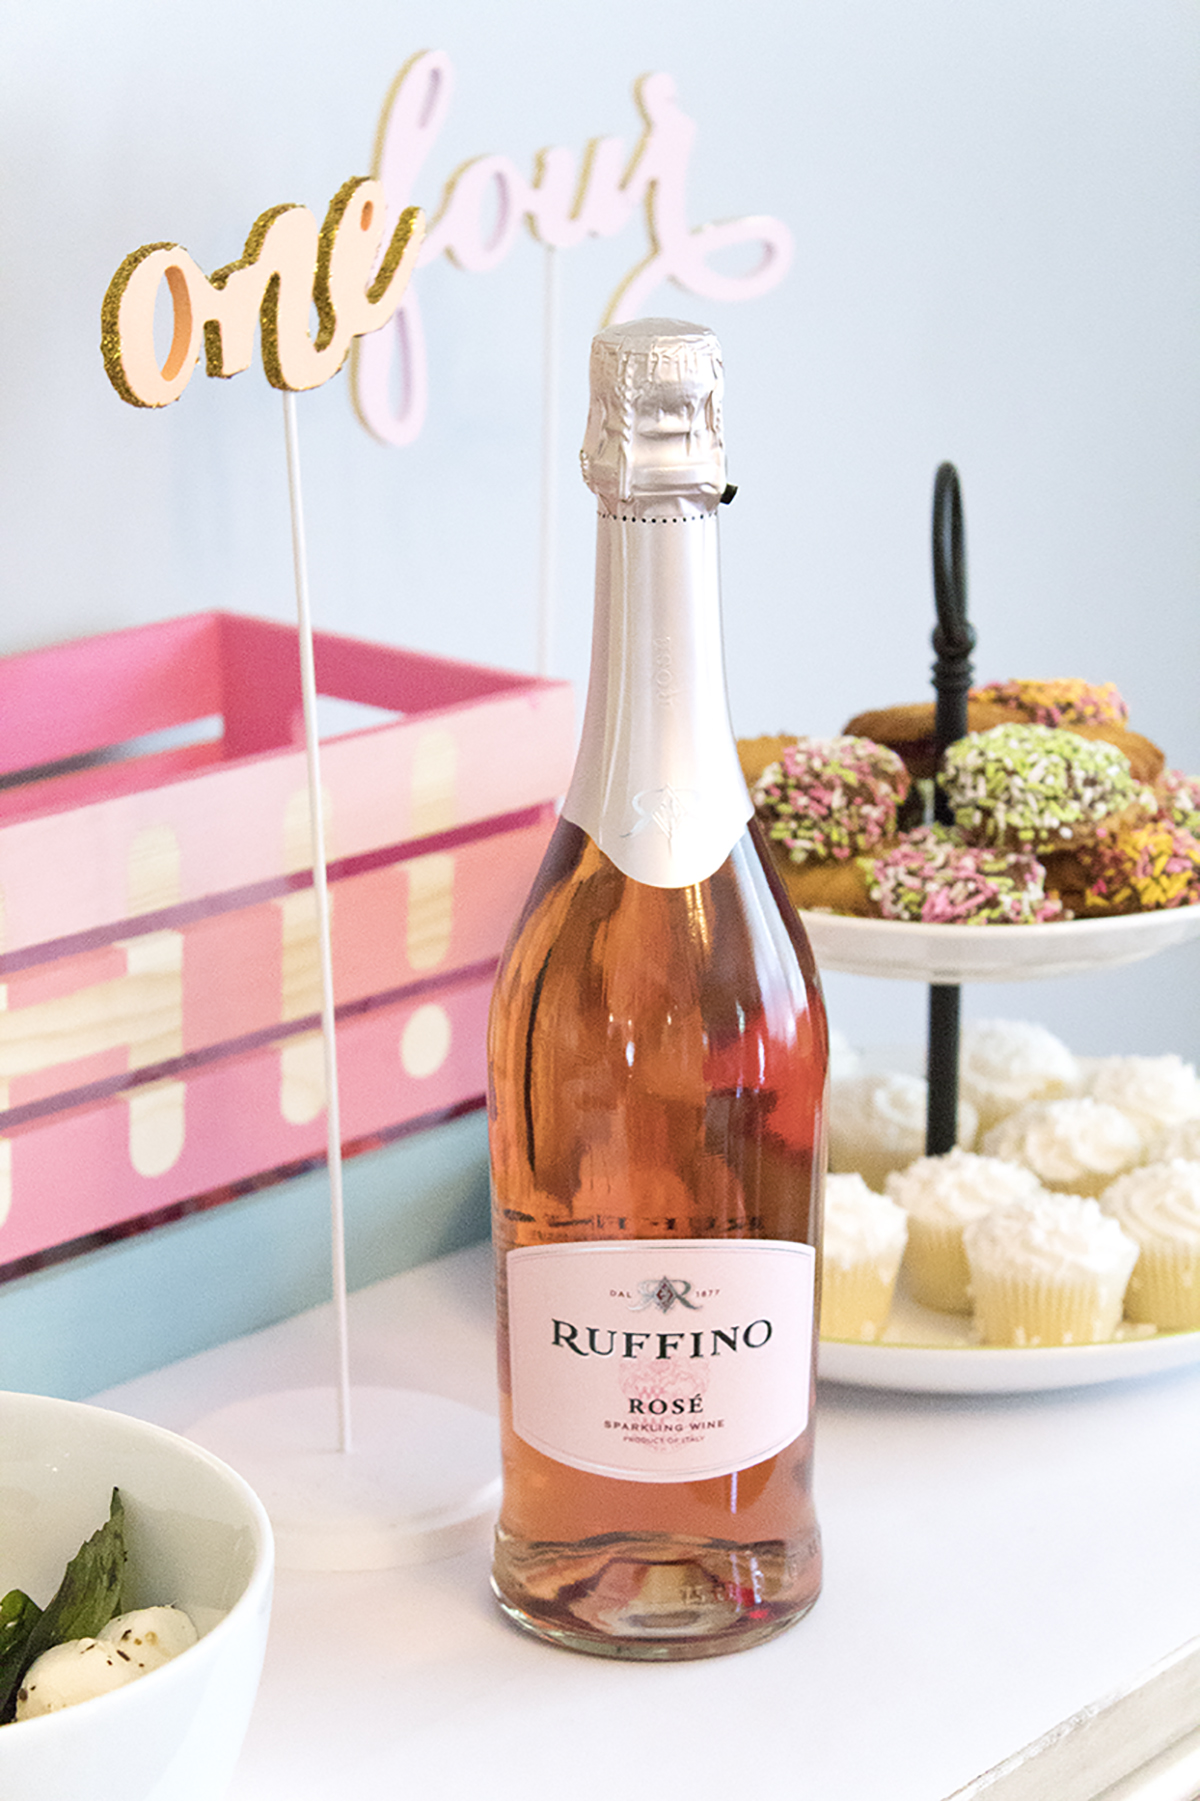
Everything is more fun with a glass of wine, so each gal gets a really cute purple wine glass for her rose with a gold striped strawClear cupcake stands put the jordan almonds on a pedestal, making it easier for everyone to reach them. 

Wedding planning got you down? Take a (short) break and invite your friends over for a crafting brunch party! It's super affordable with Oriental Trading. Click the photo to learn more!

I kept the rest of the decorations simple by propping up my Pop Fizz Clink sign from my Disney-Themed Backyard Engagement Party. Finger foods and small desserts finish up the fun. P.S.- the white easel paper would be the perfect backdrop for using colorful sharpies to label what's what!

Wedding planning got you down? Take a (short) break and invite your friends over for a crafting brunch party! It's super affordable with Oriental Trading. Click the photo to learn more!

 The Crafts

A few weeks ago, I showed you 3 fun projects you can make using Oriental Trading products to add a pop of color to your wedding. These projects are perfect to make with your besties or bridesmaids!

Jordan Almonds

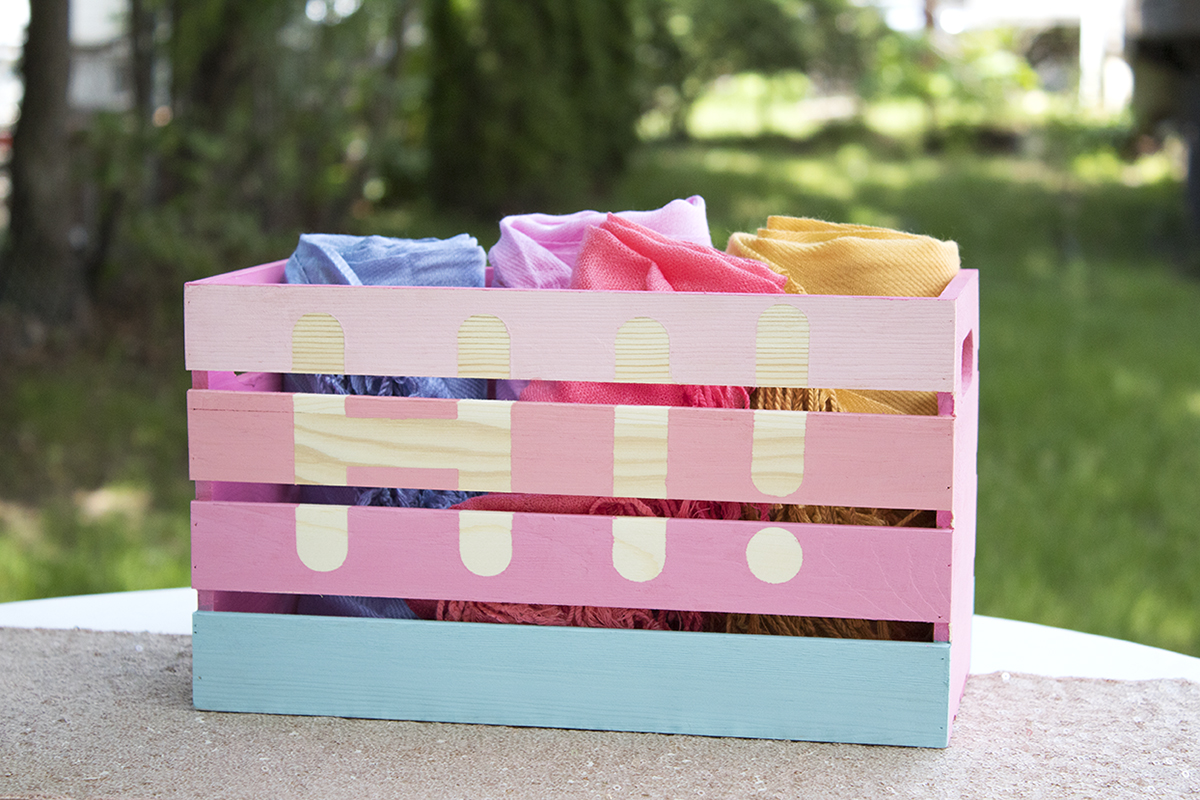
Place all your almonds in decorative bowls with a spoon for easy scooping. Keep your tulle, ribbon, and charms nearby so that it's easy for everyone to assemble. I also recommend pre-cutting the ribbon to ensure that it's all uniform and to prevent waste. The full DIY is here.

Wedding planning got you down? Take a (short) break and invite your friends over for a crafting brunch party! It's super affordable with Oriental Trading. Click the photo to learn more!


Table Numbers

Have your friends help out by painting the table numbers. I did about 3 coats on each one, so it's definitely time consuming! I recommend enlisting an especially crafty friend for the glitter and/or gold foil. It can get complicated and messy, so you definitely want someone precise to handle it! The full DIY is here.

Wedding planning got you down? Take a (short) break and invite your friends over for a crafting brunch party! It's super affordable with Oriental Trading. Click the photo to learn more!


Watercolor Escort Cards

When you get all your friends together, you've got to do this super fun project! It's seriously easy and best of all, really fun!

Looking for an easy and affordable way to guide people to their seats? This.is.it! The full how-to is on the blog, along with ideas on how to get your bridesmaids to help! Click the photo to learn more.

You will need:

Watercolor Paints (here)
Paintbrushes (similar here)
Paint Palette (here)
White Place Cards (here)
Gold Sharpie (here)

Looking for an easy and affordable way to guide people to their seats? This.is.it! The full how-to is on the blog, along with ideas on how to get your bridesmaids to help! Click the photo to learn more.

Each gal will get a set of watercolor paintbrushes, as well as a paint palette. Grab your watercolor paints and your white place cards and give each card a unique look. I added layers of complimentary colors for variation, but it still looks cohesive.

Looking for an easy and affordable way to guide people to their seats? This.is.it! The full how-to is on the blog, along with ideas on how to get your bridesmaids to help! Click the photo to learn more.

Once they're all dry, use a gold sharpie to add a name and a table number to guide people to their seats in style. Write the names in script, or make it fancy with some faux calligraphy!

Looking for an easy and affordable way to guide people to their seats? This.is.it! The full how-to is on the blog, along with ideas on how to get your bridesmaids to help! Click the photo to learn more.

I did the script freehand, but I think if you either got someone to do calligraphy, picked a friend with fancy handwriting, or printed the names on the cards, it would look even better! Be sure to make some extras, as you're bound to mess up a few of them while writing.

Looking for an easy and affordable way to guide people to their seats? This.is.it! The full how-to is on the blog, along with ideas on how to get your bridesmaids to help! Click the photo to learn more.

Woo! I'm not sure about you guys, but a bridesmaid crafternoon brunch party seems like exactly what I need to get over these pre-wedding blues! A few laughs does everyone a world of good. Be sure to check out Oriental Trading's new Marry Me section for everything you'll need for this party, the bridal shower, the wedding, and beyond! 

What's been the hardest part of wedding planning for you? For me, it's been the fact that my mom, sister, and friends live kinda far away, so I've been doing it (cue Eric Carmen) all by myyyseeelllfff. I wish I had them to help/laugh/decide on things. How about you? Let me know in the comments below!

Adding a Pop of Color to Your Wedding

When you think of weddings, you think of white. While some may see that as very limiting, I see it as a blank canvas to incorporate any color you wish. Often, people add "wedding colors" and it's usually one shade of a color, like a deep purple or emerald green or blush pink. What if, instead of focusing on one color, you added shades of many colors? I think it would be a lot more fun (and a lot less stressful) to fill your wedding with complimentary hues. 

When it comes to adding some color (and fun!) to your wedding, look no further than Oriental Trading. They've got everything you need for weddings, whether you want to do a few crafts projects, get something that's personalized, or something that's ready to go out of the box. Plus, with their new Marry Me page of their website, all the wedding items are in one easy to find place. I call that a win-win.

*Note: This post is a collaboration with Oriental Trading, but all opinions are my own. My love affair with them started way back when I first got their catalogs as a kid!

Let those table numbers stand out! Click to see how I added a modern twist to this traditional wedding element, along with 2 other ideas to add a pop of color to your wedding!

Oriental Trading has everything you need to craft any project for a wedding or a party. Today, I've got 3 fun and easy projects you can make using Oriental Trading products and craft supplies. I've linked all the products I've used, so you've got everything you need in one easy-to-find place! Ok, enough with my blabbing... Let's get crafting!

Jordan Almonds 

Jordan Almonds don’t have to be boring! Click to see how I added a modern twist to this traditional wedding element, along with 2 other ideas to add a pop of color to your wedding!

You will need:

Jordan Almonds in your wedding colors (I used coral, light blue, and pink)
White Tulle (here)
Contrasting Ribbon (here)
Thank You Charms (here)
Spoon (here)

Jordan Almonds don’t have to be boring! Click to see how I added a modern twist to this traditional wedding element, along with 2 other ideas to add a pop of color to your wedding!

In many cultures, it's traditional to give out Jordan Almonds at a wedding. I'm Greek, and I can tell you for a fact that you can't attend a Greek wedding without receiving one of these bombonieres! For more info on Jordan Almonds, check this out.

How To:

Jordan-Almonds-GIF2.gif

1. Pick Jordan almonds in colors that match your theme.

2. Place 5 almonds in the tulle. I started by mixing my colors, but I realized I preferred all one color with a contrasting ribbon.

Jordan Almonds don’t have to be boring! Click to see how I added a modern twist to this traditional wedding element, along with 2 other ideas to add a pop of color to your wedding!

3. If you want the bow in the back, loop your tag onto the ribbon. If you want your tag in the front, add it as you're making the loop of the bow. Oriental Trading also offers personalized ribbon, which would be even better to add! 

4. Once you've decided how you want your bow, slide your almonds into the middle of your tulle, grab the sides, and tie your ribbon around it in a bow.

Jordan Almonds don’t have to be boring! Click to see how I added a modern twist to this traditional wedding element, along with 2 other ideas to add a pop of color to your wedding!

Table Numbers

Let those table numbers stand out! Click to see how I added a modern twist to this traditional wedding element, along with 2 other ideas to add a pop of color to your wedding!

You will need:

White Table Numbers (here)
Paint or Spray Paint (here)
Paint Brushes and Palette (similar here and here)
Gold Foil (here)
Gold Foil Adhesive (I used this one)
Gold Glitter (here)
Mod Podge (here)

Let those table numbers stand out! Click to see how I added a modern twist to this traditional wedding element, along with 2 other ideas to add a pop of color to your wedding!

People need to know where they're sitting, right? Why not lead them there in the brightest, glitziest way possible?!

How To:

1. Paint or spray paint your table numbers, but leave the edges blank. Do 2 coats, or as many as it takes to get smooth coverage, and let dry. (FYI- I used paint).

2. Paint the white edges of your numbers with foil adhesive. Work carefully so that you don't get it off the white edge. It sticks to anything with adhesive, so heed my warning and be careful!

3. Wait about 20 minutes for it to cure and be slightly tacky. Fun fact- this stuff dries sticky, so even if you wait a little too long, it'll still be sticky for the foil.

Let those table numbers stand out! Click to see how I added a modern twist to this traditional wedding element, along with 2 other ideas to add a pop of color to your wedding!

4. Take your foil and cut/rip to size, then attach it to the edges of the numbers. Take your stiff brush and brush off any extra foil. This stuff gets messy, so put a paper or a plate underneath so you don't make a huge mess :)

5. To do the glitter edge, mix gold glitter with mod podge. Using a paintbrush, paint the mixture onto the edges in small sections. Before the mixture dries, sprinkle some glitter onto the wet glue to cover any bald spots. Continue until you've done the whole perimeter, then go back and fill in any bare spots.

6. To travel to the venue, wrap each with white tissue paper to prevent scratches. Do not assemble them until you arrive, as they are fragile and may snap in transit. 

Let those table numbers stand out! Click to see how I added a modern twist to this traditional wedding element, along with 2 other ideas to add a pop of color to your wedding!


Welcome Basket

Your welcome basket doesn’t have to be formal! Click to see how I added a modern twist to this traditional wedding element, along with 2 other ideas to add a pop of color to your wedding!

You will need:

Wooden box (I used this one, but this one is better!)
Acrylic Paints (here)
Paint Brushes and Palette (similar here and here)
Self Adhesive Letters (here)

Your welcome basket doesn’t have to be formal! Click to see how I added a modern twist to this traditional wedding element, along with 2 other ideas to add a pop of color to your wedding!

Show your friends and family that this is bright occasion from the start with this fun welcome basket! You can also re-use it after the wedding to hold mail or greet guests in your entryway!

How To:

1. Take your letters and put your message on the box. I chose to keep it simple and write "Hi!" You can also do the couple's initials or a monogram.

2. Mix up your paints until they are the right color. Use a toothpick or a thin paintbrush to stir. If the paint is too light, it'll make it hard to read the Hi, so be aware of that when painting your box.

Your welcome basket doesn’t have to be formal! Click to see how I added a modern twist to this traditional wedding element, along with 2 other ideas to add a pop of color to your wedding!

3. Carefully paint your basket. I did a different color for each bar to keep it interesting.

4. While your paint is still wet, carefully peel off your stickers using tweezers. If your box is like mine, I recommend you actually don't paint the inside of the box. It got really tricky with all the little rungs. Especially since I made my own colors, because I found that I would run really low and have to try really hard not to run out before I finished. 

5. Place your box on your welcome table and fill it with pashminas, ceremony programs, or bubbles!

Your welcome basket doesn’t have to be formal! Click to see how I added a modern twist to this traditional wedding element, along with 2 other ideas to add a pop of color to your wedding!

With a little bit of crafting, and a whole lot of imagination, you too can make your wedding unique with a fun pop of color. I've got a follow-up post coming with ideas for getting your gals together for a fun crafternoon, so stay tuned!

Be sure to visit Oriental Trading and their Marry Me page to start customizing your own wedding!

So what do you think? Will you be adding a pop of color to your wedding? How do you plan to do it? Let me know in the comments below!