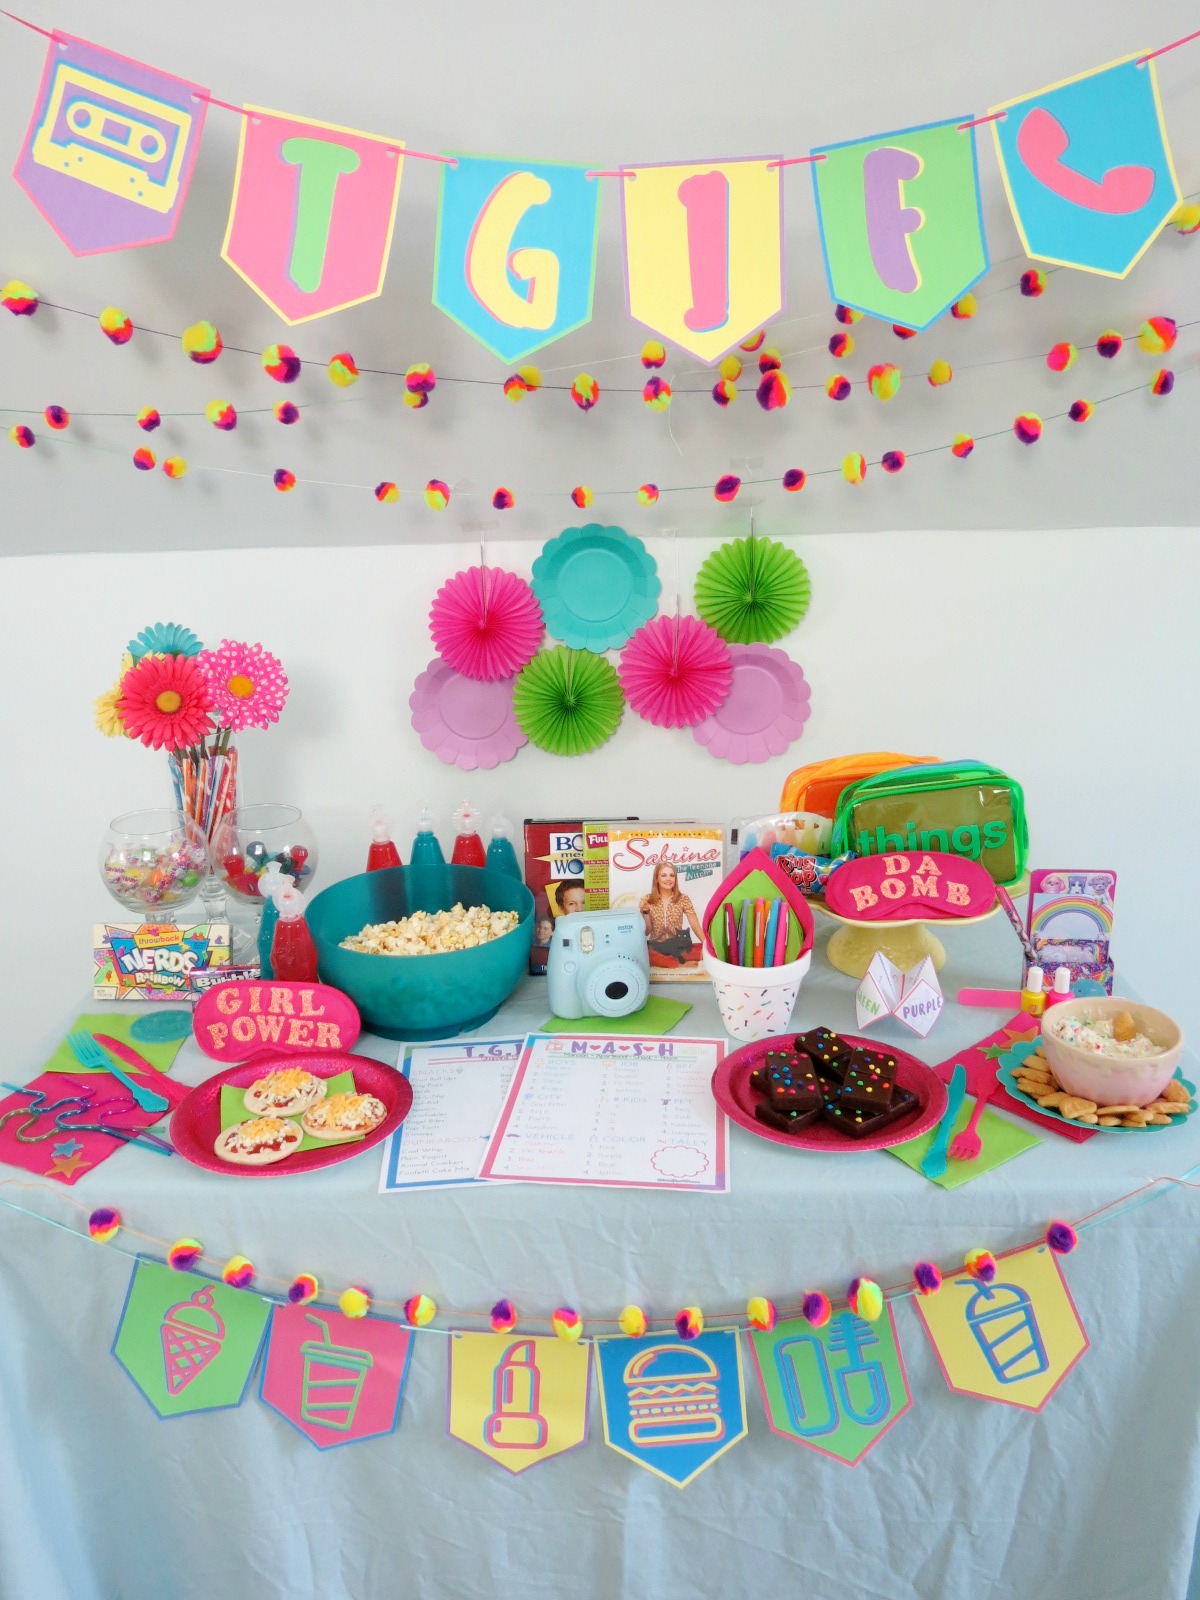
Spice Girls Rainbow Spa Slumber Party

Happy 20-year anniversary of the Spice World release in the US!!! That's right, the movie itself is almost old enough to be able to drink!! Do you remember the first time you went to see it? We waited just a little bit too long and it was out of most theaters, but there was this small theater by my grandma's house in Hells Kitchen and they still had it on! So my parents took us along with grandma (who barely spoke English, since she was from Greece) and we all watched it together. After watching it, my sister and I literally wanted to re-create the whole thing with our Barbies, so we turned our doll house into the Spice Tour Bus and made our Barbies into the Spice Girls. Ugh, it was such a magical time! This movie brings me so much nostalgia.

Anyway, before I start to REALLY ramble... one of my favorite scenes in Spice World was the one where the girls are all laying in robes under a magically colored tent. It's such a short scene, but I always wanted to recreate that party and hang out there! Unfortunately, it's winter here in NYC and it's fudging COLD so I decided to virtually create this scene for anyone to attempt! 

Ever wished you could be the Spice Girls? Throw yourself a rainbow spa slumber party just like the one in Spice World! You'll be sure to make everyone jealous.

1. White Paper Lanterns 2. Toe Separators 3. Orange Robe 4. Nail Scrub Brushes 5. Pedicure Slipper 6. Green Robe 7. Yellow Robe 8. Chupa Chups Lollipops 9. Diet Pepsi 10. Purple Robe 11. White Tent 12. Pink Robe 13. Orange Blanket 14. Blue Pillows 15. Cow Print Pillow Cover 16. Curtain Panels

Setting Up

To set the scene, you’ll want to set up your tent in the grass, or even indoors if it’ll fit. Lay down your orange blanket (1 or 2, depending on the size of your tent) and throw some pillows around to make it comfy. If you’re putting the tent on the grass, you may want to get a waterproof liner for your blanket so you don’t end up with a moist blanket and wet butts!  Then, take your curtain panels and go around the tent to hang them for some privacy and color. Depending on the style of your tent, I recommend using hook clips for an affordable and easy method of hanging! 

I really wanted this party to have that same cozy feel as the one in the movie, plus the really bright and quirky 90’s ridiculousness we all loved. Since we don’t really have an occasion to set up a tent and sit around lounging in the grass like the Spice Girls, I figured a slumber party/spa day would be the perfect excuse! You can get some super affordable items, like spa flip flops, scrubber brushes, and colorful toe separators. Invite each girl to bring their favorite shade of bright polish, or order a set of these rainbow nail polishes so everyone can choose their fave. It would make a great party favor!

Getting in the 90's Mood

Play your favorite 90’s playlist, or blast some Spice Girls as you get pampered in style. Or, you can even grab a portable DVD player or your laptop to play Spice World in the background.

The girls all wear these plush, oversized robes in bright pink, orange, green, yellow, and a purplish-blue for Posh. Super appropriate, right? Haha. The girls are drinking Pepsi and enjoying their candy of choice, chupa chups, so I included those as well.  You can always opt for something healthier, like cucumber water and a fruit and veggie platter. Or, go all out 90's with some of your favorite 90's snacks, like Fruit by the Foot, Gusher's, and Ring Pops.

Say You'll Be There

Are you guys just dying to throw this party?! It's fulfilling all my 90's dreams, I'll tell you that much! So, which scene from Spice World did you want to recreate? And, which Spice Girl was your favorite? Let me know in the comments below! (PS- I loved Ginger!)

Pink Disco Ball New Year's Eve Party

I absolutely love disco balls, glitter and sequins, so it’s no surprise that New Year’s Eve is one of my FAVORITE parties to plan for. It’s the one time of year that you can dress up in glitzy glam from head to toe, and not seem like a weirdo. Last year, I left my New Year’s plans to the very last minute, and ran to my local dollar store to grab some items. While it came out really cute in the end, this year I wanted to plan it out a whole lot more. I wanted it to be PINK. And SHINY. AND DISCO BALLS. Gimme allllll the disco balls! And, since Christmas can be super pricey (goodbye, money!) I wanted this party to be affordable. So, I ran around my house and collected a few items, while also investing in some pieces I can use again and again. I have to say I’m really happy with the results. Can I live in this party permanently?!

Pink and Silver and Disco Balls, oh my! This New Year's Eve Party is just what you need! Click for the full post.

Since this party has a whoooole lot of stuff going on, I wanted to make it easy to get a list of all the supplies. It's all here in this excel sheet, right down to the confetti! You'll know exactly what I used and how much to order, in case you want to re-create the party, or to purchase a specific item. It'll come straight to your inbox in just minutes!

The printable is available in my resource library, which you can get totally FREE access to, just by signing up. What exactly do you get? Access to all my printables, including party planning guides, checklists, and my projects. By signing up, you'll have access to all projects- past, present and future! 

Pink and Silver and Disco Balls, oh my! This New Year's Eve Party is just what you need! Click for the full post.

To dress up your party, opt for an elegant white tablecloth instead of the usual plastic ones. This one is made of polyester and resists stains, so it’s perfect for popping it in the washer after the party is done! It’s also affordable too, just in case you end up with stubborn stains that just won’t come out. 

Pink and Silver and Disco Balls, oh my! This New Year's Eve Party is just what you need! Click for the full post.

Every New Year's Eve party needs as much sparkle as possible! These glasses are dressed up with some basic and inexpensive star wire, and I think they’re so worth it! Because pink + tinsel + champagne = perfection. Top them with a disco ball stirrer and you’re in business, baby!

Pink and Silver and Disco Balls, oh my! This New Year's Eve Party is just what you need! Click for the full post.

For a fun party favor your guests are sure to love, grab a pack of disco ball cups! I have one I got on a Carnival cruise a few years back and I use it at almost every party I throw. It's the BEST for using on New Year's Eve!

Pink and Silver and Disco Balls, oh my! This New Year's Eve Party is just what you need! Click for the full post.

For the table setup, I grabbed a bunch of white and pink items, and created a disco ball table runner! It was super easy, since all I had to do was scatter some disco balls down the center.

Pink and Silver and Disco Balls, oh my! This New Year's Eve Party is just what you need! Click for the full post.

I also set up a bar in the corner to hold all our supplies. It acted as both a champagne bar and a confetti bar! All I had in this corner was a black desk, so I covered it up with a giant silver sequin tablecloth and some pink velvet to match the theme.

Pink and Silver and Disco Balls, oh my! This New Year's Eve Party is just what you need! Click for the full post.

I also wanted to create a little "lounge" area, so I gathered some ottomans and pillows to make it comfy. I set everything up in the corner, and added a small table for everyone to set their drinks on. My zebra tray was the perfect addition. This little lounge didn't cost any money and looked super cute!

Pink and Silver and Disco Balls, oh my! This New Year's Eve Party is just what you need! Click for the full post.

These balloon animal dogs got to make their debut once again. They make me so happy.

Pink and Silver and Disco Balls, oh my! This New Year's Eve Party is just what you need! Click for the full post.

While we were ready to party the night away, Roger snuck in and explored before having a rest under the table. Maybe he was impersonating the zebra so he wouldn't be seen?!

Pink and Silver and Disco Balls, oh my! This New Year's Eve Party is just what you need! Click for the full post.

Woohoo! And just like that, another year came and went. It's past New Year's Eve now, but if you're itching to have this party, I think it would make a great birthday party, bachelorette party, or even a Valentine's Day party! Be sure to request the excel sheet now, so you can get the full list of supplies in a handy excel sheet!

The printable is available in my resource library, which you can get totally FREE access to, just by signing up. What exactly do you get? Access to all my printables, including party planning guides, checklists, and my projects. By signing up, you'll have access to all projects- past, present and future! 

2017: The Year in Review

Happy 2018! I like to start off every new year with a look back on the one we just left behind. I don't think I need to say it, but 2017 was a freakin crazy whirlwind amazing horror of a year in so many ways. To me, I'll remember it as probably one of the hardest years of my life, possibly only surpassed by my junior and/or senior year of high school. I was planning my wedding which was the best and worst thing I ever had to do. I was growing my blog and business, which is the easiest and hardest thing I ever had to do. And, I did a lot of self reflection and improvement, which was the most rewarding and most painful thing I ever had to do. Honestly, I am so glad 2017 is only but a memory to me. In the rearview mirror, it looks way better than it did as I was going through it. I know I'm being extremely dramatic, but the year was a shit show. They say how you spend NYE is how you spend your year. I spent mine confused, stressed, and feeling every emotion in the book. And that was just about how my year went.

January

animal stirrer 8.jpg

My first post of the year was one of my FAVES- Rock Candy Christmas Trees! I also did my very first animal project, Circus Animal Drink Stirrers! I started the year off strong with some great projects, but it was personally really tough. I was planning my wedding, and nothing was going right. We were arguing about everything (like, do we actually need a photographer? UM, YES), and I was just plain tired of talking about the wedding! It got better after we took a trip to our wedding venue in January. John FINALLY started to get excited about the wedding, and he stopped being so combative about everything.

February

90s Valentines spice girls.jpg

By February, things had settled down a bit. I was in a much better space personally, and I felt MUCH better! I whipped up my first Valentine's Day post, 90's Pun Valentines! Everything these days is a free printable, so I loved doing something hands on. I also made some awesome Cotton Candy Garland, and one of my fave blog posts, Mean Girls Conversation Hearts!! I finished it off with this Kate Spade Inspired Balloon Bracelet. I also launched my virtual party planning services!

March

In March, I did two of my FAVORITE blog posts! Ok, I know i say that a lot, but i really loved these two projects! First, I had my Wood Bead Tassel Necklace, which was as much fun to make as it was to wear! I literally wore it until the tassels fell off, so now I need to make some new ones so I can wear it again! Then, I made a Zebra Party Tray using just a couple of plastic toy animals and a dollar store baking tray.

Zebra Tray 6a.jpg

I started looking into updating my home decor a bit, and rounded up some really fun Colorful Home Accessories. I collaborated with Holly from Club Crafted to do a 90's ice cream project, so I made this delicious and colorful Lisa Frank Tie-Dye Waffle Sundae! I also started my Wedding Planning Updates again, since I finally had something to say! Finding my wedding dress was honestly SUCH a relief! I had tried on probably over 70 dresses and I was starting to feel like I wasn't going to find a dress I loved. We secured most of our vendors too, which felt like a huge things to cross off the to-do list!

April

Cathy 1.jpg

In April, I finally covered my Disney Themed Engagement Party across two posts! The first was How to Plan a Disney Themed Party, while the second had all the amazing pictures that our photographer took. I loved planning my party and I was so happy with the way it turned out, so I was very excited to debut all the details!  I also did a post on How to Rock Your DIY Party Projects, as well as my 5 Month Wedding Planning Update. I also FINALLY asked my sister to be my maid of honor with this Flower Box filled with wedding day essentials. I did my very first Easter post, and came up with a must-see list of Engagement Gifts for the Bride-To-Be. I also decided to step up my wardrobe game and gave some Comfy Spring Outfit Tips. Because if it ain't comfy, chances are I'm not wearing it haha! You can see my tassel necklace in that post, which btw had already lost a tassel at that point!

May

Barbie Shoes Corkboard 17a.jpg

In May, I released my 4 Month Wedding Planning update. I remember we were so excited to have planned our honeymoon. Little did we know, we wouldn't be able to go on it! We ended up rescheduling for Paris, but that's a story for another time ;) This month was full of child-like throwbacks. First, I made a Barbie Shoes Tote Bag that I literally use to carry flats around. Then, I did a post of the Things I'd Tell My 8 Year Old Self. Spoiler alert- it's not to let others define me as an adult. I also made a really fun Painted Corkboard with Barbie Shoe Pushpins!! I rounded out the month of Barbie posts with this Gift Guide for the Barbie Girl, filled with amazing pink items!

June

Jordan Almonds 10.jpg

In June, I talked about the change in direction for the blog from what I initially intended it to be. Did you know this blog was supposed to be a home decor and organization blog?! It's almost laughable to me. Though if the blog went in that direction, I can only imagine how much nicer my house would be. I posted my 3 Month Wedding Planning Update, where I basically freaked out over ALL THE THINGS I need to do. I also did my very first sponsored post from Oriental Trading! I started with Adding a Pop of Color to Your Wedding, then followed up with a Bridesmaid Bruch Craft Party. Also, we had something SUPER exciting happen in June- we got legally married at City Hall! Our big wedding ceremony would only be symbolic, so we needed to get legally married at city hall first. We followed up the occasion by celebrating at Dave and Busters with our family and getting really excited for the big wedding we'd be having soon.

July

Watermelon Napkins 11.jpg

In July I was starting to get super overwhelmed with wedding planning! I did my 2 Month Wedding Planning Update, and I had my bridal shower! I wanted it to be a surprise and although I started to get an inkling on the day of the event, I was shocked! I was so bummed that I didn't bring my camera with me, and I didn't even get to take too many cell phone pics! The party was such a fast blur, and I was pouting by the end. I didn't want it to be over! The summer truly was amazing for me. I did my first ever guest post on someone's blog! I made these really fun Watermelon Napkins for Giggles Galore, the first in a months-long collaboration with them! I also did another fun fruit DIY- Pineapple Flats! I finished out the month with a sponsored post with Basic Invite. I wish I had discovered them before I ordered my invites, because I was so impressed with their selection! I loved my invites, but the colored envelopes on these were just amazing.

August

Fruit Slice Container 18.jpg

In August, I basically had a mini-panic attack on the daily. There was only 1 Month Left until my wedding!!! I only did 2 real blog posts this month, a Pom Pom Pet Collar and DIY Fruit Slice Containers. My sister took me on an amazing trip to Mexico, which was my favorite part of the bachelorette festivities. It was just the two of us in an all-inclusive resort for days, laying in the sun and hanging by the pool. It was so nice to get away from work and blogging and planning. I hope that when she's getting married, I can plan a trip for her with just the 2 of us! After that, I had my bachelorette weekend with my friends in Philly! I had never been there before, so it was really fun to explore a new city with my friends. I finished up August with a Final Wedding Planning Update 1 week before the wedding. When I was super duper sick, after battling a stomach bug I contracted in Mexico, followed by a cold. 

September

Cathy&JohnWedding_0557.jpg

On September 2, after a totally amazing summer, I got to marry my best friend by a beautiful lake in PA. Well.... near a window by a lake in PA, since it was raining and we couldn't do it outside. The wedding day was such a whirlwind, and it seriously took weeks before I could fully comprehend what had happened. Getting married was so amazing and surreal. I'm planning to do a wedding recap really soon, filled with pics! Stay tuned :). After our wedding, we went on our honeymoon- in Paris! We were originally supposed to go to Disney (see April's update) but had to reschedule in September at the very last minute. We were so bummed, but we ended up having fun in Paris, despite it being rainy, gloomy and cold. Really rainy and cold! I did two lonely blog posts in September, Easy Football Party Crafts and a Colorful Fall Pumpkin Wreath for Giggles Galore.

October

Crayon Costume 29.jpg

Welcome to Party HarDIY! In October, I relaunched the blog from WellKeptChaos to Party HarDIY to reflect the posts I do. I got to do some awesome Halloween posts this month, like this Easy Striped Halloween Art and this Striped Halloween Sign. I also did my very first set of Halloween costumes!! We had a DIY Cloud Costume, a 2th Fairy Costume, and a Pink Brightest Crayon! I also did a post about Appreciating Where You Are, since sometimes you're at that point in life where you think it'll never get better. I also revealed the Truth About Wedding Planning, because it ain't all sunshine and rainbows. Someone had to come out and say it!

November

Christmas Stirrers 13.jpg

By November, I was getting into the holiday spirit. I made some Christmas Drink Stirrers, Easy Colorful Thanksgiving Place Cards, and a No Sew Embellished T-Shirt. November was also amazing because I got to meet my hero, Studio DIY! Kelly and her husband Jeff came to NYC and it was amazing. Seeing the amazing projects that Kelly and other bloggers dreamed up were what made me want to create a blog and make my own DIY projects. Meeting her was AMAZING, since I am totally in awe of everything she does! I finished November with a roundup of The Best Colorful Thanksgiving Printables

December

DIY Jewelry Ornament 12.jpg

Ahh, December! One of the busiest months for me! I started the month off strong with launching my shop! I did a blog post outlining the changes, and I updated my About Me page (finally) so that it could better reflect what I am about. I also did some really fun holiday posts, like these Holographic Ornament Tags, Animal Sweater Ornaments, and Confetti Gift Tags. I also did 2 great party posts for Oriental Trading- DIY Paper Fan Christmas Trees and a Colorful Ornament Making Party. We also did a giveaway for the shop featuring these DIY Colorful Jewelry Ornaments, which are so easy and cute to make!! I had a few other projects in the works for December, but my dad fell on December 16 (my mom's bday) and ended up in the hospital ICU for almost a week. Suddenly, everything was put into perspective and I spent the rest of the year making sure he was happy and healthy. He's got a new pacemaker now, so we are hoping that he's able to make a full recovery and be back to his crazy self soon!

Goals for 2018

Now that we covered last year, I want to talk about this coming year. I am excited to say that I made the transition from working full-time to working part time at my day job! I am now in the office 3 days a week, and working on the blog 3 days a week. And, I'm going to try my best to take Sundays off because I really need to get some rest once in a while! It was super stressful blogging while working full time. I was working from 5am-7am on the blog, then getting dressed, commuting, and working before finally getting home at 7pm. These long days were exhausting, then I would work all day on the weekends, trying to capture every minute of good light for photo shoots!

I (finally) want to decorate my house! We basically moved in 2 years ago, slapped some paint on, and unpacked everything. Most of our rooms have no artwork, no real "style" and still have half-unpacked boxes in the closet. NO MORE I SAY! Be on the lookout for home DIY's and room tours in 2018.

Did someone say shopping? I've got so many ideas on what to add to the shop this year! I'm excited to finally have the time to dedicate to growing the inventory, including some handmade and original designs! I'll be posting the updates on Instagram, so be sure to follow me to stay up-to-date.

And finally, John and I are hoping to add some new members to our family this year. He almost got me a dog for Christmas, and there are some stray cats in my yard I have been eyeing. Oh, and maybe a baby could be a fun addition! We're taking it day by day, and we'll see what the year brings.

Colorful Ornament Making Party

We are SO CLOSE to Christmas! One of my favorite things to do as it approaches is gather up my friends, have a party, and make something for the holidays. I love crafting (is that a secret?) and anytime I get to do it with others, I am in heaven! I wanted to whip up a simple party that brings my friends together to do something I personally LOVE- making ornaments! While everyone else is baking cookies, you can find us creating one-of-a-kind baubles for our tree that we can use year after year. I teamed up with Oriental Trading to create a simple and affordable ornament making party for you and your besties (or kids!) this holiday season.

*This post was sponsored by Oriental Trading. All projects and opinions are my own.

I wanted to whip up a simple party that brings my friends together to do something I personally LOVE- making ornaments! While everyone else is baking cookies, you can find us creating one-of-a-kind baubles for our tree that we can use year after yea…

I set up my party by putting a white tablecloth on the table, then stacking a few colorful plates for each setting. I started with a square gold polka dot plate as sort of a charger, then added a red paper dinner plate, a pink paper dessert plate, topped with a pink plastic plate for a little sparkle. It really reflected the light nicely! Then, each setting got a white stocking to customize filled with paintbrushes for the craft projects and a paint palette to keep things neat.

I wanted to whip up a simple party that brings my friends together to do something I personally LOVE- making ornaments! While everyone else is baking cookies, you can find us creating one-of-a-kind baubles for our tree that we can use year after yea…

I used plates I already owned to hold all the craft supplies. My small ramekins held the sequins, my cupcake stands held the confetti, and white plastic bowls held misc supplies. My gorgeous pink pitcher was filled to the brim with perfect clear ornaments just waiting to be filled!

I wanted to whip up a simple party that brings my friends together to do something I personally LOVE- making ornaments! While everyone else is baking cookies, you can find us creating one-of-a-kind baubles for our tree that we can use year after yea…

The table was filled with all sorts of embellishments to create the ornaments, like pom poms, sequins, tassels, and bells! I also had some craft supplies on hand, like scissors, glue guns, paint trays, and mod podge.

I wanted to whip up a simple party that brings my friends together to do something I personally LOVE- making ornaments! While everyone else is baking cookies, you can find us creating one-of-a-kind baubles for our tree that we can use year after yea…

A white cake stand held our paints. I dressed it up with some sisal trees and some wooden frames ready to be painted!

I wanted to whip up a simple party that brings my friends together to do something I personally LOVE- making ornaments! While everyone else is baking cookies, you can find us creating one-of-a-kind baubles for our tree that we can use year after yea…

I really wanted the table to have a bright and cheery Christmas palette, so I added the paper fans as a backdrop (DIY here), and matched the decor around these adorable mod napkins! The confetti and sequins worked as both a craft supply and decor.

I wanted to whip up a simple party that brings my friends together to do something I personally LOVE- making ornaments! While everyone else is baking cookies, you can find us creating one-of-a-kind baubles for our tree that we can use year after yea…

Even though the color scheme didn't exactly scream CHRISTMAS, I still wanted the party to have a Christmas vibe. What embodies that better than Christmas trees?! I placed them everywhere I could, from the sisal trees on the cake stand, the clear trees surrounding the base, to the paper fans on the wall.

I wanted to whip up a simple party that brings my friends together to do something I personally LOVE- making ornaments! While everyone else is baking cookies, you can find us creating one-of-a-kind baubles for our tree that we can use year after yea…

With a party so intimate and cozy, you're bound to have unexpected guests! Just like Roger, who came to take a nap under the table.

I wanted to whip up a simple party that brings my friends together to do something I personally LOVE- making ornaments! While everyone else is baking cookies, you can find us creating one-of-a-kind baubles for our tree that we can use year after yea…

Overall I think this party is great for getting everyone in the crafting Christmas spirit. It surprises me that most people don't know about Oriental Trading and how many amazing party and craft supplies they have! With this setup, I can imagine everyone gathered around the table sipping some wine and laughing about funny Christmas stories! Or, maybe swapping memories from their favorite Christmas. Either way, this party is sure to please! Head over to Oriental Trading now so you can get your supplies in time for Christmas!

I wanted to whip up a simple party that brings my friends together to do something I personally LOVE- making ornaments! While everyone else is baking cookies, you can find us creating one-of-a-kind baubles for our tree that we can use year after yea…

Bridesmaid Brunch Craft Party Ideas

Let's get real here: wedding planning isn't exactly as glamorous as you imaged it to be. There are a lot of moving parts, tons of decisions to be made, and a whole lot of DIYs you want to try. Planning a wedding kind of becomes a part time job, except you're spending money instead of making it. So, rather than spending your weeknights filled with tears crafting 100+ favors, why not invite your friends or bridesmaids over for a fun crafternoon?! You can pop a bottle of rose, have some finger foods, and take bets on who's going to cry during the ceremony (like your Aunt Bertha, who cries over everything). 

Wedding planning got you down? Take a (short) break and invite your friends over for a crafting brunch party! It's super affordable with Oriental Trading. Click the photo to learn more!

Since you're already spending a ton on wedding related things, I know what you're thinking. You don’t need one extra thing to spend a ton of cash on. Well, fear not my friends! Oriental Trading is your party headquarters, and everything is SO affordable! With their new Marry Me section, you'll find all their wedding-worthy supplies in one place, for a great low price. They've got everything you need for the bridal shower, the ceremony, reception, and more! The options are seriously limitless, and there are tons of ideas under many of their products, showing you how to use them.

*Note: This post is a collaboration with Oriental Trading, but all opinions are my own. My love affair with them started way back when I first got their catalogs as a kid!

Wedding planning got you down? Take a (short) break and invite your friends over for a crafting brunch party! It's super affordable with Oriental Trading. Click the photo to learn more!

Think about how much time you’ll save by having your friends join you in crafting, and how much fun it’ll be! During a time of intense stress and worry, you need a break to hang with your girls and laugh. Plus, it'll be a nice way to say "thank you" if you've been a little bit of a grumpy bridezilla lately. 

Table Setup

Wedding planning got you down? Take a (short) break and invite your friends over for a crafting brunch party! It's super affordable with Oriental Trading. Click the photo to learn more!

To set up the table, I stuck with a simple white (disposable) tablecloth. Since crafting can get messy, I added a table runner using easel paper to catch any spills. I gave each person a place setting for snacking, which was cute and colorful! I started with a square gold dot plastic dessert plate as sort of a charger, topped with a hot pink plate for a pop of color. Each person gets a set of gorgeous gold utensils and a hot pink napkin to keep things tidy, as well as a paint palette for their watercolors.

Wedding planning got you down? Take a (short) break and invite your friends over for a crafting brunch party! It's super affordable with Oriental Trading. Click the photo to learn more!

Everything is more fun with a glass of wine, so each gal gets a really cute purple wine glass for her rose with a gold striped strawClear cupcake stands put the jordan almonds on a pedestal, making it easier for everyone to reach them. 

Wedding planning got you down? Take a (short) break and invite your friends over for a crafting brunch party! It's super affordable with Oriental Trading. Click the photo to learn more!

I kept the rest of the decorations simple by propping up my Pop Fizz Clink sign from my Disney-Themed Backyard Engagement Party. Finger foods and small desserts finish up the fun. P.S.- the white easel paper would be the perfect backdrop for using colorful sharpies to label what's what!

Wedding planning got you down? Take a (short) break and invite your friends over for a crafting brunch party! It's super affordable with Oriental Trading. Click the photo to learn more!

 The Crafts

A few weeks ago, I showed you 3 fun projects you can make using Oriental Trading products to add a pop of color to your wedding. These projects are perfect to make with your besties or bridesmaids!

Jordan Almonds

Place all your almonds in decorative bowls with a spoon for easy scooping. Keep your tulle, ribbon, and charms nearby so that it's easy for everyone to assemble. I also recommend pre-cutting the ribbon to ensure that it's all uniform and to prevent waste. The full DIY is here.

Wedding planning got you down? Take a (short) break and invite your friends over for a crafting brunch party! It's super affordable with Oriental Trading. Click the photo to learn more!


Table Numbers

Have your friends help out by painting the table numbers. I did about 3 coats on each one, so it's definitely time consuming! I recommend enlisting an especially crafty friend for the glitter and/or gold foil. It can get complicated and messy, so you definitely want someone precise to handle it! The full DIY is here.

Wedding planning got you down? Take a (short) break and invite your friends over for a crafting brunch party! It's super affordable with Oriental Trading. Click the photo to learn more!


Watercolor Escort Cards

When you get all your friends together, you've got to do this super fun project! It's seriously easy and best of all, really fun!

Looking for an easy and affordable way to guide people to their seats? This.is.it! The full how-to is on the blog, along with ideas on how to get your bridesmaids to help! Click the photo to learn more.

You will need:

Watercolor Paints (here)
Paintbrushes (similar here)
Paint Palette (here)
White Place Cards (here)
Gold Sharpie (here)

Looking for an easy and affordable way to guide people to their seats? This.is.it! The full how-to is on the blog, along with ideas on how to get your bridesmaids to help! Click the photo to learn more.

Each gal will get a set of watercolor paintbrushes, as well as a paint palette. Grab your watercolor paints and your white place cards and give each card a unique look. I added layers of complimentary colors for variation, but it still looks cohesive.

Looking for an easy and affordable way to guide people to their seats? This.is.it! The full how-to is on the blog, along with ideas on how to get your bridesmaids to help! Click the photo to learn more.

Once they're all dry, use a gold sharpie to add a name and a table number to guide people to their seats in style. Write the names in script, or make it fancy with some faux calligraphy!

Looking for an easy and affordable way to guide people to their seats? This.is.it! The full how-to is on the blog, along with ideas on how to get your bridesmaids to help! Click the photo to learn more.

I did the script freehand, but I think if you either got someone to do calligraphy, picked a friend with fancy handwriting, or printed the names on the cards, it would look even better! Be sure to make some extras, as you're bound to mess up a few of them while writing.

Looking for an easy and affordable way to guide people to their seats? This.is.it! The full how-to is on the blog, along with ideas on how to get your bridesmaids to help! Click the photo to learn more.

Woo! I'm not sure about you guys, but a bridesmaid crafternoon brunch party seems like exactly what I need to get over these pre-wedding blues! A few laughs does everyone a world of good. Be sure to check out Oriental Trading's new Marry Me section for everything you'll need for this party, the bridal shower, the wedding, and beyond! 

What's been the hardest part of wedding planning for you? For me, it's been the fact that my mom, sister, and friends live kinda far away, so I've been doing it (cue Eric Carmen) all by myyyseeelllfff. I wish I had them to help/laugh/decide on things. How about you? Let me know in the comments below!