DIY Colorful Leaf Runner

My table is a constant dump zone at my house. Pretty much any flat surface becomes a place to put things down “just for a minute” aka a month. Because of this, I decided that my flat surfaces didn’t need to be clear, but they did need to not have clutter. The best way for me to do this was to decorate them! Since everything for fall has pretty much the same orange and brown color scheme, I figured I’d make my own table runner this year. Would you believe I made it with some leaves I got from the Dollar Tree?! Yep, just $3 for 3 packs of these bad boys, plus some acrylic paints that I had on hand. I say it all the time, but my favorite way to do crafts is by popping on a seasonal movie after everyone has gone to sleep and getting to crafting! This time, I watched The Object of My Affection (streaming on Hulu and HBO Go) with a glass of wine. In case you’ve never seen it, it’s The One Where Rachel Falls in Love With Phoebe’s Second Gay Ex-Husband, Mike. Just kidding- kinda. This project was a great way to get in the spirit, but I also think this would be fun to make while watching all the Friends Thanksgiving episodes in a row! You all know I’m a huge Friends fanatic, and I love to watch the holiday episodes.

The final result is a pretty (but not stuffy) table runner that you can use in your decor every year. I don’t recommend putting food on or near it, since it’ll probably stain the leaves. But, it’s perfect to use leading up to Thanksgiving dinner on your table, buffet or entry table!

Since everything for fall has pretty much the same orange and brown color scheme, I figured I’d make my own table runner this year to go with my colorful thanksgiving decor. Would you believe I made it with some leaves I got from the dollar store?! …

You will need:

Approx 300 leaves (from Dollar Tree or similar here)
Fabric glue (here)
Tulle roll (from Dollar Tree or similar here)
Wax paper (here)
Acrylic paint (similar here)
Scissors (similar here)

Since everything for fall has pretty much the same orange and brown color scheme, I figured I’d make my own table runner this year to go with my colorful thanksgiving decor. Would you believe I made it with some leaves I got from the dollar store?! …

Directions:

  1. Paint your leaves in your choice of colors. I used Martha Stewart paints because they’re nice and thick. The colors I used were Pumpkin, Mermaid Teal, Strawberry, Pink Raspberry, Mango and Moonstone Purple. I used lighter colored paints for lighter leaves, and moved up with the colors from there. I did 2 coats for the purple because it was light.

    • Note: I tried a few different methods for painting the leaves. The fastest method is to take a large box (like an amazon box!) unfold it, and place it across your table. Lay out your leaves in sections, and paint each section in your choice of colors. This allows for less thinking (just keep painting until you run out of leaves in your section) and also goes faster because you don’t have to stop to make more space or shuffle things around.

  2. Once your leaves have dried, assemble them on your tulle or fabric. You want to come up with a general plan for them, and then start gluing as you go! I used fabric glue so that it was still flexible to fold up and store away easily. Put down your wax paper as a buffer to protect your surfaces.

    • *Note #1: don’t use Fabri-Tac on varnished furniture.

  3. To get the same look I had, you’ll want to glue your leaves facing outwards along the edge of your tulle. Do this for the full perimeter. I didn’t cut my tulle (yet) because I wanted to make sure I had enough leaves!

    • *Note #2: Fabri-Tac took my nail polish off and kinda melted it. Be careful when using it with a manicure! I was wearing regular polish, not gel.

  4. Put a row of leaves going in between the leaves you just glued down, alternating the colors. I didn’t follow a pattern so that it looked natural.

  5. Put a leaf in the middle, alternating the direction. I wasn’t too cautious about bald spots or gaps because it added to the “tossed leaf” look. If you dislike that, you can pile them on but be sure you have enough leaves!

  6. After you glue down your leaves, peel it off the wax paper so it doesn’t get stuck on when it dries. I let mine dry laying flat, glue side up.

Since everything for fall has pretty much the same orange and brown color scheme, I figured I’d make my own table runner this year to go with my colorful thanksgiving decor. Would you believe I made it with some leaves I got from the dollar store?! …

That’s all folks! The most time consuming part of this project is painting the leaves. If you want to save time, you could always spray paint them instead! Personally, I find painting to be somewhat therapeutic which is why I always go for acrylic paint. Spray paint would also go on with better coverage, if you’re interested in more vibrant colors!

What do you think of this project? Will you be making it for your Thanksgiving decor? Where will you put it? Let me know in the comments below!

DIY Tassel Halloween Pins

Halloween is coming. This is not a drill! I am SO excited since it’s one of my favorite holidays. Did you know that my husband hates Halloween? So, that means that I need to pick up the slack and celebrate twice as hard. As you’ve probably realized, I’m not a huge fan of black and spooky things, so I need to work a little harder to fulfill my Halloween desires in my chosen color palette. That results in a whole lot of DIY’s and I ain’t complaining about it! I also love love love tassels, so I figured why not bring them together? This little pin is perfect for Halloween but can also be adapted to basic fall colors! It would also be really fun to make for your child’s teacher or a coworker that loves fall. 

*This post contains affiliate links.

This little pin is perfect for Halloween but can also be adapted to basic fall colors! It would also be really fun to make for your child’s teacher or a coworker that loves fall. #halloweenpin #halloweenaccessoriesdiy #pumpkintassels

You will need:

Wood Halloween shapes ( here or similar here)
Acrylic paint (similar here)
Embroidery floss (similar here)
Glue gun (similar here)
Scissors (similar here)
Pin backs (similar here)

This little pin is perfect for Halloween but can also be adapted to basic fall colors! It would also be really fun to make for your child’s teacher or a coworker that loves fall. #halloweenpin #halloweenaccessoriesdiy #pumpkintassels

Directions:

  1. Paint your wood pieces in your choice of colors. I did just one coat, then let it dry. I recommend doing the edges first, then placing it down and painting the front. For one of the pumpkins, I painted only the edge and I left another natural wood. The choice is entirely yours!

  2. While the paint dries, create your tassels. I used a 7/8” piece of cardboard for mine. To learn how to make tassels, refer to this blog post. Remember, you don’t want them to be too thick/chunky so that they lay flat against your pumpkin and, therefore, your shirt. Make sure you don’t trim the little string at the top- we’ll need some length to glue it on! *In the blog post I linked, I had combed the tassels but for this one I didn’t. The choice is yours!

  3. If you want to add some faces to your wood shapes, now is the time! Use a toothpick and dab the paint on. For the ghost, I keep it simple with tiny dots for eyes and cheeks, with a small smile. On the cat, I just added a pink heart for the nose. You can also add googly eyes if you prefer!

  4. Decide on the order you want, then glue your tassels onto the back of your pumpkin using your glue gun. Trim down the excess floss at the top.

  5. Glue your pin onto the back of your pumpkin, covering the excess floss from the tassels.

This little pin is perfect for Halloween but can also be adapted to basic fall colors! It would also be really fun to make for your child’s teacher or a coworker that loves fall. #halloweenpin #halloweenaccessoriesdiy #pumpkintassels

Wear and enjoy. Show off your Halloween love to everyone you meet!

You’ll probably be finding this pin on my lapel until October 31, when I’ll take it off and switch to a Halloween costume! I’m so excited to celebrate this second Halloween with Hailey. Her first Halloween she was only a month old and definitely wasn’t aware of anything that happened. I can’t believe a year has already gone by and she’s so big!  You’re definitely tired of hearing me say that, but I probably won’t stop. It’s insanity. I mean, look at how tiny she was in her first blog post debut

So, how do you feel about Halloween? Are you into the cute and colorful trend, or do you follow the traditional spooky-ness? Love to dress up or hate it? Let me know your feelings in the comments below!

DIY Pretty Floral Pumpkins for Fall

Happy Fall! While I can’t believe that summer is over, I am so glad that it’s finally fall! The fall is my absolute favorite season, and I have an extra reason to love it now- baby girl was born in the fall! Since I had to keep things minimal this year (cuz, you know… newborns are hard!), I decided not to decorate. BUT I created this really pretty floral pumpkin for Pinhole Press! If I can only have one decoration up, it should be a showstopper, right?! You can find the DIY on their blog here!
PP Pumpkin 9.jpg

This pumpkin was super quick and easy to make! I got all my supplies from Michael’s and whipped it up in about an hour. It’s the perfect glam fall DIY for your home. Plus you can make it in any color you want so you can match your decor!

Of course, gotta have a pun! So give ‘em pumpkin to talk about and make this adorable pumpkin for your home! See the post at Pinhole Press now.

Striped Happy Halloween Sign

There's less than 2 weeks until Halloween, guys! This is not a drill!!

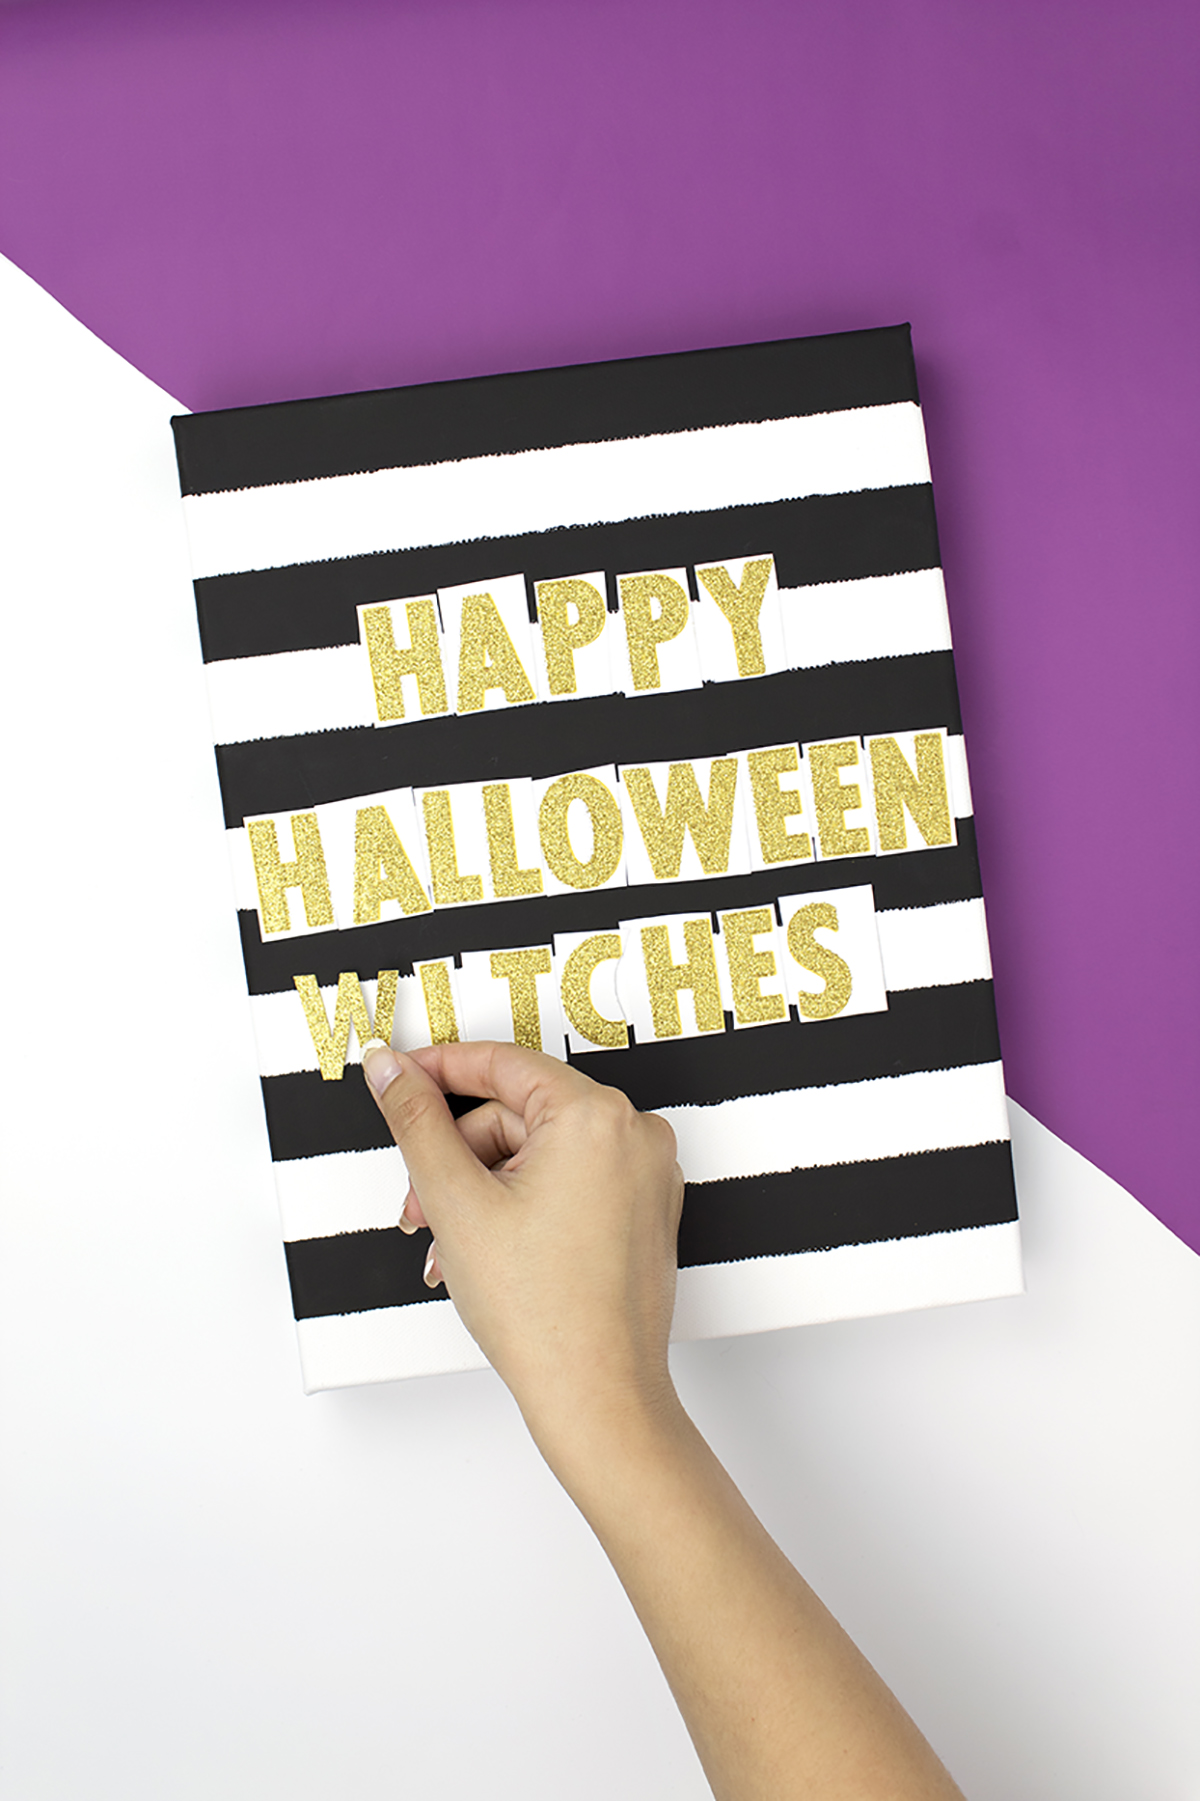
For some people, Halloween is a dark, spooky time of year where you get to proudly display your goriest items and scare the daylights out of people. For me, it's a time to be "spooky" by decorating with black, orange, green, purple and pink, with a touch of teal, because why not?  That's right, I'm that group that enjoys the cutesy side of Halloween- eating candy, dressing up in cute (and slightly sexy) costumes, and carving pumpkins. If you fall into that second group with me, you're going to LOVE this one!

Looking for a slightly creepy, slightly cute way to decorate for Halloween? You've got to see this striped sign! Click for the full DIY. #halloweencrafts #halloweenart #diyhalloween

I created this Striped Happy Halloween Sign for Giggles Galore and it's one of the easiest projects so far!  All you need for this DIY is a canvas, blue painter's tape, some black paint, and gold letters. It really pops in an entryway, and brings some fun, light-hearted humor to your home!

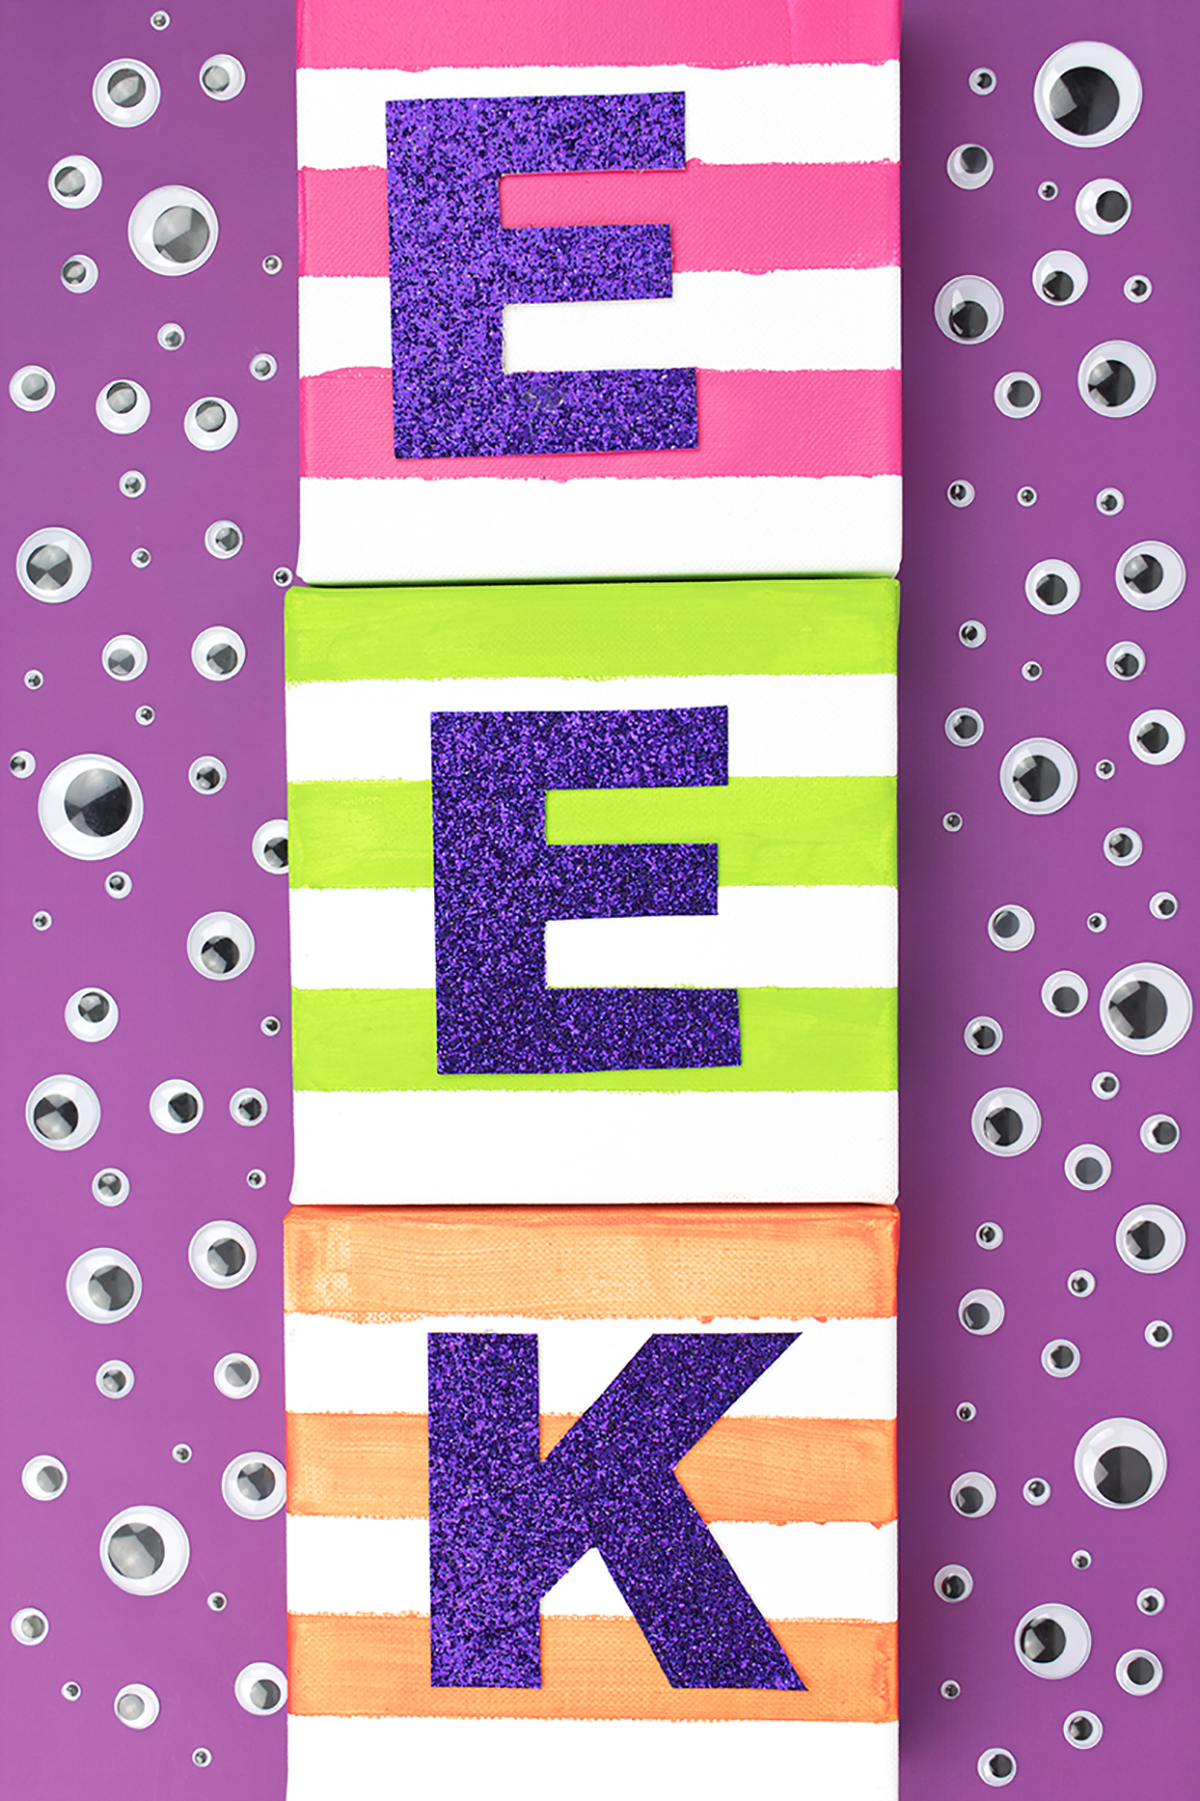
Head on over to Giggles Galore to see the full post! And, if your canvas needs a friend, try these EEK canvases too!

Looking for a slightly creepy, slightly cute way to decorate for Halloween? You've got to see this striped sign! Click for the full DIY. #halloweencrafts #halloweenart #diyhalloween

I hope you enjoyed this easy canvas DIY! Now, time for my question of the day that no one answers- what's your favorite part about Halloween? Is it dressing up, eating candy, scaring people, or staying home and hiding from everyone? Don't be shy! Let me know in the comments below.

Colorful Fall Pumpkin Wreath

Hey everyone! I'm back from my wedding and honeymoon, and suddenly it's fall. I mean, it feels like summer but the trees are changing colors, the kids are back in school, and I'm already working on my Halloween costume. 

In order to celebrate this weird Summer-Fall hybrid, I crafted a colorful pumpkin wreath to bridge the gap between the seasons. It's got a few of my favorite things- bright colors, pumpkins, and POM POMS!! It's a little kooky, but all the best people are ;)

You can find the full blog post over on Giggles Galore, so be sure to head over there and take a look!

In order to celebrate this weird Summer-Fall hybrid, I crafted a colorful pumpkin wreath to bridge the gap between the seasons. It's got a few of my favorite things- bright colors, pumpkins, and POM POMS!! It's a little kooky, but all the best peopl…

I used the spray painted pumpkins from my Glam Friendsgiving Party as inspiration for this wreath. I loved having some fun pumpkins around my house last year, so I wanted to create something that would show them off to everyone that passed by.

In order to celebrate this weird Summer-Fall hybrid, I crafted a colorful pumpkin wreath to bridge the gap between the seasons. It's got a few of my favorite things- bright colors, pumpkins, and POM POMS!! It's a little kooky, but all the best peopl…

I love how gorgeous and bright these pumpkins are! While I love traditional holiday colors, I also think it's really fun to break the mold and try to capture the spirit of the season with a completely different color palette.

In order to celebrate this weird Summer-Fall hybrid, I crafted a colorful pumpkin wreath to bridge the gap between the seasons. It's got a few of my favorite things- bright colors, pumpkins, and POM POMS!! It's a little kooky, but all the best peopl…

Be sure to head on over to Giggles Galore for the full tutorial!