Toddler Valentine Basket Ideas (On A Budget!)

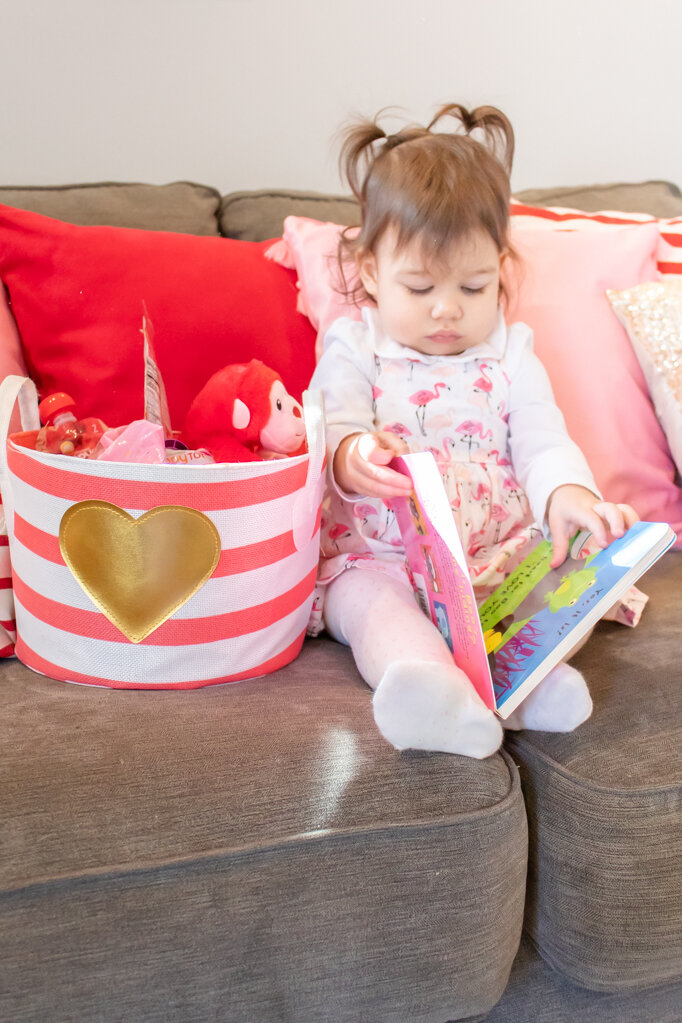
While I was browsing the Valentine section at Target, I got the bright idea to make a Valentine’s day basket for my daughter, Hailey. I know that a Valentine basket technically isn’t a thing, but I love holidays and will take any excuse to celebrate. I started to ponder what I would put in my basket, and I was pretty bummed that I thought of the idea as we were essentially leaving the store. So, I made a list and decided to go back and grab what I needed another time (you know… before the inevitable meltdown began). I knew that I wanted my basket to be Valentine-themed, but I didn’t want to waste money on cheap crap or novelty items that she would only use for a day. This momma is on a budget and every purchase counts. So, I filled up Hailey’s basket with a few items that were fun, but could be used year round. Pretty much everything came from either Dollar Tree or Target!

*This post contains affiliate links

Toddler Valentine Basket Ideas (On A Budget!)

Here’s what I put in my Toddler Valentine Basket:

Red and pink snacks- Since Hailey is only 16 months old, I didn’t want to fill her basket with chocolates or candy. So, I grabbed some of her fave snacks and some new ones for her to try. She loved it and wanted her pouches and yogurt bites right away!

One stuffed animal- She’s not big on stuffed toys, so I grabbed this monkey from the dollar tree. She’s having a monkey moment since she knows how to make the sounds!

Bubbles- Hailey LOVES bubbles, so this big pack from the dollar store was perfect for her basket!

Toddler paint and paint brushes- I love to paint, so I decided to get a wooden heart from the Dollar Tree and some paints to go along with it. I can’t wait to paint with her again- we haven’t done it since she was a tiny baby!

Hershey Kisses- I had to give her some kind of chocolate! It’s a Valentine’s Day tradition. And what’s sweeter than a kiss?

Crayola Bath Items- I found these paint soaps at the dollar tree and I thought they would be a fun addition. At first she was very confused and even got mad at us for putting the paint soap on her! After a few tries, she realized she loved them and kept asking for more paint.

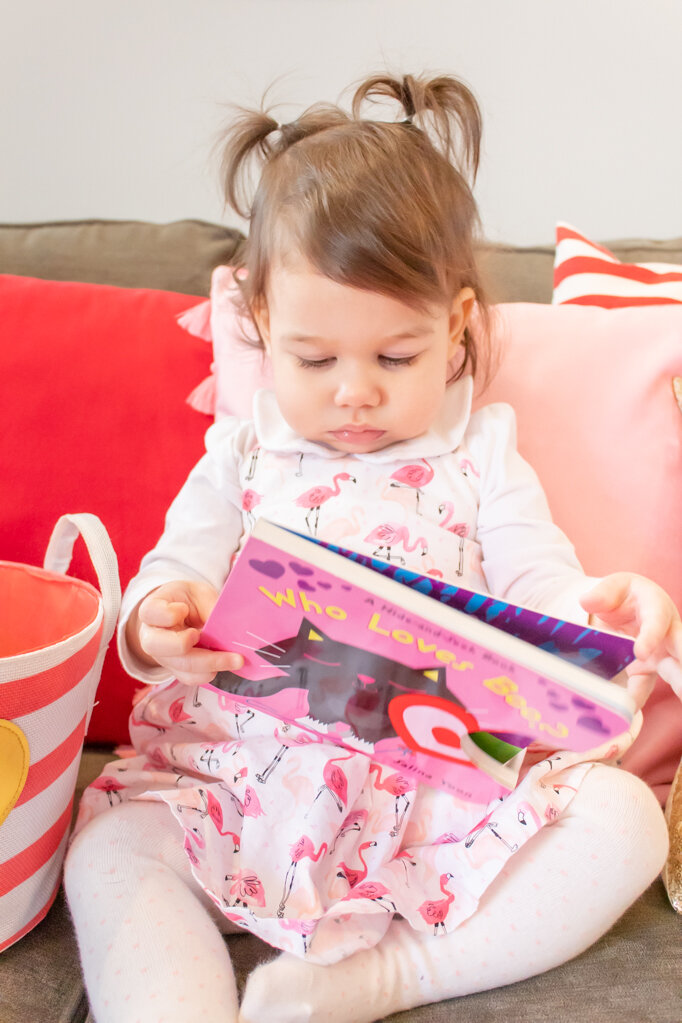
Valentine Book- Hailey loves the Halloween version of this book, so I decided to get her the Valentine version too! We’ve been reading it at night and she seems to like it.

Valentine Basket- This was actually something I had laying around the house if you can believe it! I was going to buy a basket but I figured I’d save the money. I have plenty at home I can use! Maybe next year (or for an older child) it would make sense to get a basket just for this- especially for a kid that likes to play with them.

Well, that’s all there is to it! There are so many items that you can add to a basket for your kids. You just need to be creative and think about what they like! Pick 2-3 colors for your basket that you’d like to stick to and it’ll be perfectly pretty. Or, just grab their favorite items and make it a “love” basket- you know, full of things they LOVE!

Toddler Valentine Basket Ideas (On A Budget!)

What would you put in your child’s basket? Let me know in the comments below!

How to Organize on a Dime

Let's be honest- organizing can be expensive! All those pretty organizers can add up, especially when you've got a lot of ground to cover. Fortunately, there are a lot of affordable solutions to help get your home organized without having to dip into your kids' tuition money. Best of all- it's simple!

*Contains affiliate links

Want to organize your home without breaking the bank? Check out these 6 tips! #home #organization #konmari

1. Check out the thrift store. I've stumbled across some awesome storage solutions at the thrift store. I bought this drawer organizer from the Thrift store for just a few dollars. Keep an open mind, and try to think of alternative uses for items.

2. Go dumpster diving. Sometimes I go to throw something away, but I almost feel guilty to do so. I have a clear zippered pouch from a sheet set I use for holding fabric that I rescued from the landfills.  I also collect small boxes from shipments that I use to organize my drawers, as well as shoe boxes.  You can turn a pasta jar into crafts storage and a cereal box into a magazine holder. The possibilities are endless!

3. Check out the sales. When you're at a store and see a great sale, this is the perfect time to grab a few containers for a rainy day. This can save you money, but it can also give you a head start when you randomly decide to start organizing one day and need a place to put things.

4. Visit the dollar store. The dollar store has lots of great stuff you can use for organizing. Very often, they'll have similar items to what you can find at another store but at a cheaper price. Don't worry if things are in a kooky color- you can spray paint anything these days!  Check out this tutorial for some advice.  And, check out this post for 100 dollar store organization finds!

5. Check Pinterest- but be specific.  A simple search can have all the answers you need, if you know what to look for.  Be specific- "how to organize fabric" will lead you to exactly what you need, whereas "Craft Storage" may lead to falling down the rabbit hole and spending the next 3 hours on Pinterest.  Whether it be a DIY project or a link to an affordable product on Amazon, Pinterest almost always has the answer.

6. Use what you have. The easiest way to save money is to not spend any at all.  Take a look around the house.  There's a good chance you're using two containers where you could be using one.  It's not organization if you're hoarding clutter, so always go through your things once a year to make sure you're not holding onto (and storing) junk.

Want more great tips? Be sure to follow my organization board on Pinterest!

What are your favorite ways to save money on organizing your home or office?

Easy DIY Dollar Store Candy Bar

Remember when you were a kid and you used to go in a candy store? The old-timey ones, with jars lined up along the walls of all different types of candies, sold by the pound. Your parents would hand you a bag and tell you "ok, get what you want. But not too much!" Or maybe your parents didn't trust you, so they'd ask you what you wanted and put tiny scoopfuls into the bag. Then for the next 10 hours, you were on a sugar high as you feasted on pretty much all the candy in one sitting. I loved this experience, so for my Sugar Sweet 27th birthday party, I had to have a candy bar! I wanted to do it on a budget so I could spend money elsewhere, especially since my party was all adults that don't have a big sweet tooth. I hit up my local dollar tree to find some supplies. P.S., there is some great glassware there for only a dollar!  Are you ready to make a candy bar for your next party?

*This post contains affiliate links.

Looking to add some fun to your next party? Check out this easy tutorial to create your own candy bar with items from the dollar store! #candybar #candybuffet #candytableideas

You'll need:

Candy Jars with lids (similar)
Vases or Fishbowls (similar vase and fishbowl)
Candlesticks (similar)
E6000 Glue (here)
Timer/Clock
Candy (and lots of it!) (similar here and here)
*Note: I purchased all my glass items from the Dollar Tree for only $1, but the Amazon links are for similar items

How to:

Looking to add some fun to your next party? Check out this easy tutorial to create your own candy bar with items from the dollar store! | Well Kept Chaos

1. First off, wash and thoroughly dry your supplies. I let mine dry overnight to be safe, but a good wipe and waiting a few minutes should work just as well.

Looking to add some fun to your next party? Check out this easy tutorial to create your own candy bar with items from the dollar store! | Well Kept Chaos

2. Using the E6000 glue, rim the perimeter of the candlestick. E6000 tends to ooze (a lot) so stop squeezing near the end of your perimeter, and store it tip-up between uses.

Looking to add some fun to your next party? Check out this easy tutorial to create your own candy bar with items from the dollar store! | Well Kept Chaos

3. Let the glue set for 2 minutes before attaching. This is so it gets tacky and sticks well.

Looking to add some fun to your next party? Check out this easy tutorial to create your own candy bar with items from the dollar store! | Well Kept Chaos

4. Hover the candy bowl over the candlestick and try to find the center. Place the bowl down and hold it for a few seconds so it can adhere.

Looking to add some fun to your next party? Check out this easy tutorial to create your own candy bar with items from the dollar store! | Well Kept Chaos

5. Wait 24-48 hours for the glue to fully cure. Then, pour in your candy and enjoy!

Looking to add some fun to your next party? Check out this easy tutorial to create your own candy bar with items from the dollar store! | Well Kept Chaos

I found that the lids for the candy bowls fit well with the vase and fishbowls, even though they were not airtight. 

Candy Tips:

-If you can, use name brand candy or something you've tried before. You don't want to get bags and bags of something that ends up tasting terrible!

-Get a mix of smaller and larger candies to create a visually appealing display.

-Pick a color scheme and stick to it. If you want to get all types of candies, then "rainbow" can be your theme. Just try not to have one candy/color that sticks out like a sore thumb.

-You'll probably need a lot more candy than you think. For most of my candies I bought 3 bags/boxes and it only fully filled one container. This wasn't a big deal to me because I had adults and figured they wouldn't be eating much candy anyway.

-Dollar store bags may be smaller than the bags from other stores, so grab the circulars and see if the candy might be cheaper elsewhere. Sometimes holiday candies go on sale, which can be great for a holiday themed party!

Do you have any tips for a candy bar on a budget? What's your favorite type of candy to put in the jars? Which is the most bang for your buck? Let me know!