DIY Paper Fan Christmas Tree
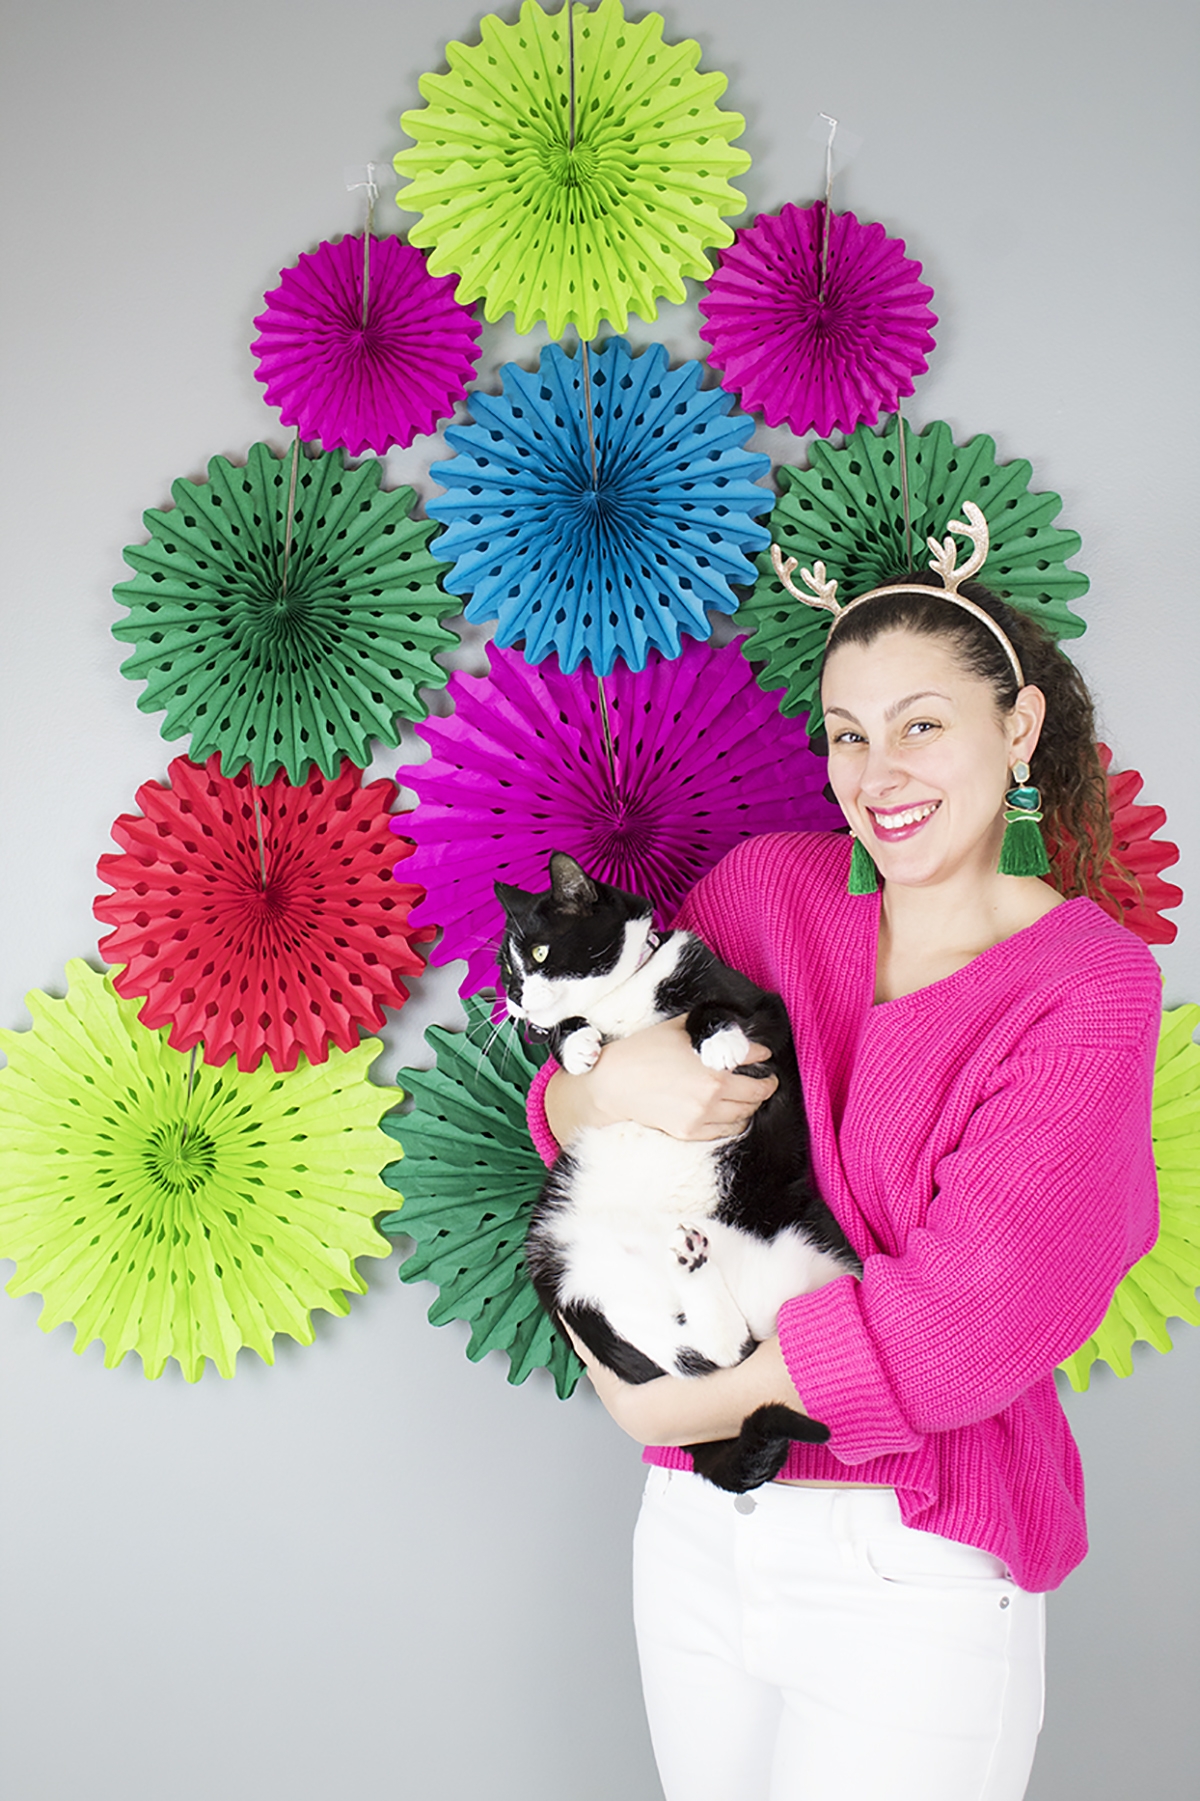
Merry (almost) Christmas! I'm trying to add some fun color to my decor this year! I wanted something really simple that had a great impact. It's no secret that I love paper fans, so I figured they would be the perfect focal point for my ornament making party! I teamed up with Oriental Trading to get all the supplies I needed. This DIY only takes a few minutes to put up, and it can be used again and again. It would look really cute starting lower and being a photo prop or even as a Christmas tree alternative for a small space. Let's get started!

*This post was sponsored by Oriental Trading. All projects and opinions are my own.

This DIY backdrop only takes a few minutes to put up, and it can be used again and again. It would look really cute starting lower and being a photo prop or even as a Christmas tree alternative for a small space. #paperfans #partybackdrops #christma…

You will need: 

This DIY backdrop only takes a few minutes to put up, and it can be used again and again. It would look really cute starting lower and being a photo prop or even as a Christmas tree alternative for a small space. #paperfans #partybackdrops #christma…

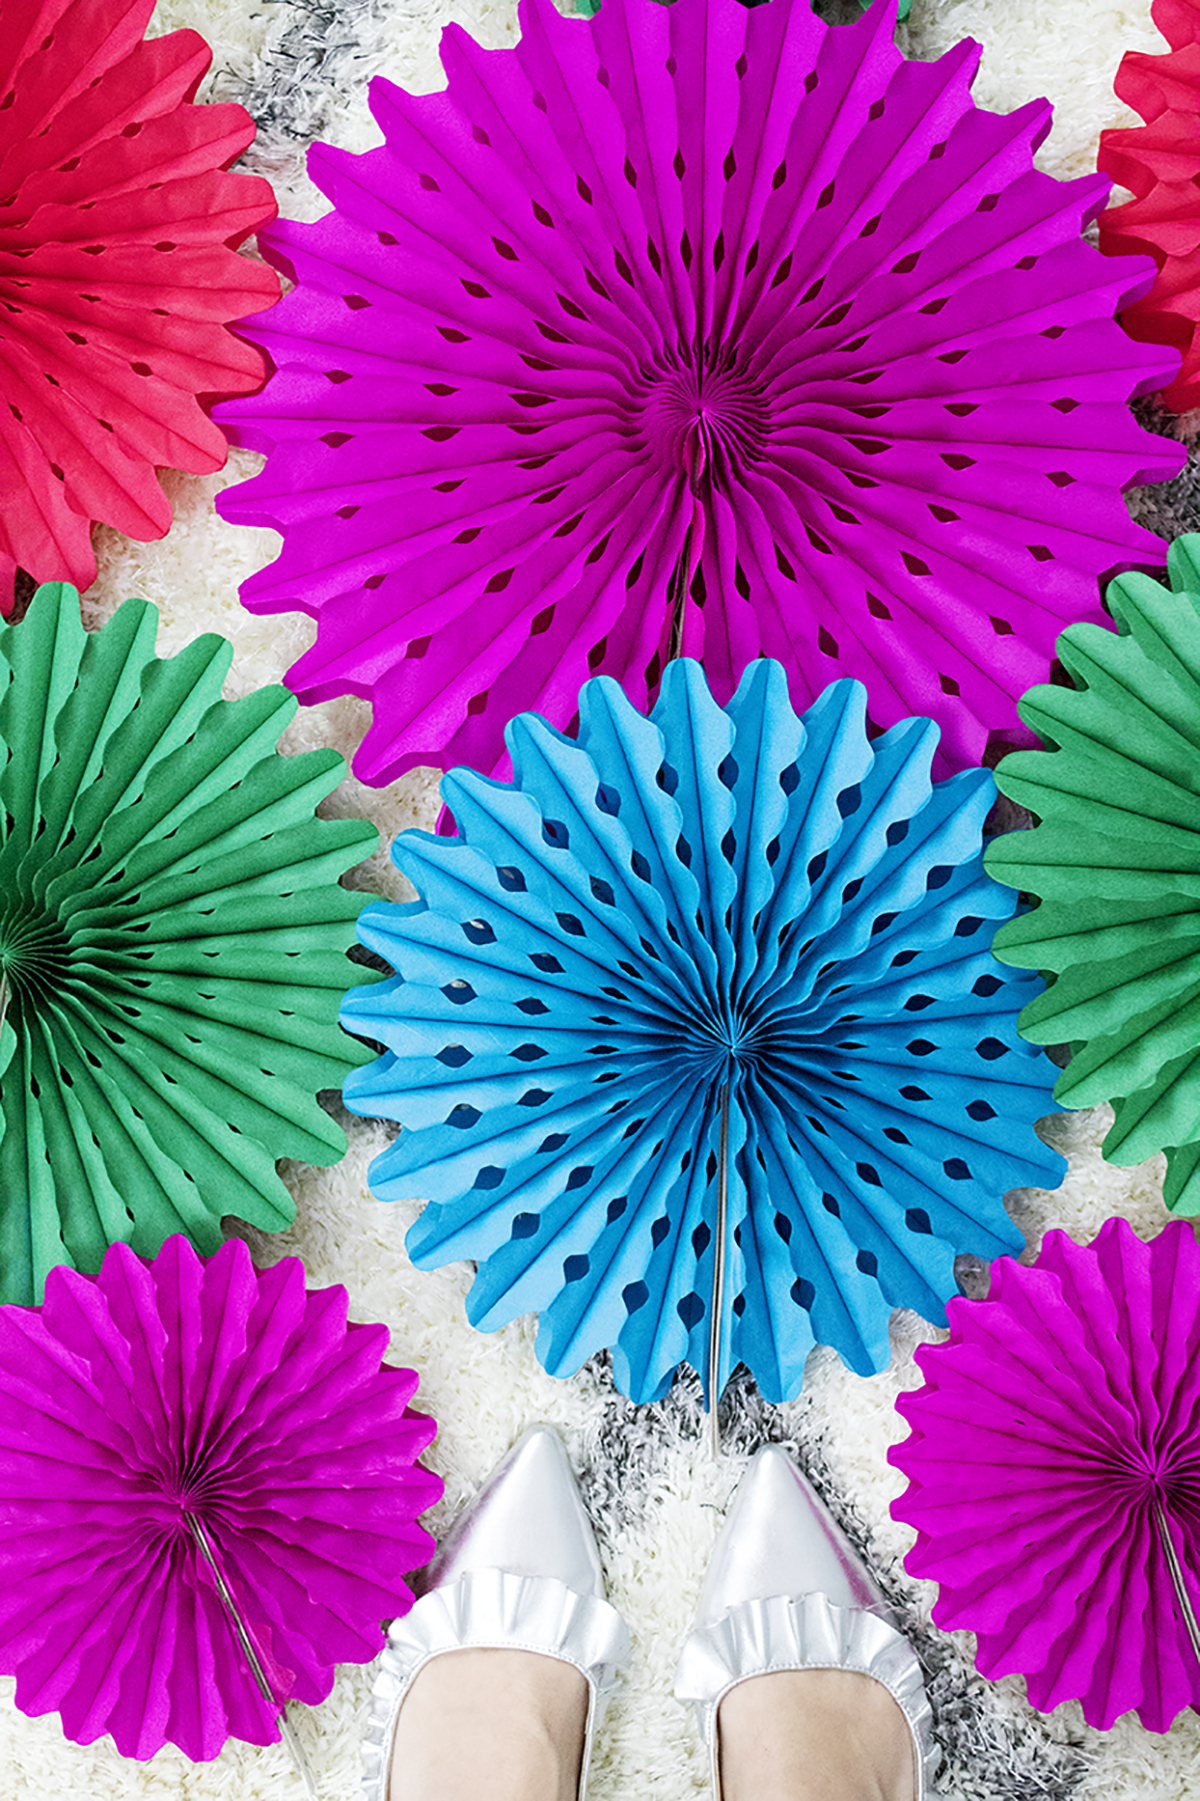
Paper fans (pink, red, blue, light green, dark green)
Tape
Stapler
string or similar

Directions

This DIY backdrop only takes a few minutes to put up, and it can be used again and again. It would look really cute starting lower and being a photo prop or even as a Christmas tree alternative for a small space. #paperfans #partybackdrops #christma…

1. Grab a few different colors and sizes of your paper fans. Lay them out on a floor, table, or other large surface.

This DIY backdrop only takes a few minutes to put up, and it can be used again and again. It would look really cute starting lower and being a photo prop or even as a Christmas tree alternative for a small space. #paperfans #partybackdrops #christma…

2. Open each paper fan and thread the string through the hole at the top. Then, place a small staple just under the hole. I know that the paper fans come with double sided tape, but sometimes it doesn't stick well, and better yet, this method allows you to re-use them! Reduce, reuse, recycle :)

This DIY backdrop only takes a few minutes to put up, and it can be used again and again. It would look really cute starting lower and being a photo prop or even as a Christmas tree alternative for a small space. #paperfans #partybackdrops #christma…

3. Start arranging your fans into a tree shape, starting at the bottom. I tried a few different color combos, and I found that using a pattern was better than going totally random. My pyramid (starting from the bottom) went 3 large fans, 1 large 2 medium, 3 medium, 2 small 1 medium.

4. Once you like your shape and color combo, take a string and roughly measure up the height of the tree and cut. I found that a pair of headphones I had was the exact height of the tree. You might be wondering, why are we doing this? We are using this string as a guide so we can make sure the tree is centered where we want it, and so that we can maintain the right distance between the levels! It's hard to tell when it's laying on the floor, and you don't want to tape everything up and realize it's all wrong.

5. Tape up your guide string, and take a look to make sure it's in the right place and the right height for your space. I placed mine high because I wanted it to be a backdrop for a table. 

This DIY backdrop only takes a few minutes to put up, and it can be used again and again. It would look really cute starting lower and being a photo prop or even as a Christmas tree alternative for a small space. #paperfans #partybackdrops #christma…

6. Starting at the bottom center, tape your first fan, making sure to move the guide string out of the way. Then, tape the next 2 on either side. I fit mine "together", like a zipper, since the pieces went into each other. This made the shape tighter and neater.

7. Go up the rows, adding the center fan and moving outwards. I also tried to cover the hanging string and cardboard of the one below whenever possible. Remember that the shape you created on the floor was an estimate. When you get it up on the wall, it might not look quite as good as it did on the floor. I ended up switching out the top levels and liked the shape much better.

8. You can add a star at the top, or even some small ornaments, like these holographic paper ornaments or quirky animal ornaments if you wanted to decorate it a bit.

This DIY backdrop only takes a few minutes to put up, and it can be used again and again. It would look really cute starting lower and being a photo prop or even as a Christmas tree alternative for a small space. #paperfans #partybackdrops #christma…

I think this backdrop is a great, easy addition for any holiday party! If you wanted to save some money, pick two main colors and alternate them for each row. You can also add a stem/base if you want, but mine would have interfered with the chairs so I left it off. Christmas is fast approaching, so head on over to Oriental Trading now to place your orders!

This DIY backdrop only takes a few minutes to put up, and it can be used again and again. It would look really cute starting lower and being a photo prop or even as a Christmas tree alternative for a small space. #paperfans #partybackdrops #christma…

How do you plan on using your tree? Christmas tree alternative? Door decoration? Photo Booth backdrop? Kids room decor? Let me know in the comments below!

How to Throw a Colorful Halloween Party

Halloween is coming, and I'm just so excited! I still remember the very first Halloween party I had way back in high school. While most other teens liked alcoholic binge fests or home destruction, my party was a classy affair. I had found a magazine with all these fun recipes and Halloween themed treats at the supermarket, and I wanted to make everything! I decided then and there that I needed to have a party. This time, I decided to give the traditional Halloween party a facelift with a fresh color palette. It's fun, glam and has just the right amount of spooky. 

To throw a lavish affair on a budget, head on over to Oriental Trading. They've got everything you need to host a haunting affair without breaking the bank! P.S. This is not a sponsored post. I just happen to loooove using Oriental Trading! ;) Be sure to check out my shopping list at the bottom of this post for all the items pictured.

halloween party full table2.jpg

Let's start at the top! For my color scheme, I went with traditional orange and black, mixed in with teal and pink for a fresh and girly twist. I also accented with white and gold to keep it light and add a bit of glam. 

Halloween is coming, and I'm just so excited! I decided to give the traditional Halloween party a face-lift with a fresh color palette. It's fun, glam and has just the right amount of spooky. Click to find out all the details!

Now onto the table setup! I put some candy in my DIY dollar store candy dishes. I only bought two kinds, but Oriental Trading has TONS of different kinds of candy! I think my favorites are these heart candies, which are tasty and so addictive. 

Halloween is coming, and I'm just so excited! I decided to give the traditional Halloween party a face-lift with a fresh color palette. It's fun, glam and has just the right amount of spooky. Click to find out all the details!

Be sure to add some faux piñatas to your table as favors to your guests. They're fun and easy to make while watching tv! I recommend binge watching Friends as you make them.

Halloween is coming, and I'm just so excited! I decided to give the traditional Halloween party a face-lift with a fresh color palette. It's fun, glam and has just the right amount of spooky. Click to find out all the details!

In the center, I included a teal pumpkin. It's cute, colorful and supports a great cause!

Halloween is coming, and I'm just so excited! I decided to give the traditional Halloween party a face-lift with a fresh color palette. It's fun, glam and has just the right amount of spooky. Click to find out all the details!

So much fun!

Halloween is coming, and I'm just so excited! I decided to give the traditional Halloween party a face-lift with a fresh color palette. It's fun, glam and has just the right amount of spooky. Click to find out all the details!

I made this table runner using leftover crepe paper from my faux piñatas and some scotch tape. It was virtually free and can be tossed in the trash when the party is over! 

Halloween is coming, and I'm just so excited! I decided to give the traditional Halloween party a face-lift with a fresh color palette. It's fun, glam and has just the right amount of spooky. Click to find out all the details!

I love this cute and quirky Trick or Treat banner. It comes in two parts, so you can hang it up however works best for you!

Halloween is coming, and I'm just so excited! I decided to give the traditional Halloween party a face-lift with a fresh color palette. It's fun, glam and has just the right amount of spooky. Click to find out all the details!

For the table, I stacked the plates so that each place setting can get all the colors at once. It adds a festive and spooky touch. Ditto for the forks and straws! Finally, each person gets an orange candy stick to go with it.

Halloween is coming, and I'm just so excited! I decided to give the traditional Halloween party a face-lift with a fresh color palette. It's fun, glam and has just the right amount of spooky. Click to find out all the details!

I love it all, but I think these spiderweb paper fans are my favorite part. Look at how cute they are! They add a spooky touch that's so elegant.

Halloween is coming, and I'm just so excited! I decided to give the traditional Halloween party a face-lift with a fresh color palette. It's fun, glam and has just the right amount of spooky. Click to find out all the details!

Now raise a glass and celebrate a job well done!

Planning a party is so rewarding, especially once everyone arrives and you get to have some fun! So what do you think? Do you agree that Halloween doesn't have to be spooky? Let me know in the comments below!