DIY Rainbow Alphabet Blocks

Call it a mother's intuition but I made this project before I even knew I was pregnant! I wanted them for an Instagram challenge I have since put aside, but hey... they're pretty cute and I've used them for a few blog posts already too! You probably saw them make a cameo in my Easter party post, my baby post and my Painted Notebook post. They're too awesome (and useful) to resist. Find out how to make a set for yourself!

Colorful rainbow alphabet baby blocks? Yes please! Find out how to make a set for yourself. Click for the full how-to!

Disclaimer: I do not have children, and therefore I do not know what age this would be for. I’m going to say 3+, but please use your discretion! Mine will be mainly for decorative purposes. I don’t want any children getting hurt with toxic paint or swallowing a loose letter. Please use caution when giving this project to children!!!

You will need:

1.5" blocks (here)
Painter’s tape 1 inch (here)
Paint in your choice of colors (similar here)*
Wood letters (from Michael’s, similar here)
Paintbrushes (similar here)
Super glue or wood glue (here)
Newspaper or similar to cover workspace

*My colors were Martha Stewart Pink Dahlia, Apple Barrel Pink Parfait, Martha Stewart Wild Salmon, Martha Stewart Yellow Jacket, Martha Stewart Diving Board, Apple Barrel Parrot Blue, Apple Barrel Bimini Blue, Craft Smart Grape Taffy

Directions:

Colorful rainbow alphabet baby blocks? Yes please! Find out how to make a set for yourself. Click for the full how-to!
  1. Pick the colors for your paint, and decide on whether you want a pattern. I wanted to do a rainbow, so I assigned each letter a color and counted out how many of each block I needed from that.

  2. Find the best side of your block to be the front, and add tape to the center as a “stripe”. I did this on two sides so that I would have the ability to add extra letters or something else to the back. Or at least, if gave me an extra option in case one side looked funky!

  3. Once you’ve taped a few (or all) of your blocks, begin painting them. Each round, I painted the “front” of the block with two stripes, 2 sides full color, and the “back” with two stripes. I did the stripes first, then the sides, and went and did a second coat on the stripes before letting it dry.

  4. Peel your tape off your blocks and save it for round 2. Make sure your blocks dry fully before doing round 2!

  5. While your blocks dry, start painting your letters. I did the front and all the sides with a few coats.

  6. Take your tape, and reposition it on the sides with the stripes, this time going the other direction to form a “border” of color around the edge. Paint the stripes on the front, back, and opposite sides. And let dry fully.

  7. Glue your letters into your blocks and let dry according to directions.

Colorful rainbow alphabet baby blocks? Yes please! Find out how to make a set for yourself. Click for the full how-to!

Alternatives:

  1. For a safer alternative, you can paint or stamp the letters onto the blocks so that there is no choking hazard

  2. Instead of matching all the blocks and letters, try mixing them up or color blocking with different shades of the same color! I tested that below.

  3. Add stamps to the sides of the blocks for extra learning fun!

  4. Add numbers for a complete block set

Colorful rainbow alphabet baby blocks? Yes please! Find out how to make a set for yourself. Click for the full how-to!

Ahhh! I mean, how stinking cute are these!? They'd also be really cute as decor with just the letters of your baby or child's name. I love love love these! Are you planning to make a set for your kids? Let me know in the comments below!

DIY Polly Pocket Iron-On Tee

Ah, Polly Pocket. The choking hazards of our childhood. Something about the amazing little world they could create in such a small space was seriously enticing as a kid. I was more into Barbies, but I did have one Polly Pocket toy that I loved- Vintage Polly Pocket Waterpark Fun which had an awesome pull-out slide! I don’t know how much I really played with the Polly Pocket, but I know I did often open up the case and stare at its interior. Usually Polly was a “Barbie” for my Barbies, but that case had its own special place in my heart. 

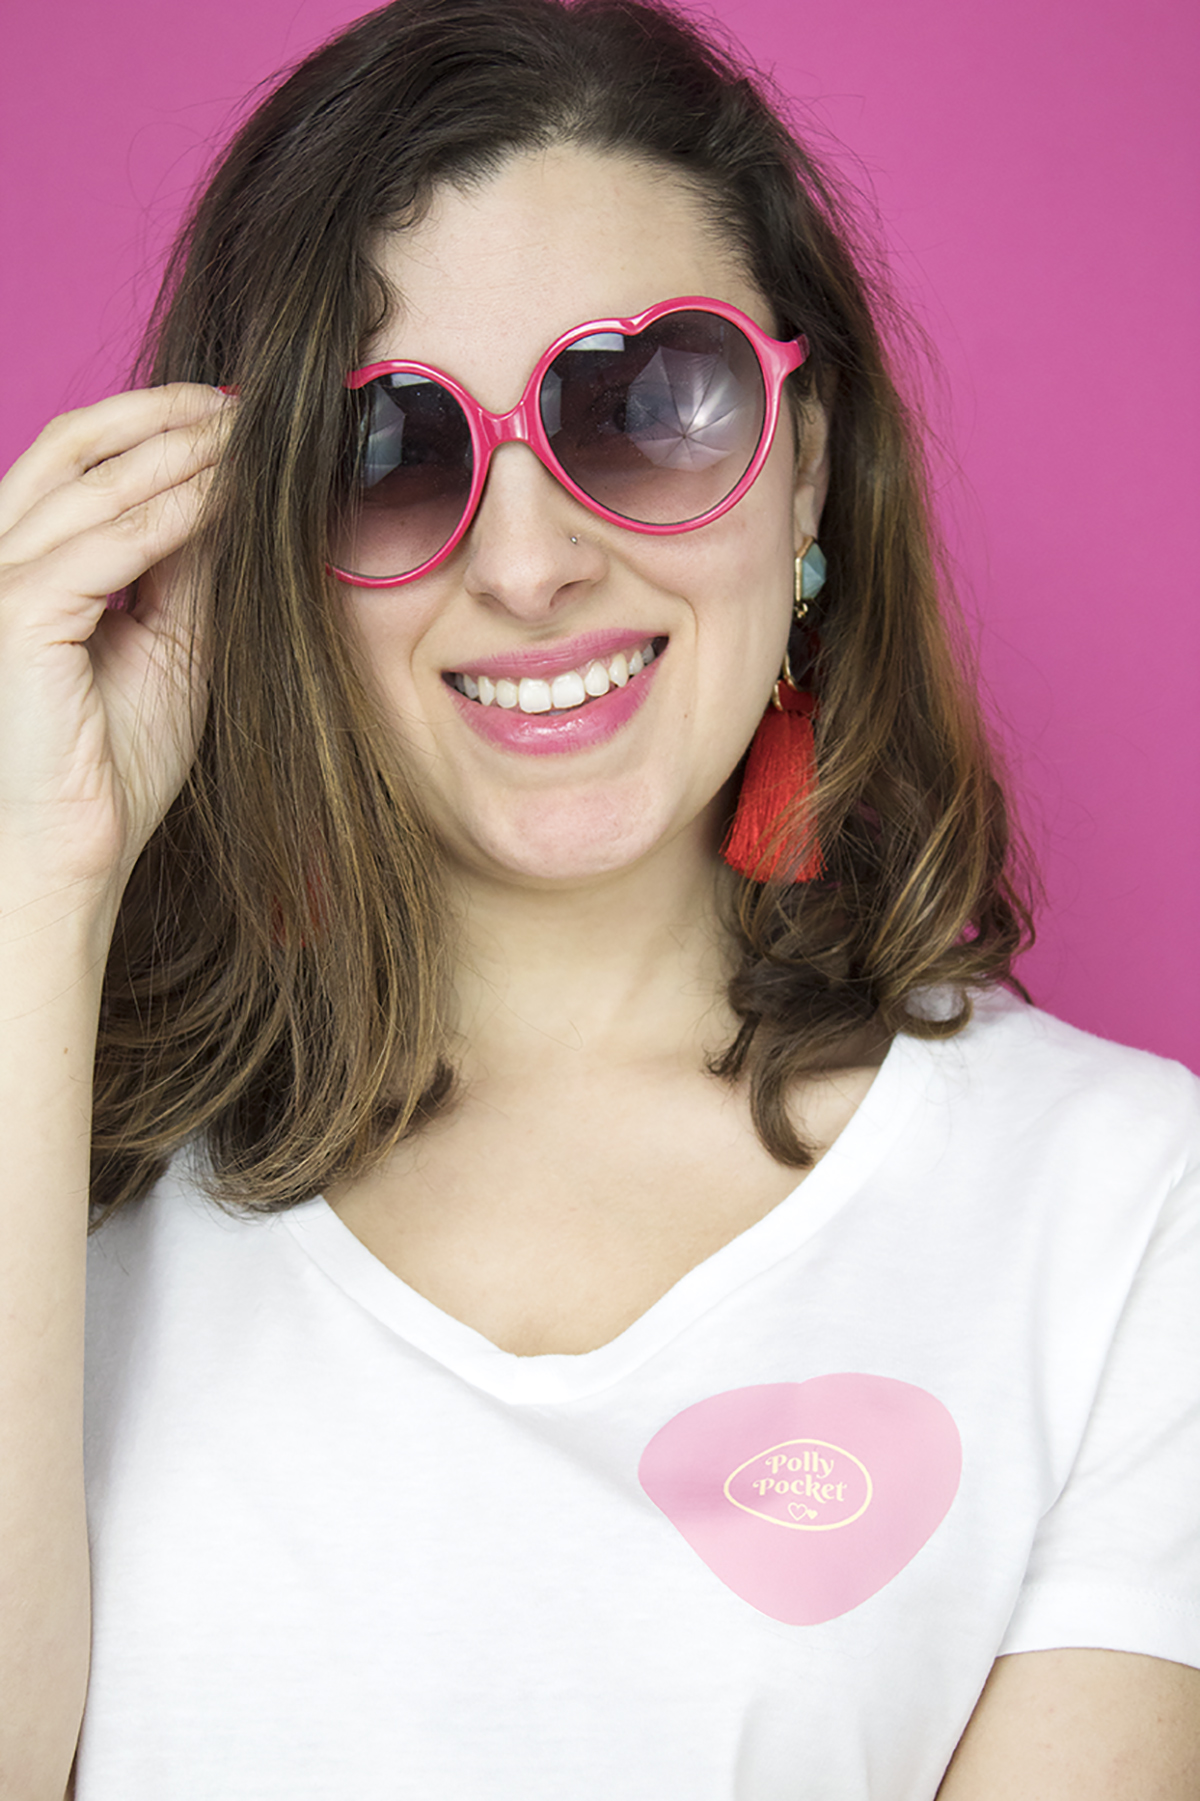
To commemorate my love for Polly Pockets, I made these super cute printable iron-ons that you can put on pretty much anything you desire! Get your printer out and your iron ready- we’re making some tees!

To commemorate my love for Polly Pockets, inside and out, I made these super cute printable iron-ons that you can put on pretty much anything you desire! We’ve got 2 sizes (kid and adult) and 2 orientations (backwards and forwards) so that it works for everyone! I picked some of my favorite shapes including my turquoise flower, a heart (perfect for Valentines Day and Galentine’s Day!), a sea shell, a star, and a regular 'ole square that looks somewhat like an ordinary pocket. Get your printer out and your iron ready- we’re making some tees!

To commemorate my love for Polly Pockets, I made these super cute printable iron-ons that you can put on pretty much anything you desire! Get your printer out and your iron ready- we’re making some tees!

You will need:

Tees (here, here, here)
Sweatshirts (here, here)
Iron-on for dark fabrics (here)
Scissors (here)
Fabric marker with disappearing ink (here)
Iron
Parchment paper
Fun earrings to wear them with! (here)
Free printable (see below)

The printable is available in my resource library, which you can get totally FREE access to, just by signing up. What exactly do you get? Access to all my printables, including party planning guides, checklists, and my projects. By signing up, you'll have access to all projects- past, present and future! 


Directions

To commemorate my love for Polly Pockets, I made these super cute printable iron-ons that you can put on pretty much anything you desire! Get your printer out and your iron ready- we’re making some tees!
  1. Print out your Polly Pockets according to the instructions on your iron-on paper. I used the one for dark fabrics, and it worked perfectly on my white shirts too. It required printing the design the normal way. Often, light colored fabric iron-ons require it to be backwards. Just be sure to follow the instructions on your papers!

  2. Cut out each design, then trim off all the extra. The paper is white, so anything left over will show! I stayed as close to the edge as possible.

  3. Try on your shirt, and mark where you want your Polly Pocket to go. Remember that when you look in the mirror, everything is backwards ;)

  4. Put your shirt on a flat surface. Remove any hairs with a lint roller, and iron your shirt to be free of wrinkles.

  5. Peel the back off your Polly Pocket decal, and place it in the spot that you want. Cover with parchment paper

  6. Iron according to the instructions on your package. Mine said to iron for 40-60 seconds with a lot of pressure. Let cool completely.

To commemorate my love for Polly Pockets, I made these super cute printable iron-ons that you can put on pretty much anything you desire! Get your printer out and your iron ready- we’re making some tees!

The printable is available in my resource library, which you can get totally FREE access to, just by signing up. What exactly do you get? Access to all my printables, including party planning guides, checklists, and my projects. By signing up, you'll have access to all projects- past, present and future! 

To commemorate my love for Polly Pockets, I made these super cute printable iron-ons that you can put on pretty much anything you desire! Get your printer out and your iron ready- we’re making some tees!

PS- For anyone that missed my Instagram stories, I decided that I'll be "the ugly blogger", because trying to take photos where I am actually pretty proves to be a challenge for me. So, get ready to see some awkward pics like the one above. They're just so much more fun to take than fake laughing so that I look happy!

Sources: All Earrings, Seashell Cup, Diamond Ring, Heart Sunglasses Similar, Vintage Polly Pocket- Waterpark Fun