Hailey's Nursery Organization Tour (Ideas On A Budget!)
/I’m so excited to finally be sharing some sneak peeks of Hailey’s room! It only took 9+ months but hey, better late than never! I want to start by talking about how I organized Hailey’s room. My goal for her room was to be girly but pretty- something she could grow up with, instead of needing a total refresh as soon as she wasn’t a baby anymore. And, I wanted it to be fully functional, organized and GORGEOUS. I wanted everything to have a place and I wanted that place to be pretty. It definitely seemed silly at the time, and my husband thought it was ridiculous. However, every person that comes into her room comments on how pretty it is, including her closet. I leave the door open- it’s THAT nice! I even open up the drawers to show people how nicely everything is folded. My husband, who thought I was taking way too long to fold her clothes, recently said he wanted me to teach him how I fold her clothes because they definitely fit better when I do it. It’s the small victories.
I mean….. LOOK AT THAT CLOSET. It’s been several months and I still swoon over it. It’s gotten fuller since I took these photos a few months ago, but it still looks great. My favorite part of her whole room is those closet doors. I wanted to add a pop of color to her room without painting everything a bright hue. Originally, we were thinking to paint an accent wall but I couldn’t figure out which wall it should be. Mostly because I didn’t think any of them would be good for it! I remembered how much I loved the beautiful doors back in Greece and I decided to gather up some courage and ask my husband if we could paint the doors. Surprisingly, he agreed! I honestly think it was the best decision I could have made, because these doors make a statement without being cheesy.
Baby Closet Storage
Let’s venture inside the closet now. Hailey received a bunch of cozy blankets, so I decided to display them on the left side by hanging them in her closet. This area was pretty high up for anything other than blankets, since everything looked comically small in that corner. I folded the blankets in thirds to make them thin, then in half so they hung nicely off the hanger. Below all the blankets, I put this amazingly adorable pom pom basket (similar here) that I couldn’t resist getting! It holds miscellaneous breastfeeding items- nursing pads, my breast pump, etc. along with the chalk markers for her monthly updates. It’s essentially a catchall basket, which helps to keep the room tidy.
See those polka dot baskets there? Those are smack dab in the middle, and they hold all of Hailey’s clothes in bigger sizes. I put her 0-3 & 3-6 month clothes in her drawers, then made one cube of 6-9 and another of 9-12. Anything over 12 months was put into a giant storage bin for later and stored in the attic. These bins made it really easy to access new clothes as Hailey got bigger. I washed everything while I was pregnant and I’m sooooo glad I did. Those tiny clothes have more little plastic attachment pieces than should be legal. Plus, I can grab things from the bins without having to wash them, which is amazing now that I have a tiny human to care for. She makes more than enough laundry as it is!
At the top right, I have some transitional pieces. We plan to put some shelves up, so right now her decor and jewelry box are up there. The piggy bank was from her Oma (grandma) and belonged to her mom before that. When you put a coin in, it plays an Irish song! The jewelry box was a gift from my sister to me. I didn’t need it anymore, so instead of tossing it I decided it would be fun for Hailey to use. I can just imagine her storing her little plastic rings in there someday, and looking into the little mirror with lipstick smeared all over her face like a beauty queen.
Below those items is her fancy clothes- dresses, little coats, and tutus. All my favorite frilly things which are gorgeous! I couldn’t resist snapping a photo of just these little dressy items, because they’re that pretty! Everything is hung on tiny pink velvet hangers.
Let’s go down to the bottom of the closet. I used a structured bin or hamper (similar here, here and here) to hold even more of Hailey’s blankets. I had 2 comforters from her bedding set, plus her muslin swaddles and handmade blankets from family members. I folded everything up nicely and placed it in this bin for safekeeping. Above it, I have some of her extra hangers ready to go.
I knew we’d have to store Hailey’s bathtub in her room, since our bathroom is extremely small. I didn't want to remove it every time I wanted to shower, so it just made sense to keep it in her room. But again, I wanted everything to be pretty and this was no exception! So, I bought this oversize fabric hamper (similar here and here) to hold it when it’s not in use. After Hailey’s bath at night, I leave it in the tub to dry. Then, I put it back in the hamper until its next use. From the front, you can barely even tell what’s in there!
Now I’ll talk about all the other random bins I didn’t mention before. The pink striped bin at the top holds extra diapers and wipes, so we never have to worry about running out while she’s naked on the changing pad. The bins underneath it are her bath toys that she won’t be needing quite yet. The wooden box holds her very small shoe collection, and the pink bin at the bottom (similar here and here) is for clothes that no longer fit her. I get so sad when something has to go in that bin, but it means she’s happy and healthy which is a GREAT thing so I get over it fairly quickly.
The Book Shelf Storage
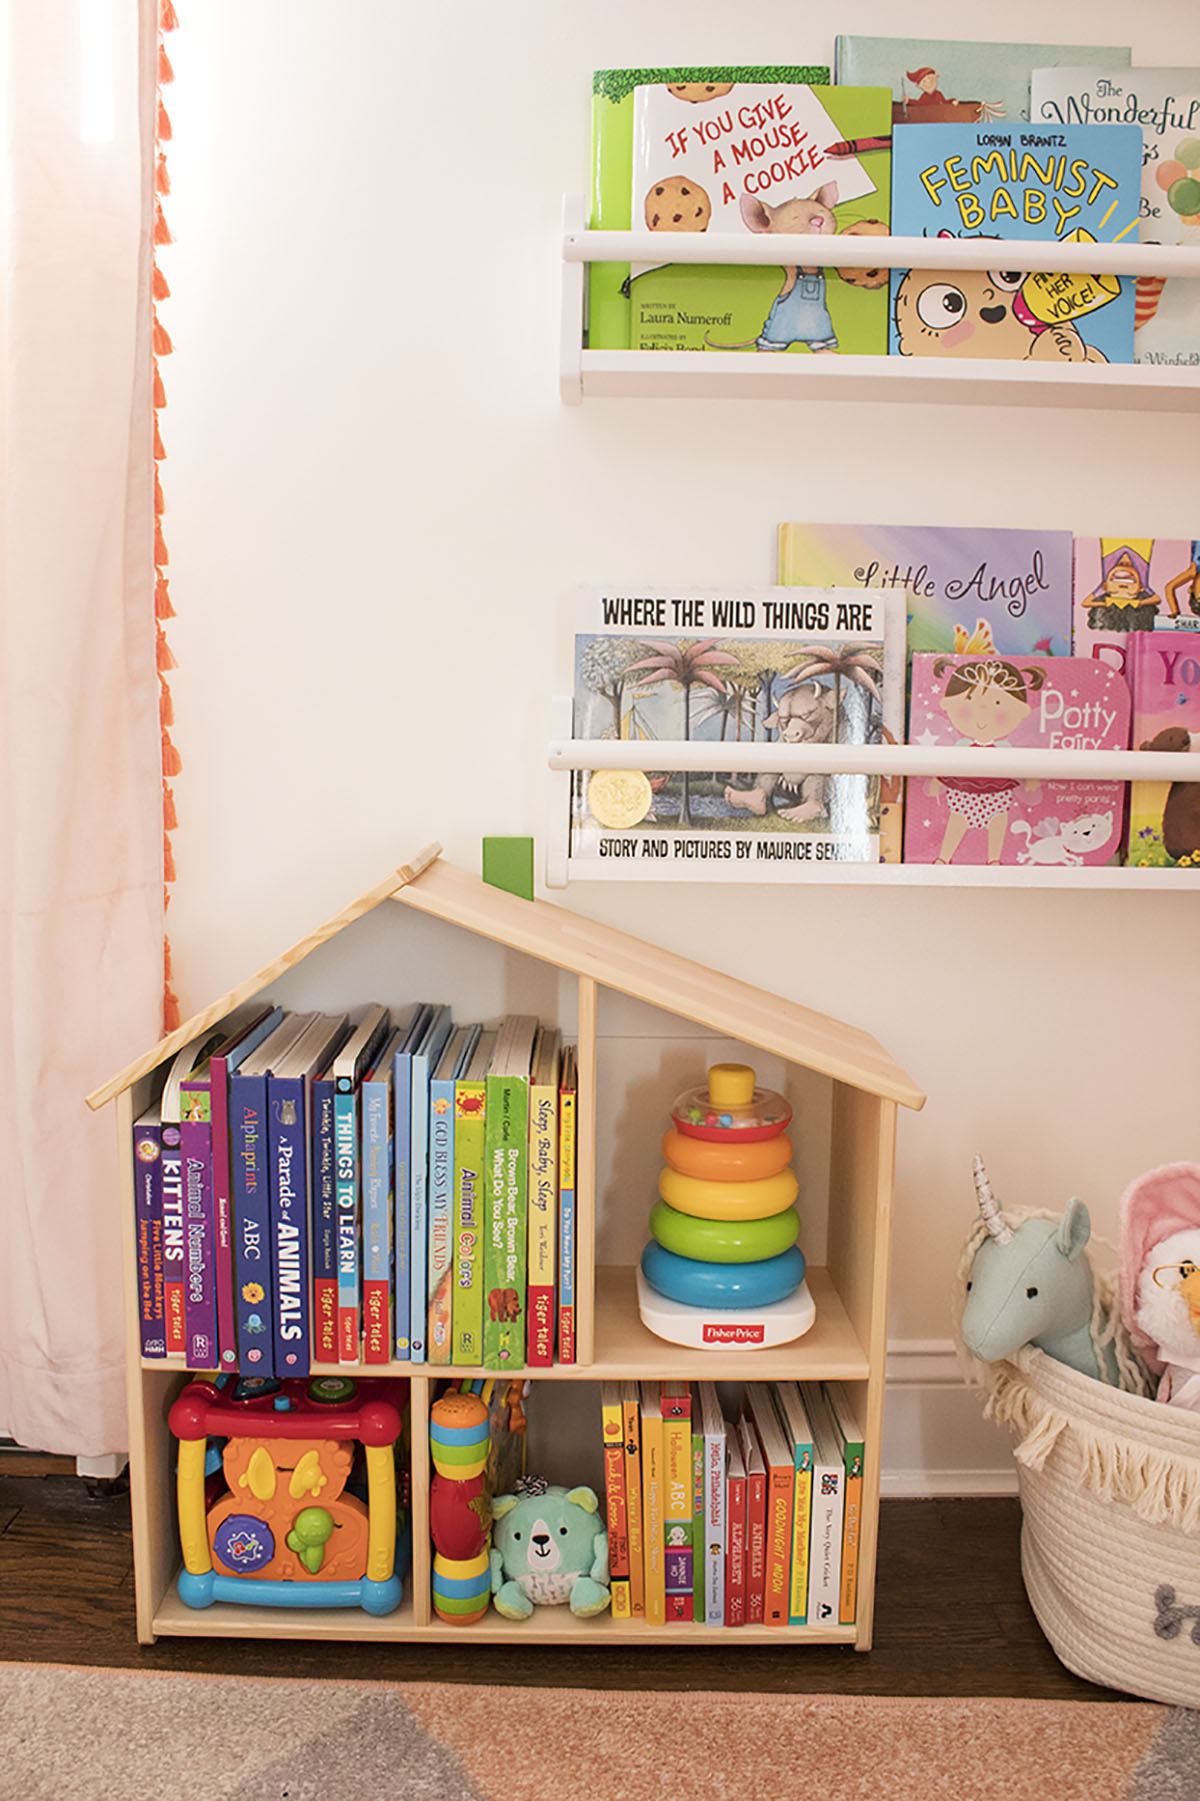
Over to the left of the closet is all of Hailey’s books! After seeing everyone else’s adorable book walls, I decided I wanted one for her room too. It fit perfectly on this narrow portion of wall underneath the AC, since anything bulky would block the closet. You can see a teensy portion of the door down there!
I organized all the books by rainbow order, which made it visually appealing. These wooden book shelves from Ikea were painted white so that they provided a nice, simple place to hold the books. At the bottom, I placed my dollhouse bookshelf which houses some of her smaller books and toys, again in color order. Off to the right side, I have a small basket filled with some of her stuffed toys and dolls. Hailey has quite a few unicorn toys, along with a mermaid and singing Mother Goose!
I can’t wait to show you the full room reveal, because those curtains are pretty epic too! This room is my favorite in the entire house.
Baby Dresser Storage
Off to the right of the closet is Hailey’s dresser! I chose this dresser because it was wide enough for our changing pad and was still a decent height for her changing pad. PS- I love this changing pad because you just wipe it clean if there’s a mess. No laundry needed. Just go ahead and order one now- you’ll thank me later!
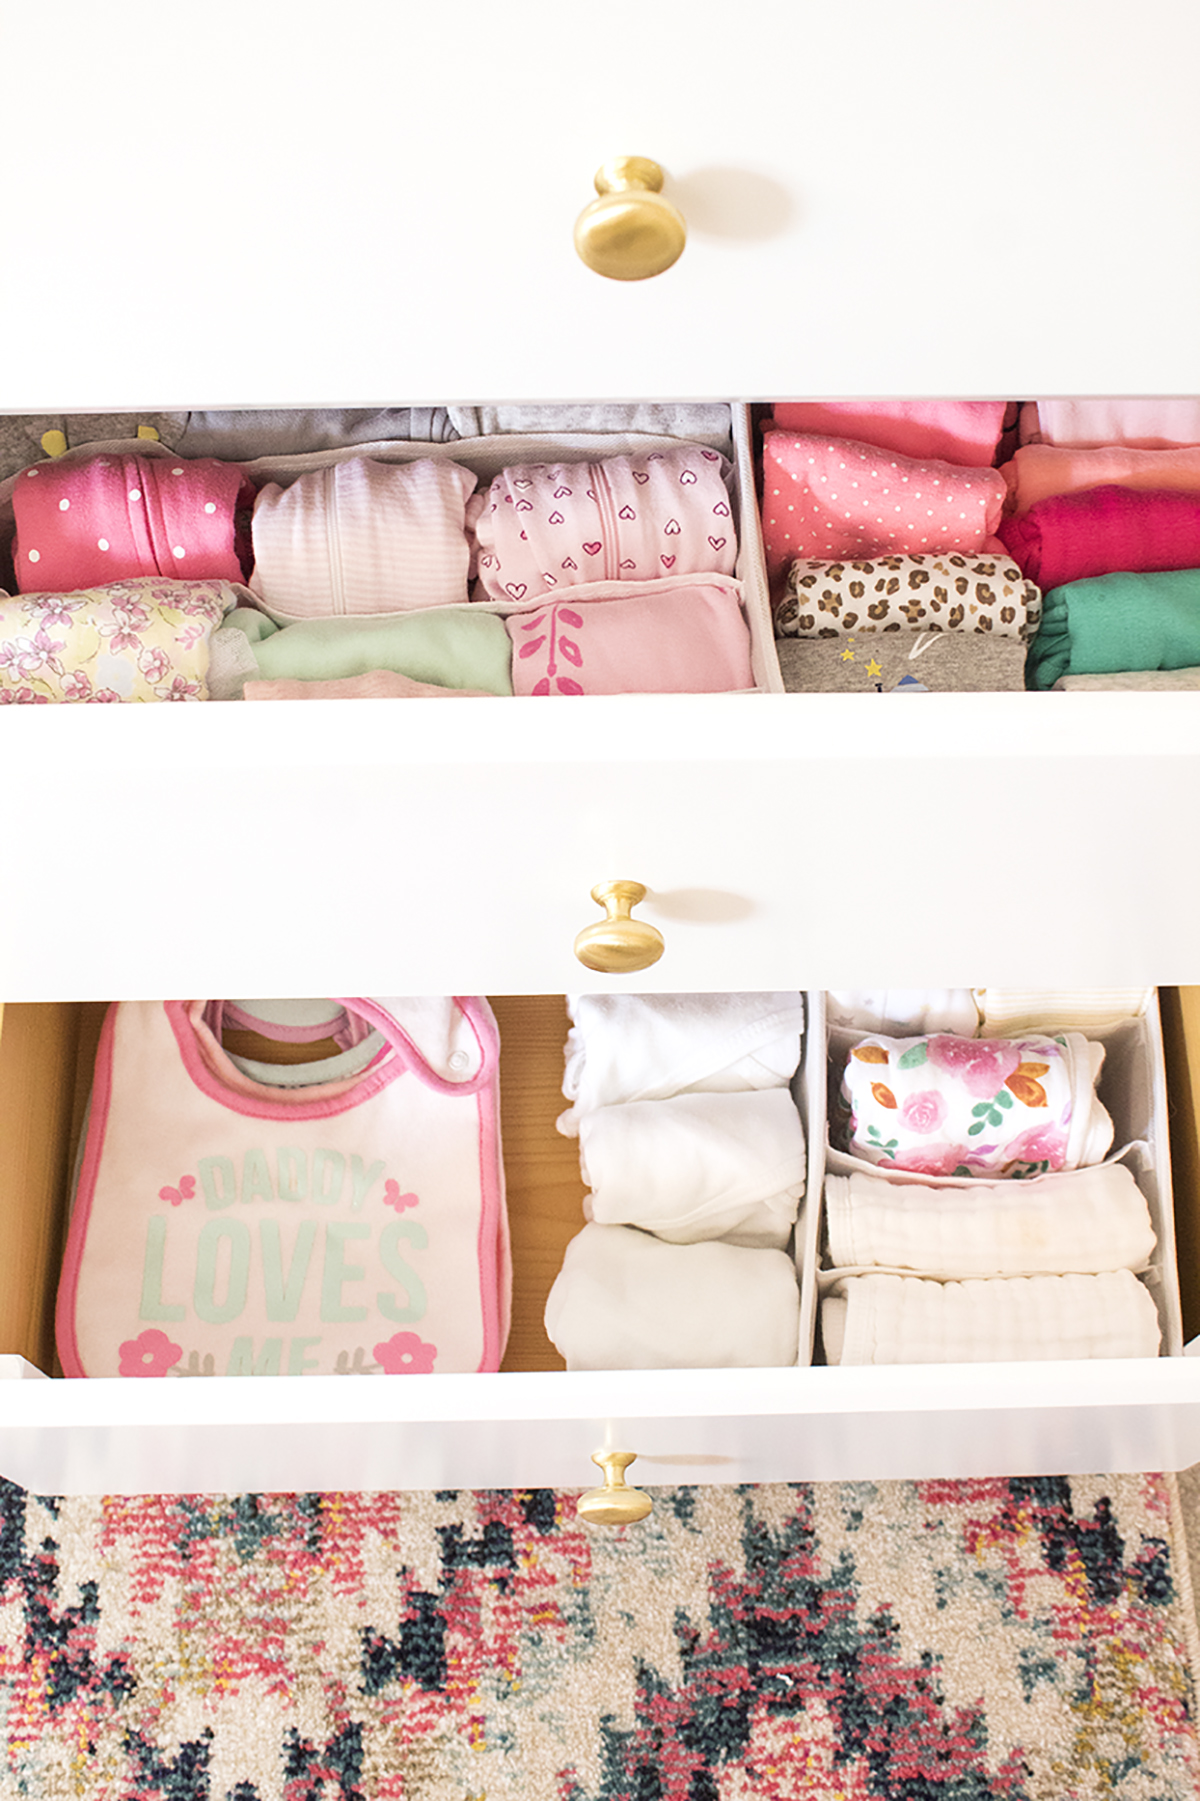
Hailey’s dresser has 6 drawers. The top left holds her hats, headbands, and mittens along with her collection of socks. I kept everything neatly organized and accessible by putting in some smaller bins to help corral everything.
The top right is where all of Hailey’s diaper changing supplies go. On top of the dresser, I have an organizer that holds diapers, wet and dry wipes plus all her ointments. There’s even a drawer for her brushes and combs! We use vaseline to prevent diaper rash, and put it on using this diaper cream brush. The drawer below this organizer contains spare diapers, wipes, and body lotions.
Clothes Storage and Folding
I folded all of Hailey’s clothes nicely and neatly into little cubes, and placed them into these drawer organizers to keep everything contained. Her clothes are so small that without the drawer organizers, they felt like they were flopping around in a giant drawer.
The bottom 2 drawers hold Hailey’s blankets, bibs, and burp cloths. Again, I folded everything nice and neat and placed it into smaller bins. On the left side I placed all her blanket toys which she didn’t care about at first but now she LOVES them, especially the pink cat we nicknamed Kitty. Super creative, I know ;)
The bottom right holds burp cloths and bins. Ironically, we got WAY too many bibs and not nearly enough burp cloths, which we definitely needed more! I ended up ordering most of them myself, so if you’re unsure what to get a new momma, try burp cloths. The bottom drawer also holds some wrap sweaters they gave us at the hospital which were essential in the chilly hospital where she only wore a swaddle. They became a little less necessary at home since she wore sleeper pajamas, but they are helpful when she’s wearing a t-shirt.
Over on the other side of the room, I have fabric dresser drawer that matches the bin in her closet. It holds Hailey’s bath supplies like towels, soaps, and washcloths. It also holds all her medicines and personal care items like thermometers and nail clippers. There’s also a drawer that holds all her fitted sheets and bassinet pad covers. Can we talk about how neatly those fitted sheets are folded? Stand back folks- I’M A PROFESSIONAL!
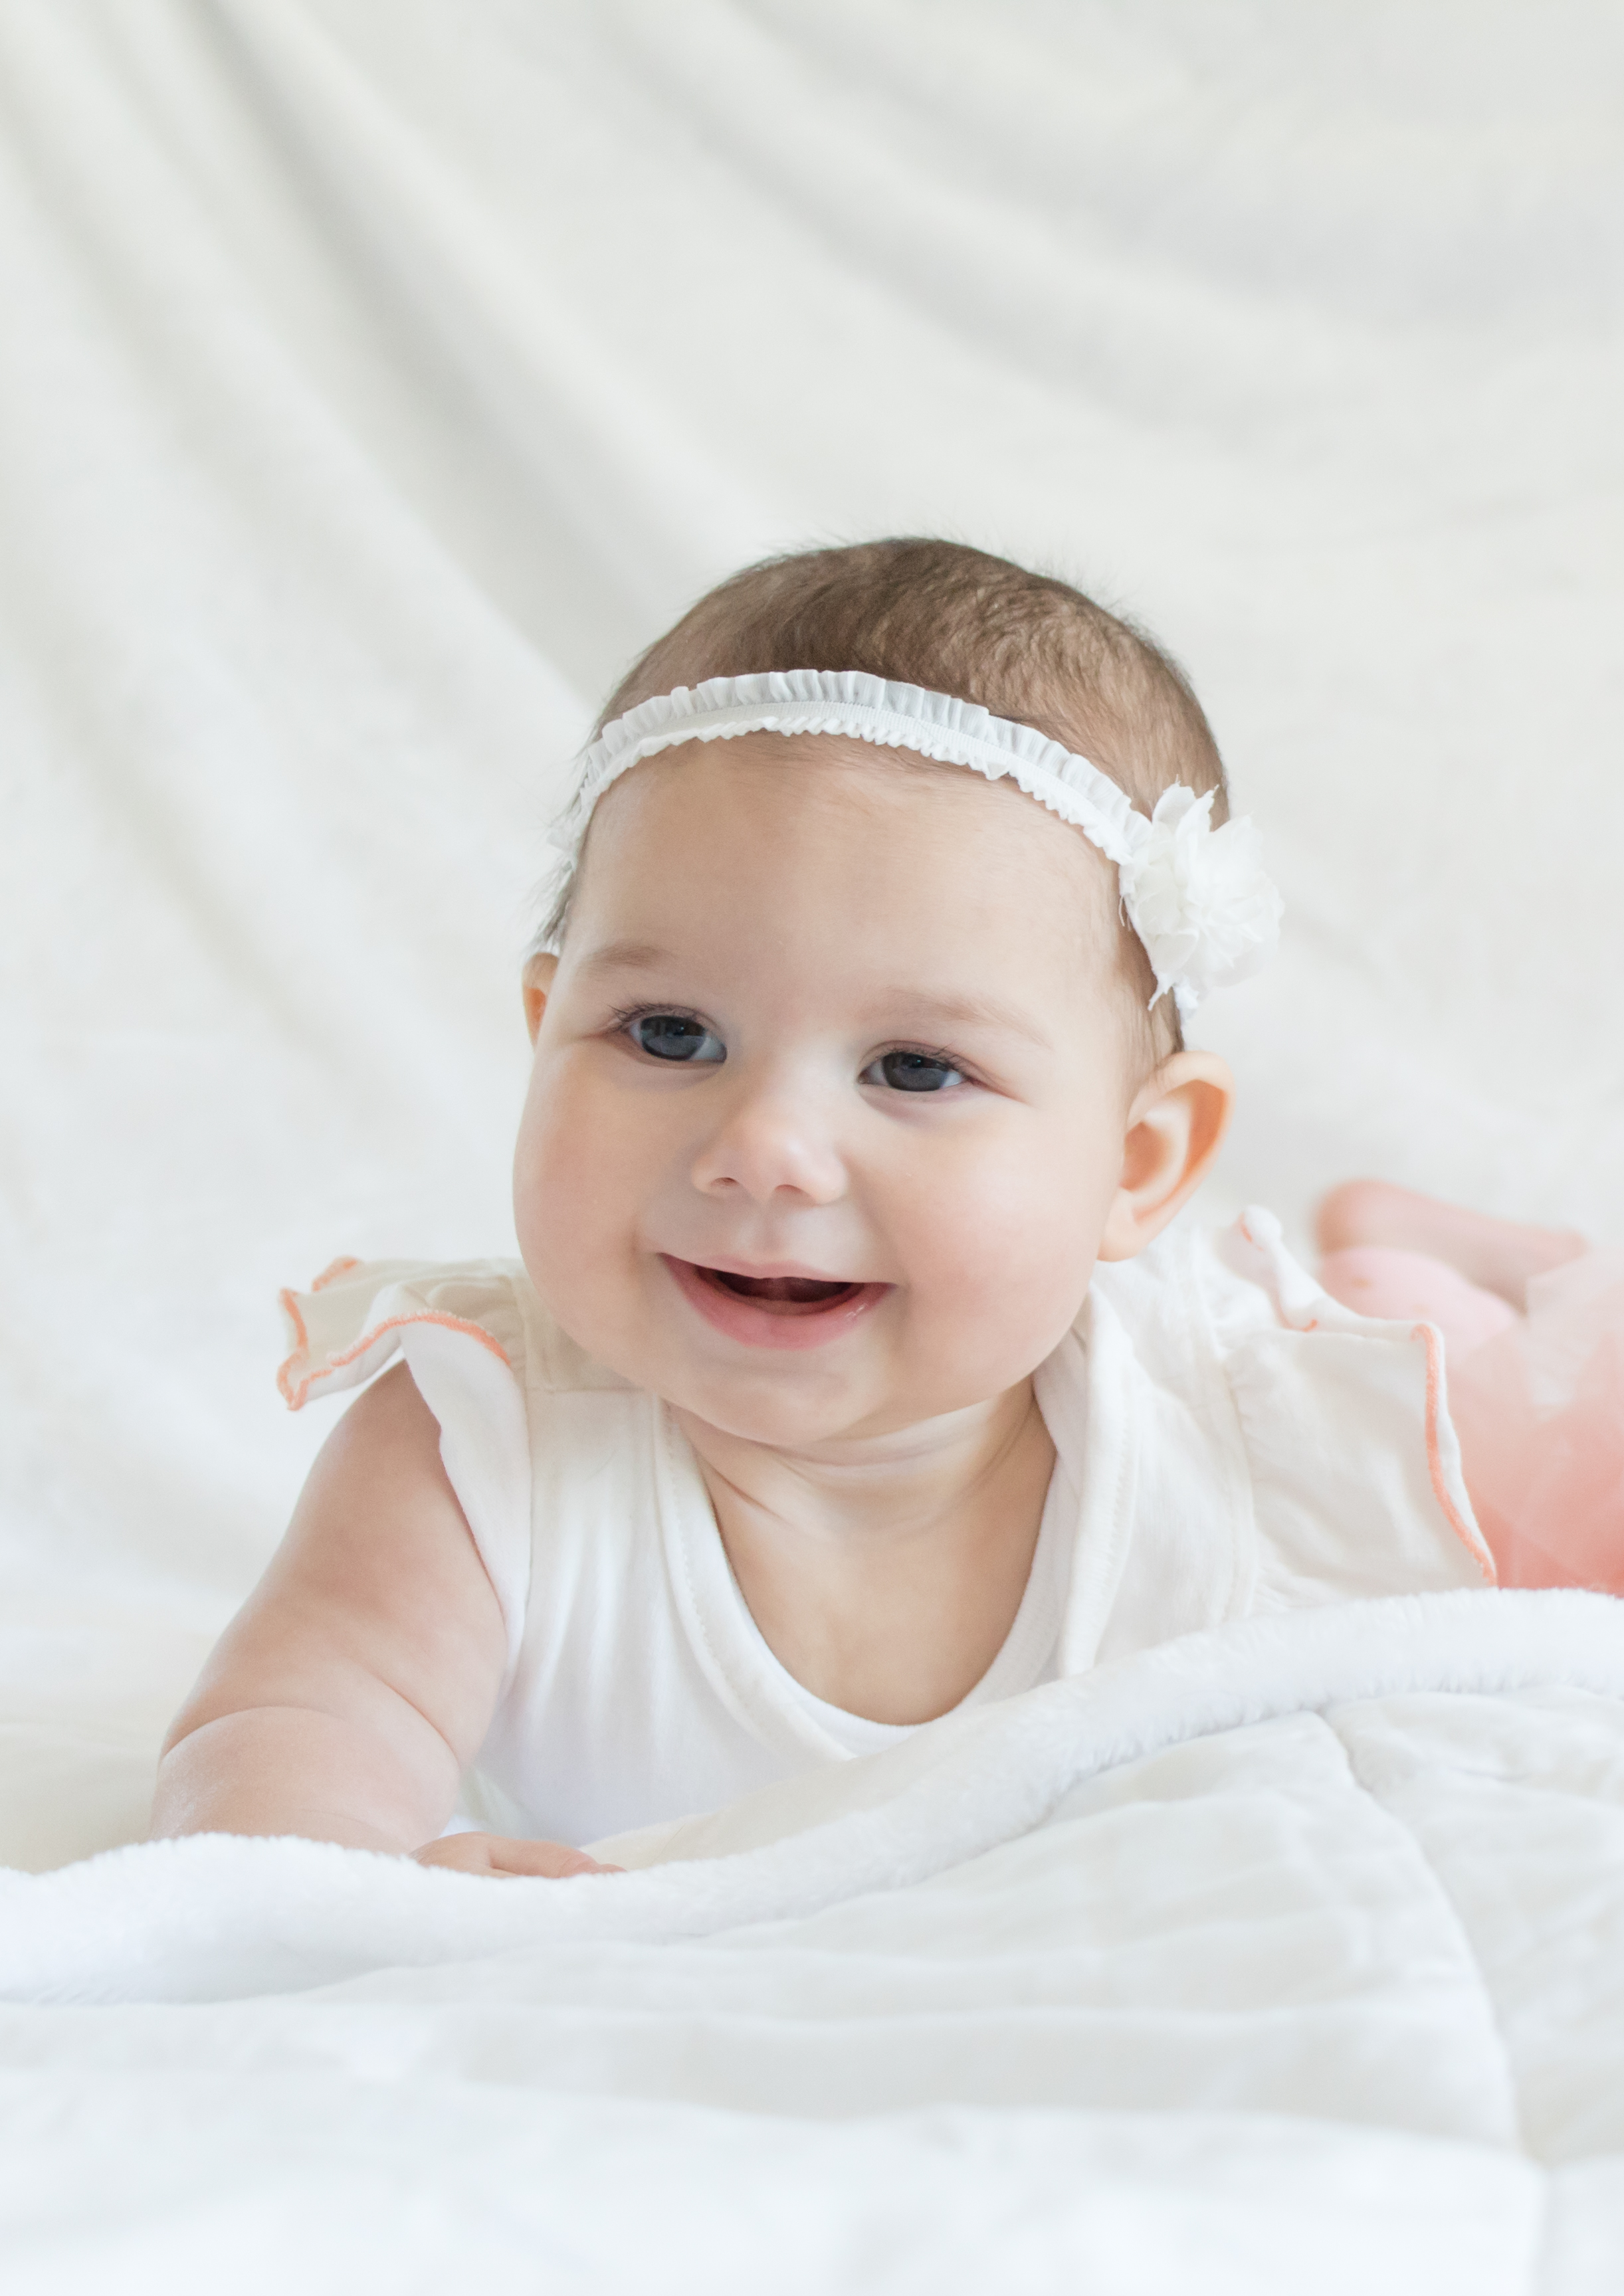
PS- I realized these pictures were taken when Hailey was only 6 weeks old. For reference, she’s now 9 months old! Look how tiny she was, my little lumpy baby.


