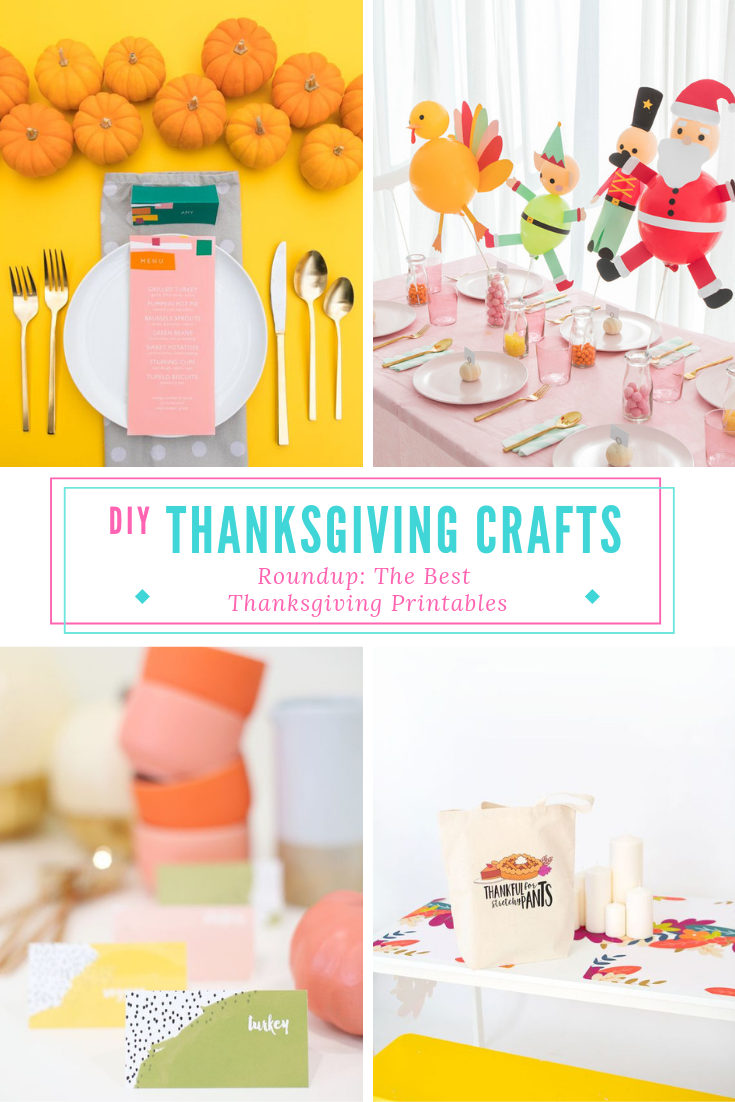
DIY Fall Faux Leather Drink Markers

Thanksgiving is coming up soon, and it seemed like the perfect time to debut these faux leather drink markers on the Pinhole Press blog! They’re perfect for preventing a very sad reality at crowded events- abandoned half-filled wine glasses, unsure of who their owners are. Don’t let this happen to you! Especially when the solution is so simple- and adorable.

Thanksgiving is coming up soon, and it seemed like the perfect time to debut these faux leather drink markers! They’re perfect for preventing a very sad reality at crowded events- abandoned half-filled wine glasses, unsure of who their owners are. D…

Within a matter of a few minutes, you can whip up a set of these drink markers for everyone in the family. They’re also great as seating cards when looped on a pumpkin stem!

Thanksgiving is coming up soon, and it seemed like the perfect time to debut these faux leather drink markers! They’re perfect for preventing a very sad reality at crowded events- abandoned half-filled wine glasses, unsure of who their owners are. D…

Dying to make a set for yourself? Head on over to the Pinhole Press blog to see the full post!

DIY No Sew Embellished T-Shirt

Happy fall, y'all! Ok, being from NY I don't say normally say "y'all", but this seemed like the perfect time to try it out. Fall is my favorite season. I love the leaves changing colors, the weather getting slightly cooler, and the amazing roundup of holidays in such a short timeframe!

With the busy hustle and bustle of the holiday season, I don't have time to construct a perfect outfit. I've gotta be comfy and ready for anything! T-shirts are my go-to fashion choice, because of how easy and versatile they are. You can wear them to work, to dinner & drinks, and to go shopping. But wouldn't it be nice if you could give your t-shirt an upgrade so you're not wearing the same thing over and over again, without having to bust out a sewing machine? Well friends, look no further! This no-sew embellished t-shirt features some of our favorite things- tees, tassels, and pom pom trim! Plus, two of my fave colors- pink and turquoise! And, it's all thanks to this Peel n Stick Fabric Fuse.

T-shirts are my go-to fashion choice, because of how easy and versatile they are. You can wear them to work, to dinner & drinks, and to go shopping. But wouldn't it be nice if you could give your t-shirt an upgrade so you're not wearing the same…
T-shirts are my go-to fashion choice, because of how easy and versatile they are. This no-sew embellished t-shirt features some of our favorite things- tees, tassels, and pom pom trim! #diytshirtideas #diytshirtnosew #tshirtmakeover
 

You will need:

T-shirts are my go-to fashion choice, because of how easy and versatile they are. This no-sew embellished t-shirt features some of our favorite things- tees, tassels, and pom pom trim! #diytshirtideas #diytshirtnosew #tshirtmakeover

T-shirt (here)
Peel N Stick Fabric Fuse (here
Fringe Trim (here or similar here)
Pink Pom Pom Trim (here or similar here)
Scissors (here)

Directions:

T-shirts are my go-to fashion choice, because of how easy and versatile they are. This no-sew embellished t-shirt features some of our favorite things- tees, tassels, and pom pom trim!
  • Measure your fringe trim so that it goes along the entire collar of your shirt

  • Add a little extra and cut the trim. I found that I had just enough to go around with the extra, so I guess the collar somehow got smaller being laid down!

  • Measure your Pom Pom trim to the same length, and cut.

  • Roll out some small pieces of the adhesive, and cut it into narrower strips. I cut each strip into thirds vertically.

  • Place it along your tassel trim. I didn't put it along the entire length, but every inch or so I stuck a piece down.

T-shirts are my go-to fashion choice, because of how easy and versatile they are. This no-sew embellished t-shirt features some of our favorite things- tees, tassels, and pom pom trim! #diytshirtideas #diytshirtnosew #tshirtmakeover
  • Once all your adhesive has been placed down, go piece by piece, removing the wax liner and pressing down the Pom Pom trim to adhere the two trims together.

  • Cut pieces of adhesive in half lengthwise and place them end to end along the collar of your shirt. I didn't leave any gaps here so that the trim wouldn't fall off the shirt.

  • Once all your adhesive has been placed down, starting at the front, peel off the wax liner and start pressing down your trim. Repeat until the whole collar is covered. (Note: for a v-neck, I started front and center, since that's where the seam is. For a crew neck, you can probably start in the back and wrap around to create a smooth, seam free "necklace" of trim).

T-shirts are my go-to fashion choice, because of how easy and versatile they are. This no-sew embellished t-shirt features some of our favorite things- tees, tassels, and pom pom trim! #diytshirtideas #diytshirtnosew #tshirtmakeover

Sources: Cactus Cup

And that's all there is to it! It's seriously fun to spruce up any article of clothing, and then you get to proudly tell people "I made it!" when they ask where it's from. I think these would also make a great gift for a friend- matching BFF tees! Or, it would be perfect for a craft night. If the whole collar is a bit much for you, try getting a pocket tee and adding the trim along the top of the pocket for a little bit of POP. 

What's your favorite item to spruce up? Tees? Jeans? Shoes? Let me know in the comments below!

Easy Colorful Thanksgiving Place Cards

You guys... Thanksgiving is next week!! I truly can't believe how quickly the months have flown by this year. It feels like just yesterday we rang in the new year, and we're about to celebrate another one! While I'm especially excited for the upcoming holiday season (and busy prepping those blog posts!) I'm featuring the one, lonely Thanksgiving craft I did this year haha. These place cards are super quick and easy to make, so you can get back to cooking everyone's favorites and setting that table.

Looking for an easy Thanksgiving place card for your guests? Well, I’ve got 3 DIY options for you! Try a fun pom pom place card, a scallop glitter place card, or a feather place card! They can be customized for your  Friendsgiving or Thanksgiving ta…

These are perfect because you can whip them up quickly with just a glue gun! There's practically no dry time, so you can even make them in the morning while you're watching the Macy's Thanksgiving Day Parade. Head on over to Giggles Galore for the full post!

Looking for an easy Thanksgiving place card for your guests? Well, I’ve got 3 DIY options for you! Try a fun pom pom place card, a scallop glitter place card, or a feather place card! They can be customized for your Friendsgiving or Thanksgiving tab…

I think these glitter scallop trim ones are my favorite! My husband also liked them best. Um, he liked something with glitter? WHAT?! You can even mix and match the different designs as long as you pick a similar color palette. You can keep the colors very traditional, or go a little bit funky like I did.

Looking for an easy Thanksgiving place card for your guests? Well, I’ve got 3 DIY options for you! Try a fun pom pom place card, a scallop glitter place card, or a feather place card! They can be customized for your Friendsgiving or Thanksgiving tab…

Either way, your guests are sure to love them! So what are you waiting for? Head over to Giggles Galore for the full post!

Easy Striped Halloween Art

It's FALL!!! Halloween is almost here!!! YAYYYY!

Ok, I think I'm a little bit too excited about Halloween, but I just can't help it. Halloween is one of my favorite holidays, and fall is my favorite season! This week, I whipped out my Halloween decorations, and started to decorate. While I love the traditional black and orange, I wanted something with a little more color to add a pop to my usual Halloween decor. Lucky for me, I knew just what to do! And lucky for you, I made a DIY for ya ;)

While I love the traditional black and orange, I wanted something with a little more color to add a pop to my usual Halloween decor. Click to check out the easy DIY! #halloweenart #diyhalloween #halloweencrafts

You will need:

While I love the traditional black and orange, I wanted something with a little more color to add a pop to my usual Halloween decor. Click to check out the easy DIY! #halloweenart #diyhalloween #halloweencrafts

Square canvas (here)
Glitter Paper (from the craft store, similar here)
X-Acto Knife (here)
1" Painter's Tape (here)
T-Square or Ruler (here)
Neon Paint (similar here)
Scissors (here)
Pencil
Paint Brush

How to:

While I love the traditional black and orange, I wanted something with a little more color to add a pop to my usual Halloween decor. Click to check out the easy DIY! #halloweenart #diyhalloween #halloweencrafts

1. Using your T-Square or ruler, make lines going across the sides of your canvas at every inch. Flip it, and make lines on the other side. We are doing this so that we know where our tape needs to go without making lines on the front. We want our lines to be as straight as possible!

2. Add your tape, starting at one end, wrapping across the front, and lining up on the other side. Press it down so the paint doesn't sneak in like mine did ;)

3. Paint your canvas, making sure to get the sides too. I found the neon paint to be a bit thin, so I did a few coats. 

4. When your paint is dry, peel off the tape .

4. Create large letters on your computer and print. I did EEK because it would be easier to cut out, but you can do anything! I cut out my printed letters, traced them onto the glitter paper (BACKWARDS!) and then cut them out using scissors, and an X-Acto knife for the smaller parts. I use this cutting mat to protect my work surface and love it! 

While I love the traditional black and orange, I wanted something with a little more color to add a pop to my usual Halloween decor. Click to check out the easy DIY! #halloweenart #diyhalloween #halloweencrafts

5. Hot glue your letters onto your canvas. You'll want to make marks so it's centered, by making a very faint line on the canvas and then gluing the letter right on top.

While I love the traditional black and orange, I wanted something with a little more color to add a pop to my usual Halloween decor. Click to check out the easy DIY! #halloweenart #diyhalloween #halloweencrafts

"Eye" hope you liked this post! If you're not into the whole neon Halloween thing, you can definitely change it up to the classic black and orange. Or, if Halloween isn't your thing at all, you can make one of these and use it as a monogram decor in your home! The possibilities are endless. You can make these for every holiday! Especially if you get the canvases on sale with a coupon from Michael's (which is what I did!)

While I love the traditional black and orange, I wanted something with a little more color to add a pop to my usual Halloween decor. Click to check out the easy DIY! #halloweenart #diyhalloween #halloweencrafts

What's your favorite color combo for Halloween? Do you like to keep it classic? Try new things? Hate Halloween in general? Let me know in the comments below!

Colorful Fall Pumpkin Wreath

Hey everyone! I'm back from my wedding and honeymoon, and suddenly it's fall. I mean, it feels like summer but the trees are changing colors, the kids are back in school, and I'm already working on my Halloween costume. 

In order to celebrate this weird Summer-Fall hybrid, I crafted a colorful pumpkin wreath to bridge the gap between the seasons. It's got a few of my favorite things- bright colors, pumpkins, and POM POMS!! It's a little kooky, but all the best people are ;)

You can find the full blog post over on Giggles Galore, so be sure to head over there and take a look!

In order to celebrate this weird Summer-Fall hybrid, I crafted a colorful pumpkin wreath to bridge the gap between the seasons. It's got a few of my favorite things- bright colors, pumpkins, and POM POMS!! It's a little kooky, but all the best peopl…

I used the spray painted pumpkins from my Glam Friendsgiving Party as inspiration for this wreath. I loved having some fun pumpkins around my house last year, so I wanted to create something that would show them off to everyone that passed by.

In order to celebrate this weird Summer-Fall hybrid, I crafted a colorful pumpkin wreath to bridge the gap between the seasons. It's got a few of my favorite things- bright colors, pumpkins, and POM POMS!! It's a little kooky, but all the best peopl…

I love how gorgeous and bright these pumpkins are! While I love traditional holiday colors, I also think it's really fun to break the mold and try to capture the spirit of the season with a completely different color palette.

In order to celebrate this weird Summer-Fall hybrid, I crafted a colorful pumpkin wreath to bridge the gap between the seasons. It's got a few of my favorite things- bright colors, pumpkins, and POM POMS!! It's a little kooky, but all the best peopl…

Be sure to head on over to Giggles Galore for the full tutorial!