Pink Painted Door Makeover (The Easy Way!)

This spring, I decided to tackle something that's been on my to-do list for a long time- repainting my front door! It's been a boring shade of brick red since we bought the house over 3 years ago and I was ready to give it the facelift it deserved. There was one major thing stopping me though- how do I remove all this hardware to paint it? I wanted to paint the door without all the hard work, so I decided to partner up with FrogTape to give this door a much-needed makeover.

*This post was sponsored by FrogTape. All content and opinions are my own.

On Wednesday’s we paint our door pink!! With the help of FrogTape, I was able to paint my door without having to remove the hardware. It was easy peasy lemon squeezy, and left such crisp clean lines! Head to the blog for all the details so you can g…

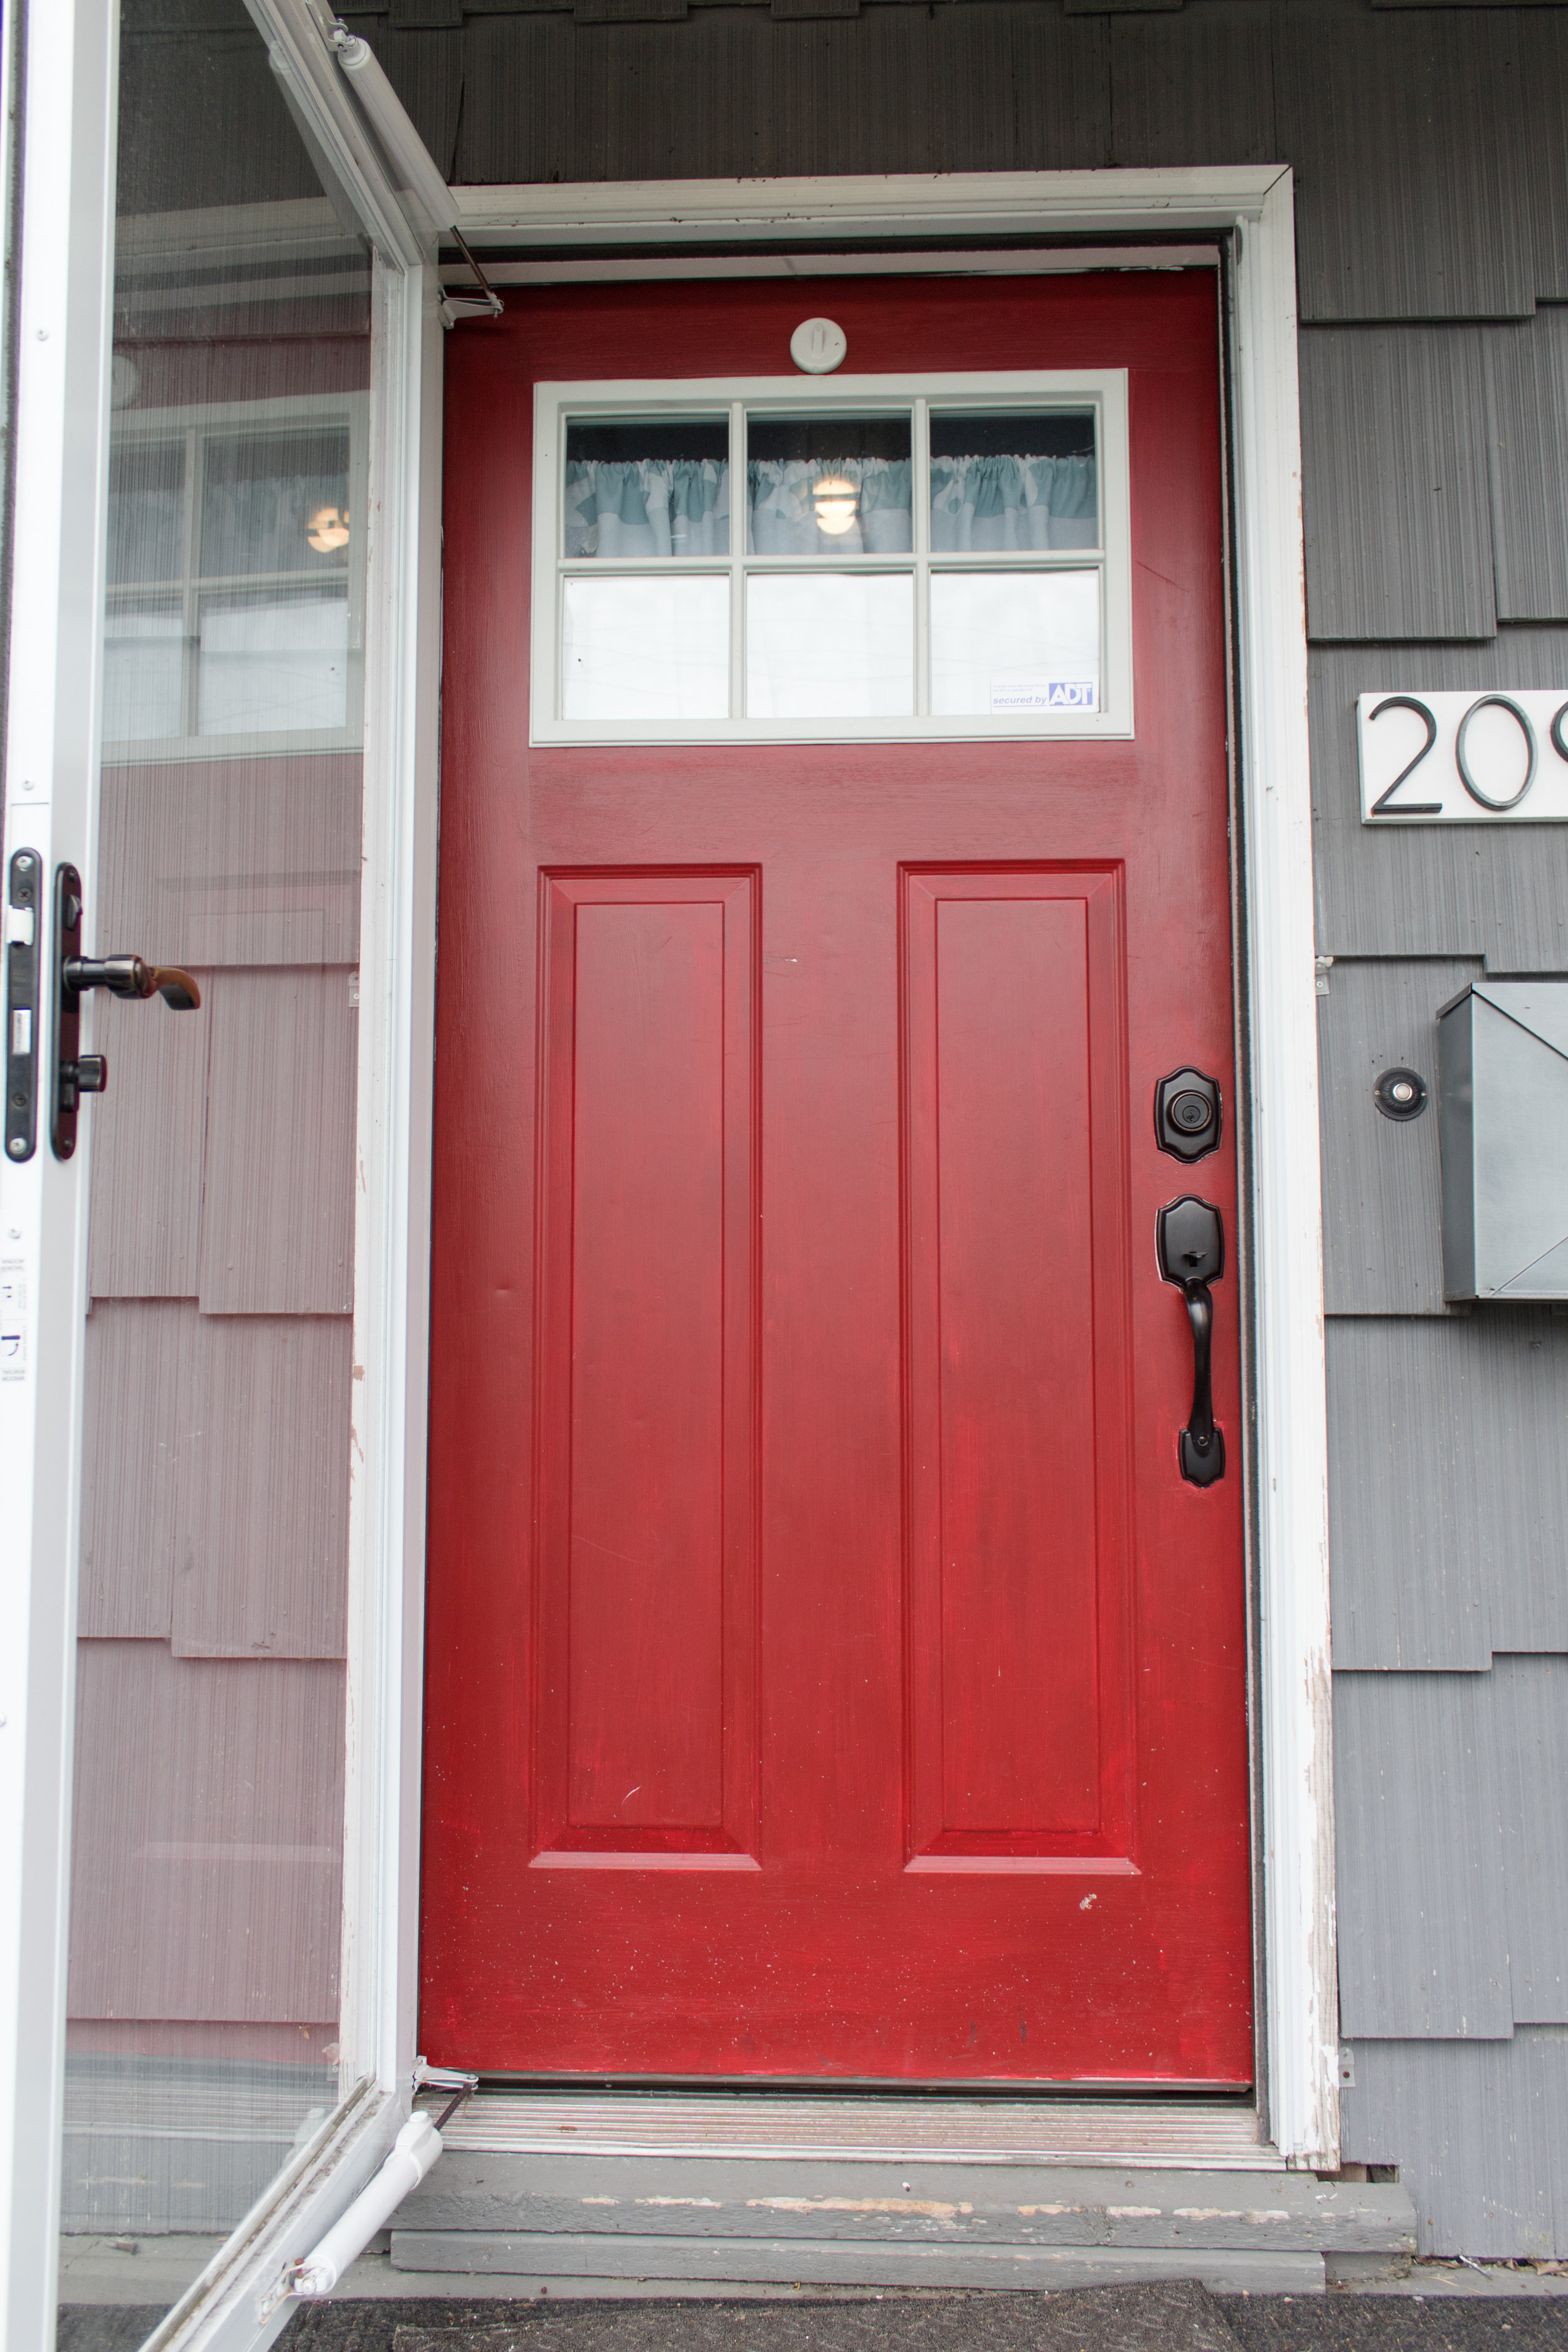
Before we begin, let's take a look at my door before the makeover. It seems like it had been painted around the hardware, but BADLY. All the strokes were in random directions. We actually replaced the door hardware when we bought the house, but the previous ones were covered in paint along the edges. It wasn't a neat job, and the door had a sheer hue to it- you could see every paint stroke and even the white door underneath. It looked like it only got one sad, lonely coat of paint.

On Wednesday’s we paint our door pink!! With the help of FrogTape, I was able to paint my door without having to remove the hardware. It was easy peasy lemon squeezy, and left such crisp clean lines! Head to the blog for all the details so you can g…

Prepping To Paint Your Door

Ok, before you begin painting your door you'll want to prep it. I started by giving it a gentle sanding to get all the dirt and debris off of it. Even with a storm door over it, a lot of stuff got stuck to the door!

On Wednesday’s we paint our door pink!! With the help of FrogTape, I was able to paint my door without having to remove the hardware. It was easy peasy lemon squeezy, and left such crisp clean lines! Head to the blog for all the details so you can g…

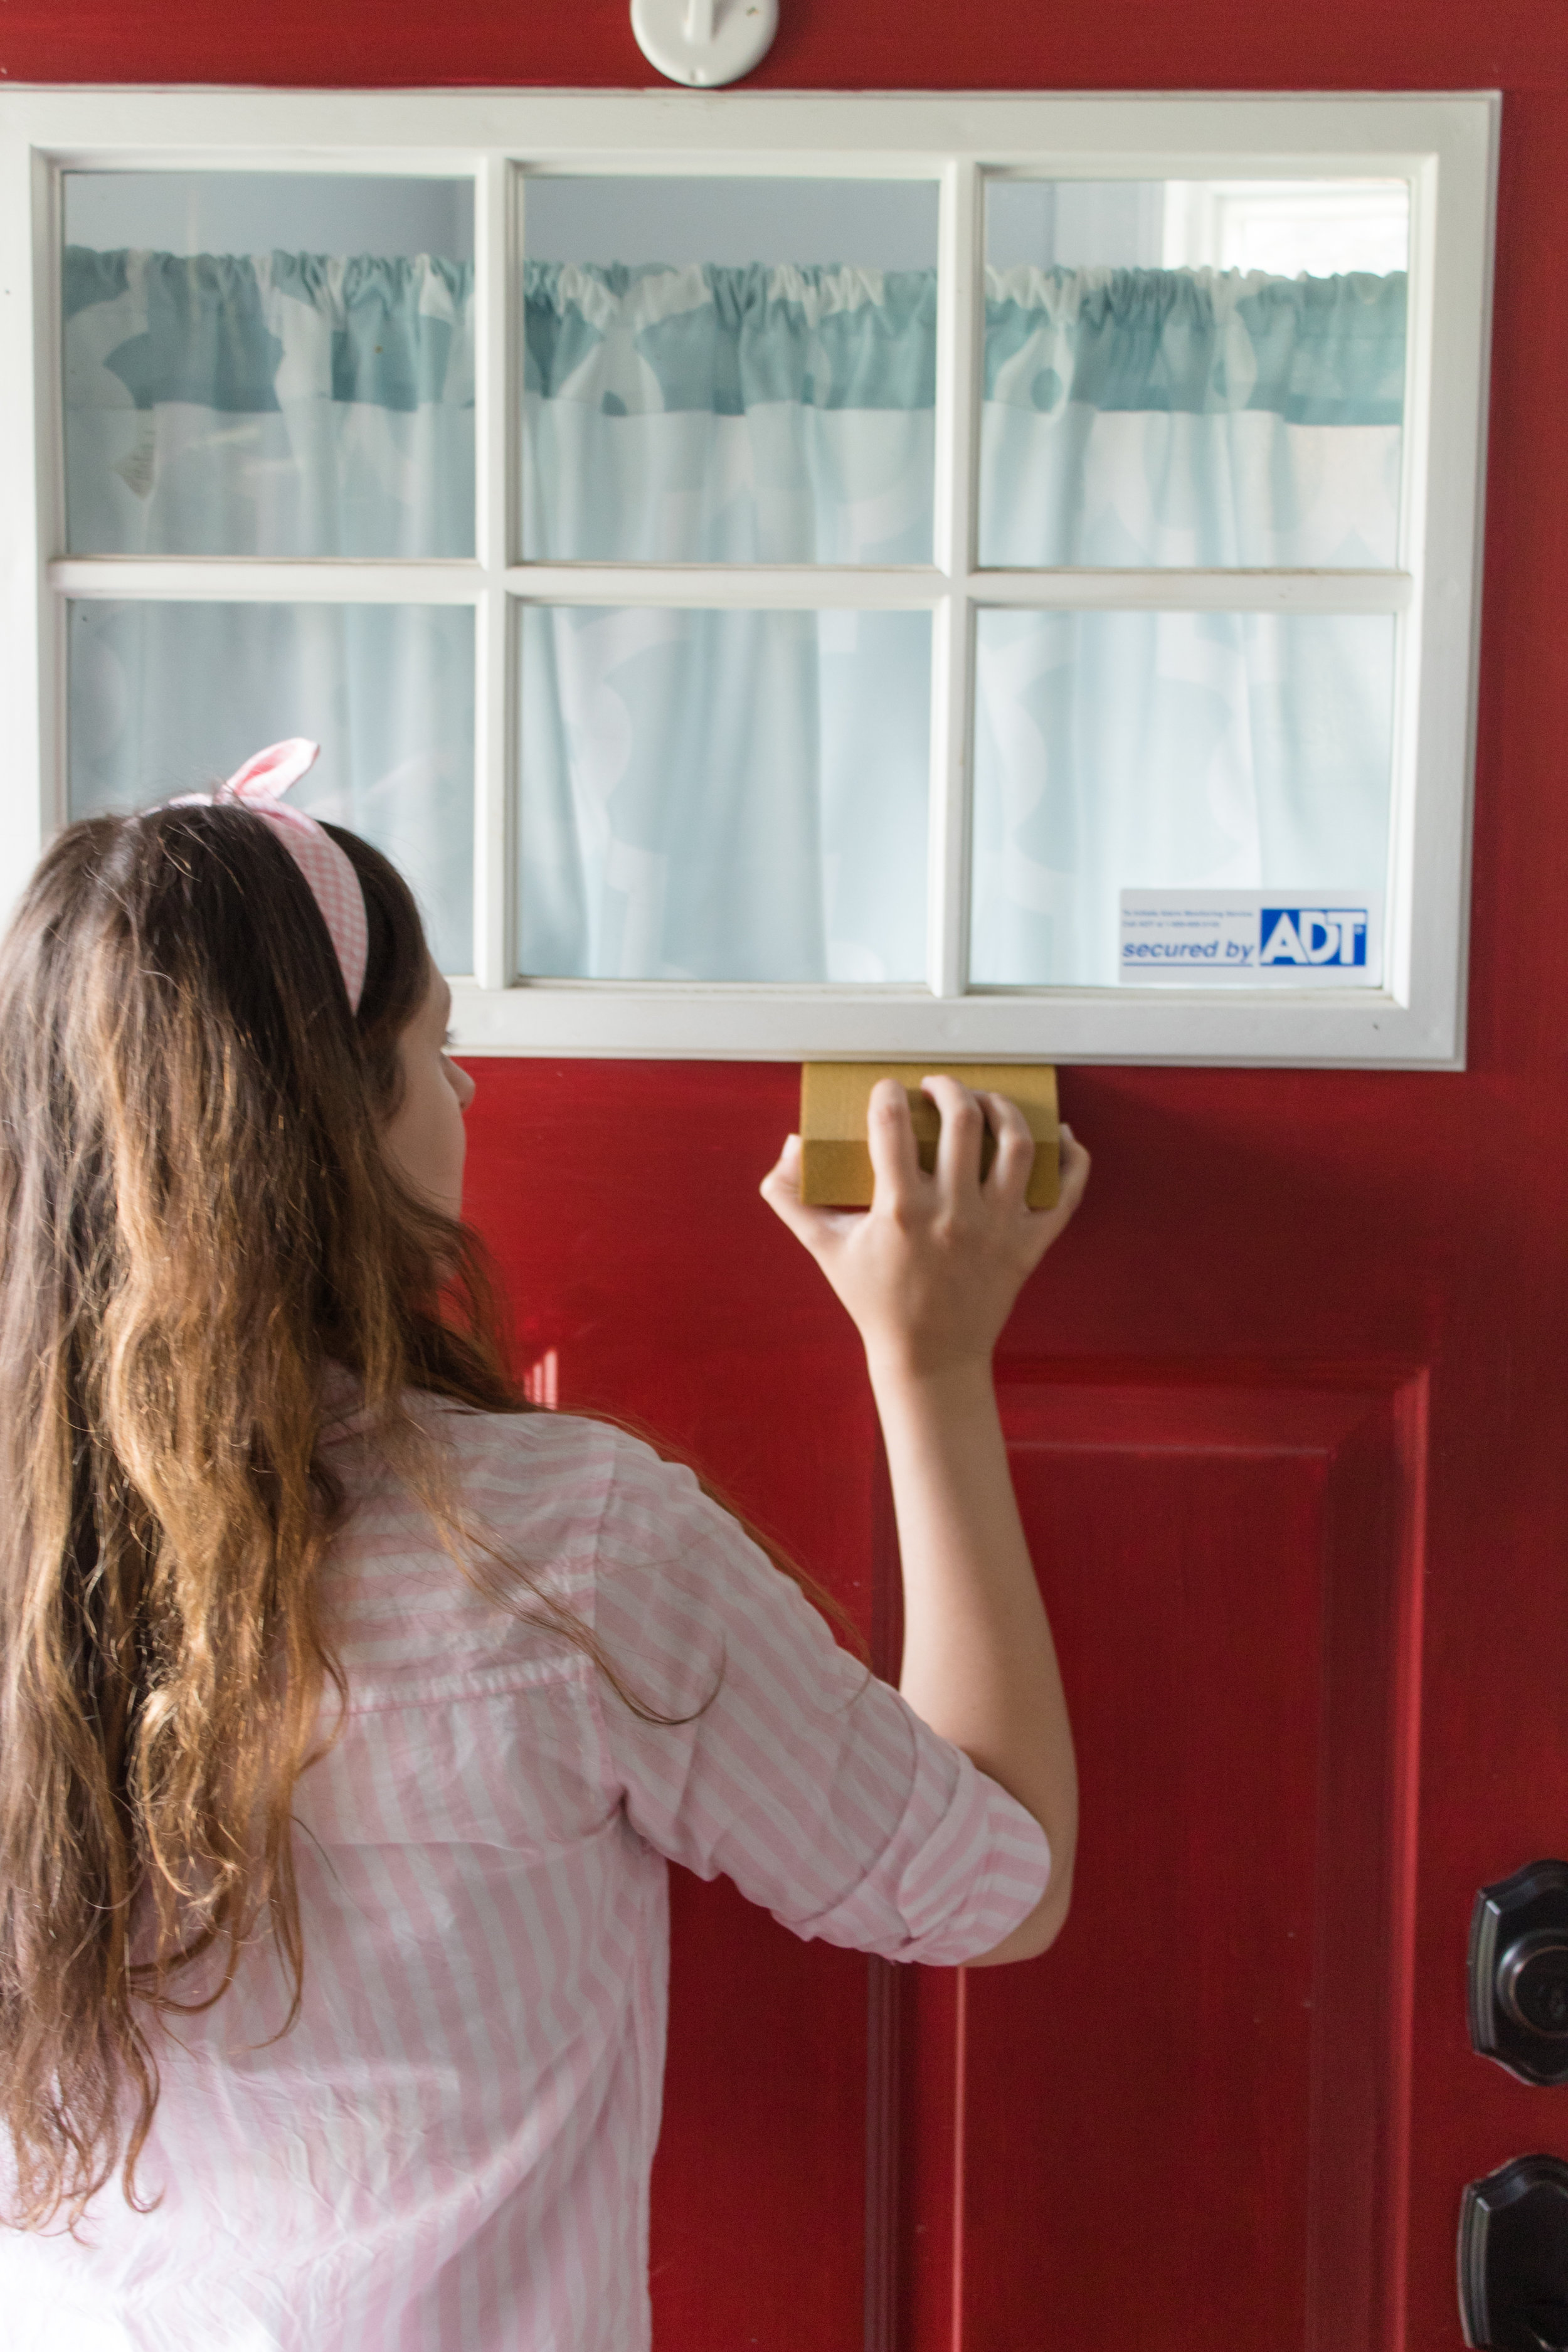
Once it was cleaned and sanded, I taped off all my edges with FrogTape. It's the only tape with PaintBlock® Technology, which ensures no paint seeps through. The result is sharp paint lines and a professional-looking paint job. Plus, it removes cleanly from most surfaces for up to 21 days!

On Wednesday’s we paint our door pink!! With the help of FrogTape, I was able to paint my door without having to remove the hardware. It was easy peasy lemon squeezy, and left such crisp clean lines! Head to the blog for all the details so you can g…

I used the FrogTape to cover all my hardware, plus I made a border to protect the white window. It was really easy to use! Within a few minutes, I was ready to get my paint on. All of this was done under the supervision of my trusty helper, Lexie. I’m not sure how she didn’t get any paint on her, but I guess she’s a real pro.

On Wednesday’s we paint our door pink!! With the help of FrogTape, I was able to paint my door without having to remove the hardware. It was easy peasy lemon squeezy, and left such crisp clean lines! Head to the blog for all the details so you can g…

Painting Your Door

Now that your door is all taped up with FrogTape, it's time to start painting! I began by outlining the panels with paint using a small angled brush. I also used this brush along the edges near the window and hardware to ensure everything got a nice even coat of paint.

On Wednesday’s we paint our door pink!! With the help of FrogTape, I was able to paint my door without having to remove the hardware. It was easy peasy lemon squeezy, and left such crisp clean lines! Head to the blog for all the details so you can g…

After everything was outlined, I used my roller to cover the rest of the surface area in this really fun pink paint! My poor husband said he didn’t care what color I picked, as long as it wasn’t pink. Well…. sorry honey! I promise, I meant to do it a brighter shade of red, but this color (Hint of Cherry by Valspar) stopped me in my tracks and I had to do it. It was calling to me! And, while I was at the paint counter doubting my choice, there was another person there that picked the EXACT SAME COLOR so I think it was fate. A pink door was meant to be.

While I wasn’t sure exactly how my husband would react to this color, I knew using FrogTape was the right decision. I could paint with confidence, because I knew FrogTape's PaintBlock® Technology would ensure no paint would seep under the tape and ruin my hardware.

On Wednesday’s we paint our door pink!! With the help of FrogTape, I was able to paint my door without having to remove the hardware. It was easy peasy lemon squeezy, and left such crisp clean lines! Head to the blog for all the details so you can g…

I slathered on the first coat of paint and started to get excited. In between coats, I put my supplies in a large trash bag with a little bit of water to prevent it from drying it. This meant that I didn’t have to wash them between coats, which was a HUGE timesaver!

On Wednesday’s we paint our door pink!! With the help of FrogTape, I was able to paint my door without having to remove the hardware. It was easy peasy lemon squeezy, and left such crisp clean lines! Head to the blog for all the details so you can g…

Once everything was fully painted, I pulled off the tape for the grand reveal! I have to admit I was a little but nervous, but FragTape did an AMAZING job. All the edges were crisp and beautiful.

On Wednesday’s we paint our door pink!! With the help of FrogTape, I was able to paint my door without having to remove the hardware. It was easy peasy lemon squeezy, and left such crisp clean lines! Head to the blog for all the details so you can g…

It took about 3 coats of paint, but my door is now fresh and ready to go! Every time I look at it, I get so happy. It's the only pink door on the block, and possibly even in the neighborhood! I've gotta give a huge shout-out to FrogTape for helping me get this project off my to do list. It felt amazing, and looks even better! If you’re looking to give your front door a new look, head over to your local hardware store and grab yourself a roll of FrogTape and a quart of paint.

On Wednesday’s we paint our door pink!! With the help of FrogTape, I was able to paint my door without having to remove the hardware. It was easy peasy lemon squeezy, and left such crisp clean lines! Head to the blog for all the details so you can g…

Thanks to FrogTape, I did this project in just one day, and I’m ready to tackle the next one on my to do list! What color would you paint your front door? Let me know in the comments below!

DIY Easter Bunny Napkin Rings

It’s becoming spring outside and I am SOOO excited for it! Sure, the weather does fluctuate between freezing cold (where you need a jacket and scarf) to sunny and warm (where just a sweater will do) but living in NY, you take all the nice days you can get! Since Easter is coming up quick, I created these really fun DIY napkin rings for the Giggles Galore blog that are easy to make and super colorful!

Looking to dress up your Spring tablescape or your Easter table settings? Add these DIY Easter Bunny Napkin Rings to your Easter decor for a pop of color! They’re an easy Easter craft that you can whip up in a jiffy! Click for more info. #diynapkinr…

They only use a few supplies, and as a crafter you probably already have them on hand! Who know that just felt, paper and a wooden bead could be so adorable? This is one of my favorite posts I’ve done, and I can’t wait to use these for Easter!

Looking to dress up your Spring tablescape or your Easter table settings? Add these DIY Easter Bunny Napkin Rings to your Easter decor for a pop of color! They’re an easy Easter craft that you can whip up in a jiffy! Click for more info. #diynapkinr…

Be sure to head on over to the Giggles Galore blog to see the full post!

DIY Easy Painted Gift Tags

Are you a “sharpie on the wrapping paper” type of gal? I used to be, but I’ve discovered that gift tags are way prettier, easier to read, and more fun! Why run out and purchase gift tags when you can make your own? It’s easy-peasy with just some paint and cardstock. It’s even easier if you have some paper punches, but honestly some scissors will do the trick too!

*This post contains affiliate links.

Don’t be a “sharpie on the wrapping paper” type of gal! These tags are easy-peasy to make, with just some paint and cardstock. Click to see the full DIY.

You will need:

Cardstock (here)
Paint (similar here)
Circle punch (here)
Embroidery floss (here)
Paintbrush
Tape or glue gun
Scissors

Directions:

Don’t be a “sharpie on the wrapping paper” type of gal! These tags are easy-peasy to make, with just some paint and cardstock. Click to see the full DIY.
  1. Punch your circles out of cardstock.

  2. Paint designs onto your gift tags.

  3. Tape or glue a piece of embroidery floss in the back to hang it. Add the name of your recipient.

That’s all folks! Seriously, it’s the easiest DIY ever. If you want to save time OR have your kids help out with less mess, have them paint the full sheet of paper, then cut the circles out. You can also use a regular tag shape if you prefer, but I thought the circle was more fun. You can even use these as little tree ornaments too!

I LOVE making gift tags, so be sure to follow me on Pinterest to get the newest DIY projects, including gift wrap!

DIY Painted Wood Necklace

A few months ago, my boss went to Mexico and brought me back this really pretty necklace. I liked it a lot, but as soon as I saw it, I thought about how cute it would look with a pop of color! It’s such a fun shape, and the two-toned wood was awesome! Adding some rainbow paint took it to the next level for me, and made it match much more of my closet. It’s super easy to do if you have any jewelry, especially souvenirs, that aren’t quite your style!

*This blog post contains affiliate links.

Paint Necklace 10.jpg

You will need: 

Wood necklace (similar here or here)
Nylon cord (here)
Painters tape (here)
Jewelry closures (here)
Jewelry tools (here)
Paint in your choice of colors (similar here)
Scissors (here)
Paintbrush
Pencil & marker

Paint Necklace Collage.jpg

Directions:

  1. Decide on your pattern and tape off your wood pieces. If your tape is super sticky, you may want to make it less sticky by putting it onto something and pulling it off, like your pants, so that it has some lint as a buffer.

  2. If your necklace is like mine, now you cut it off the string. I wanted to be sure the lines for the tape matched up before cutting.

  3. Paint 2 coats. I only did the front and sides so that I didn’t have paint against my skin/clothes but it doesn’t matter either way. Whatever you prefer!

  4. Pull off the tape while paint is still wet and let dry fully.

  5. String your wood pieces back onto the string and tie a knot on the ends if necessary

  6. Add your closures after deciding on the appropriate length for the string.

Paint Necklace 8.jpg
Paint Necklace 11.jpg

I love making over items I already own to make them fit my style better. It’s so nice, especially with sentimental items that don’t get much use. What do you think about this project? Do you plan on making over some wooden jewelry sitting in your closet? Let me know in the comments below!

DIY Rainbow Alphabet Blocks

Call it a mother's intuition but I made this project before I even knew I was pregnant! I wanted them for an Instagram challenge I have since put aside, but hey... they're pretty cute and I've used them for a few blog posts already too! You probably saw them make a cameo in my Easter party post, my baby post and my Painted Notebook post. They're too awesome (and useful) to resist. Find out how to make a set for yourself!

Colorful rainbow alphabet baby blocks? Yes please! Find out how to make a set for yourself. Click for the full how-to!

Disclaimer: I do not have children, and therefore I do not know what age this would be for. I’m going to say 3+, but please use your discretion! Mine will be mainly for decorative purposes. I don’t want any children getting hurt with toxic paint or swallowing a loose letter. Please use caution when giving this project to children!!!

You will need:

1.5" blocks (here)
Painter’s tape 1 inch (here)
Paint in your choice of colors (similar here)*
Wood letters (from Michael’s, similar here)
Paintbrushes (similar here)
Super glue or wood glue (here)
Newspaper or similar to cover workspace

*My colors were Martha Stewart Pink Dahlia, Apple Barrel Pink Parfait, Martha Stewart Wild Salmon, Martha Stewart Yellow Jacket, Martha Stewart Diving Board, Apple Barrel Parrot Blue, Apple Barrel Bimini Blue, Craft Smart Grape Taffy

Directions:

Colorful rainbow alphabet baby blocks? Yes please! Find out how to make a set for yourself. Click for the full how-to!
  1. Pick the colors for your paint, and decide on whether you want a pattern. I wanted to do a rainbow, so I assigned each letter a color and counted out how many of each block I needed from that.

  2. Find the best side of your block to be the front, and add tape to the center as a “stripe”. I did this on two sides so that I would have the ability to add extra letters or something else to the back. Or at least, if gave me an extra option in case one side looked funky!

  3. Once you’ve taped a few (or all) of your blocks, begin painting them. Each round, I painted the “front” of the block with two stripes, 2 sides full color, and the “back” with two stripes. I did the stripes first, then the sides, and went and did a second coat on the stripes before letting it dry.

  4. Peel your tape off your blocks and save it for round 2. Make sure your blocks dry fully before doing round 2!

  5. While your blocks dry, start painting your letters. I did the front and all the sides with a few coats.

  6. Take your tape, and reposition it on the sides with the stripes, this time going the other direction to form a “border” of color around the edge. Paint the stripes on the front, back, and opposite sides. And let dry fully.

  7. Glue your letters into your blocks and let dry according to directions.

Colorful rainbow alphabet baby blocks? Yes please! Find out how to make a set for yourself. Click for the full how-to!

Alternatives:

  1. For a safer alternative, you can paint or stamp the letters onto the blocks so that there is no choking hazard

  2. Instead of matching all the blocks and letters, try mixing them up or color blocking with different shades of the same color! I tested that below.

  3. Add stamps to the sides of the blocks for extra learning fun!

  4. Add numbers for a complete block set

Colorful rainbow alphabet baby blocks? Yes please! Find out how to make a set for yourself. Click for the full how-to!

Ahhh! I mean, how stinking cute are these!? They'd also be really cute as decor with just the letters of your baby or child's name. I love love love these! Are you planning to make a set for your kids? Let me know in the comments below!